Showing posts with label DIY. Show all posts

Sunday, February 26, 2012

I Just Wing'd it...


The post title says it all-I reupholstered a wing back chair- by just winging it! Never have I ever reupholstered anything more difficult than a dining chair cushion. But I didn't want to spend money on hiring an upholsterer to recover 2 chairs. Plus, I have tons of DIY spirit I need to constantly channel into something.  

This is what I started with...2 of these lovely chairs.  The bones were in great shape-they just needed some new fabric and a little TLC.


I started out watching a couple of YouTube videos which were mildly helpful, and then I just went for it. I mean, I couldn't mess up that old green fabric.  If it failed, it still would have looked better than it started out looking!

First, I removed all the fabric piece by piece, very carefully, so I could use it as a pattern of sorts for my new fabric.  This was the most grueling part.  I stabbed myself with my screwdriver and cut my hands on the staples a million times.  Wearing gloves would have been smart. ;) 
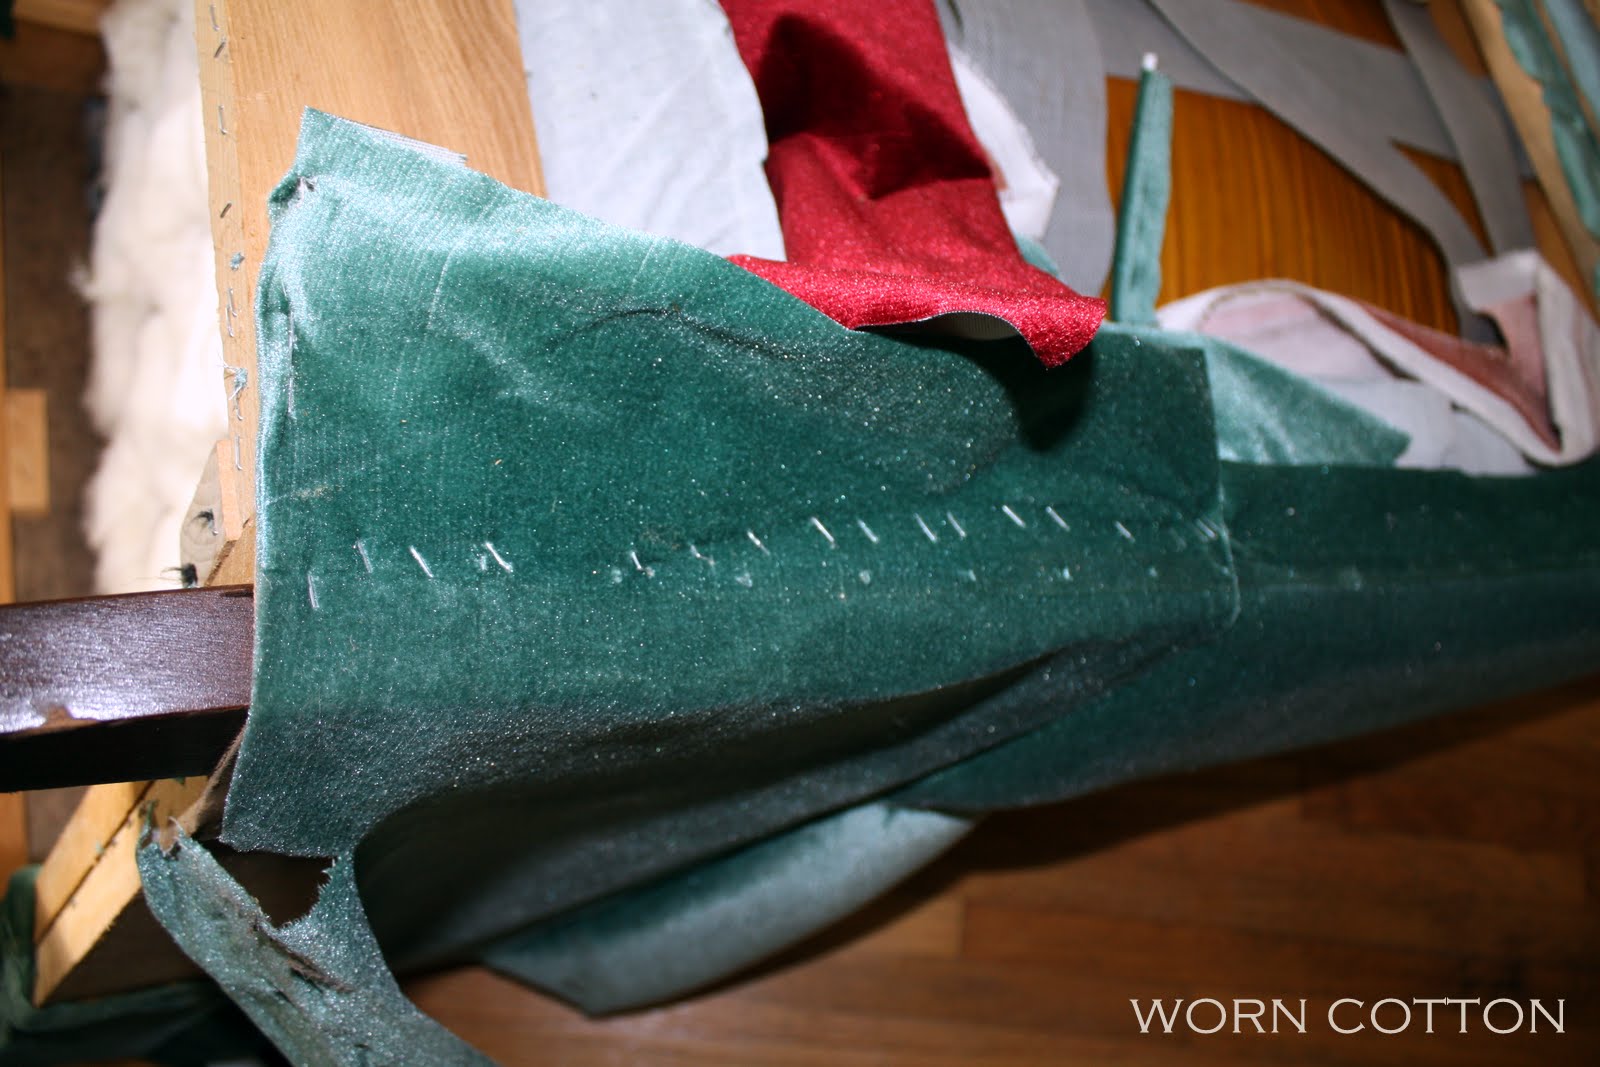


Just look at all those evil staples!! 

I took pictures of how the fabric was stapled on in case I needed a reminder later on.  It helps to also jot down what order you remove each piece.  Then when you reupholster, just start with the last piece you took off.  I basically learned as I went along.  

I have to mention, I have a pneumatic staple gun and an air compressor.  I don't think I could have tackled this project without one.


I decided to paint the legs.  I used regular latex paint and finished them with a dark brown paste wax.  I like them so much better! 


(We are working on installing new base boards in here.  Please ignore them in their unpainted, unfinished state.)

It was such a simple project-once I got all the old fabric off.  Although not perfect, it exceeded my expectations by far. I still want to add some more jute trim along the front, but I need to order more.  I got it at MJ Trim.  Now, I just have to get motivated to finish the second one...I am still having nightmares about those staples! ;) 

I also want some pretty pale yellow pillows to go in each chair but, I haven't found one I am in love with yet.  Any suggestions?? :)


Linking up at: 


Pin It!

Tuesday, February 21, 2012

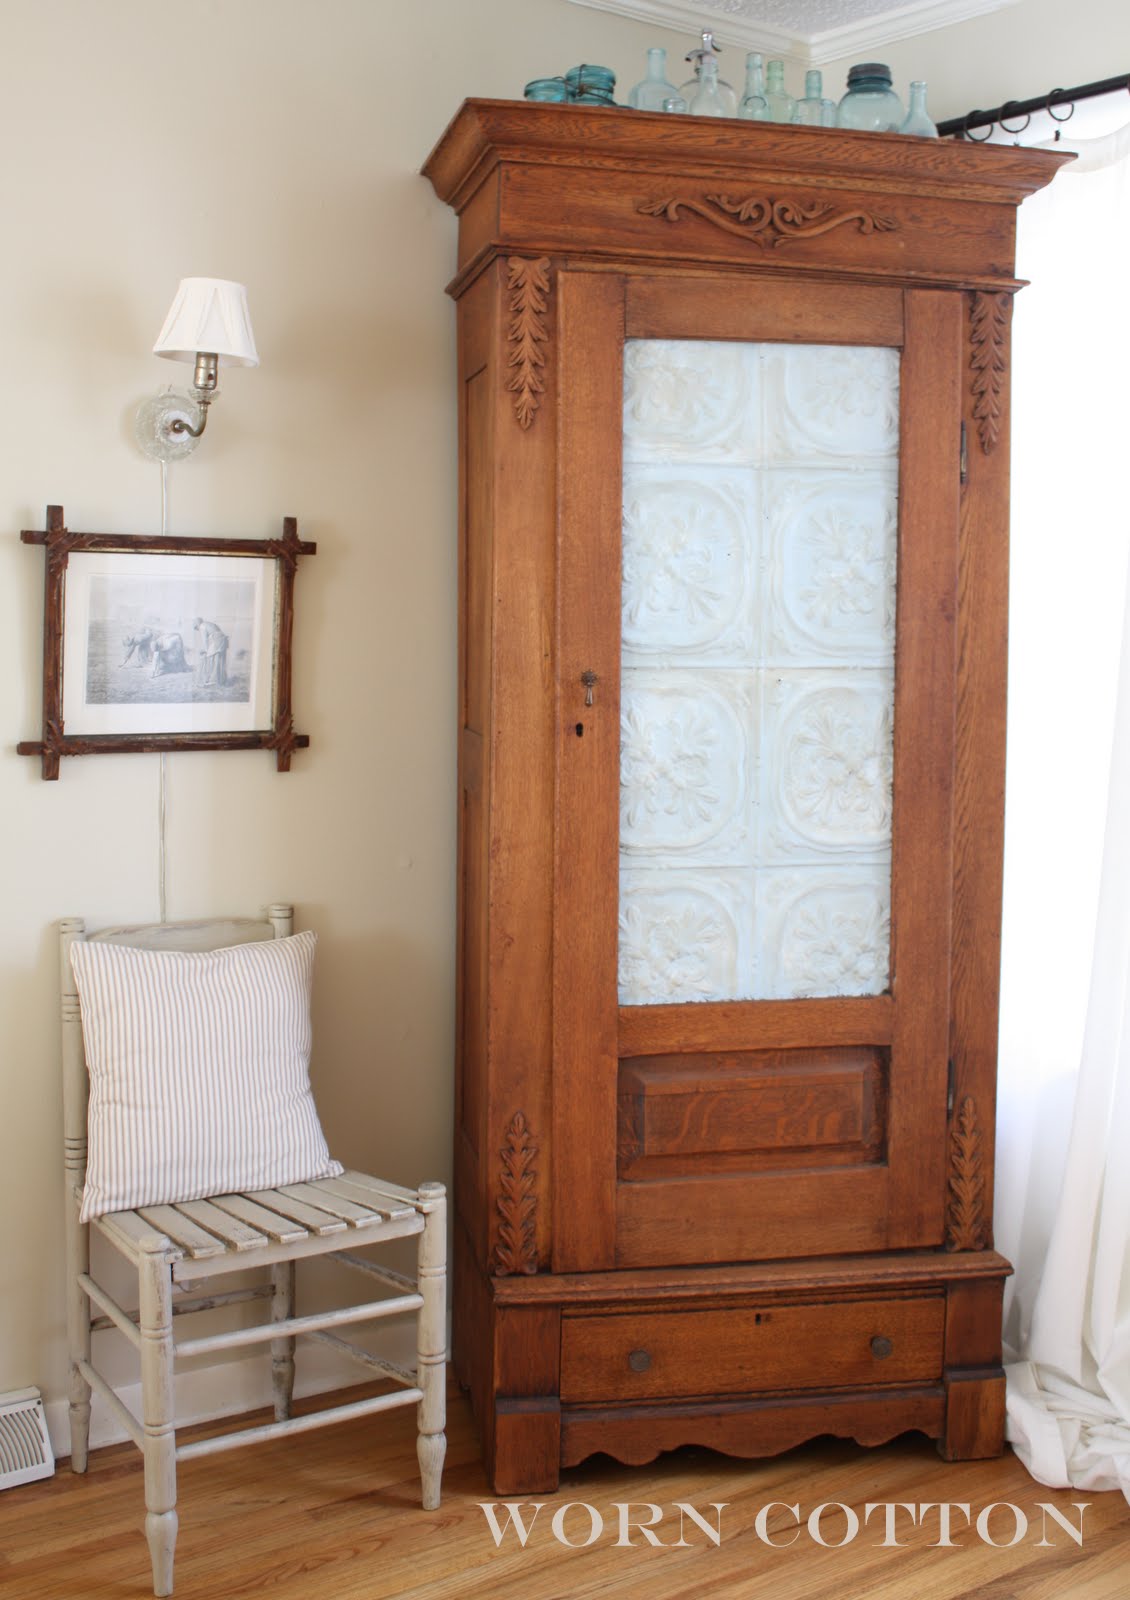
Armoire Makeover with Antique Ceiling Tin...

 
I rescued this antique armoire from my parents storage building.  They originally bought this piece shortly after they got married and had plans to restore it.  Unfortunately, in the process, it fell over and the original mirror and top section broke. It set unused for 30 or more years until I snapped it up!  This is what is looked like when I brought it home (all except the ceramic knob...I was trying knobs out).


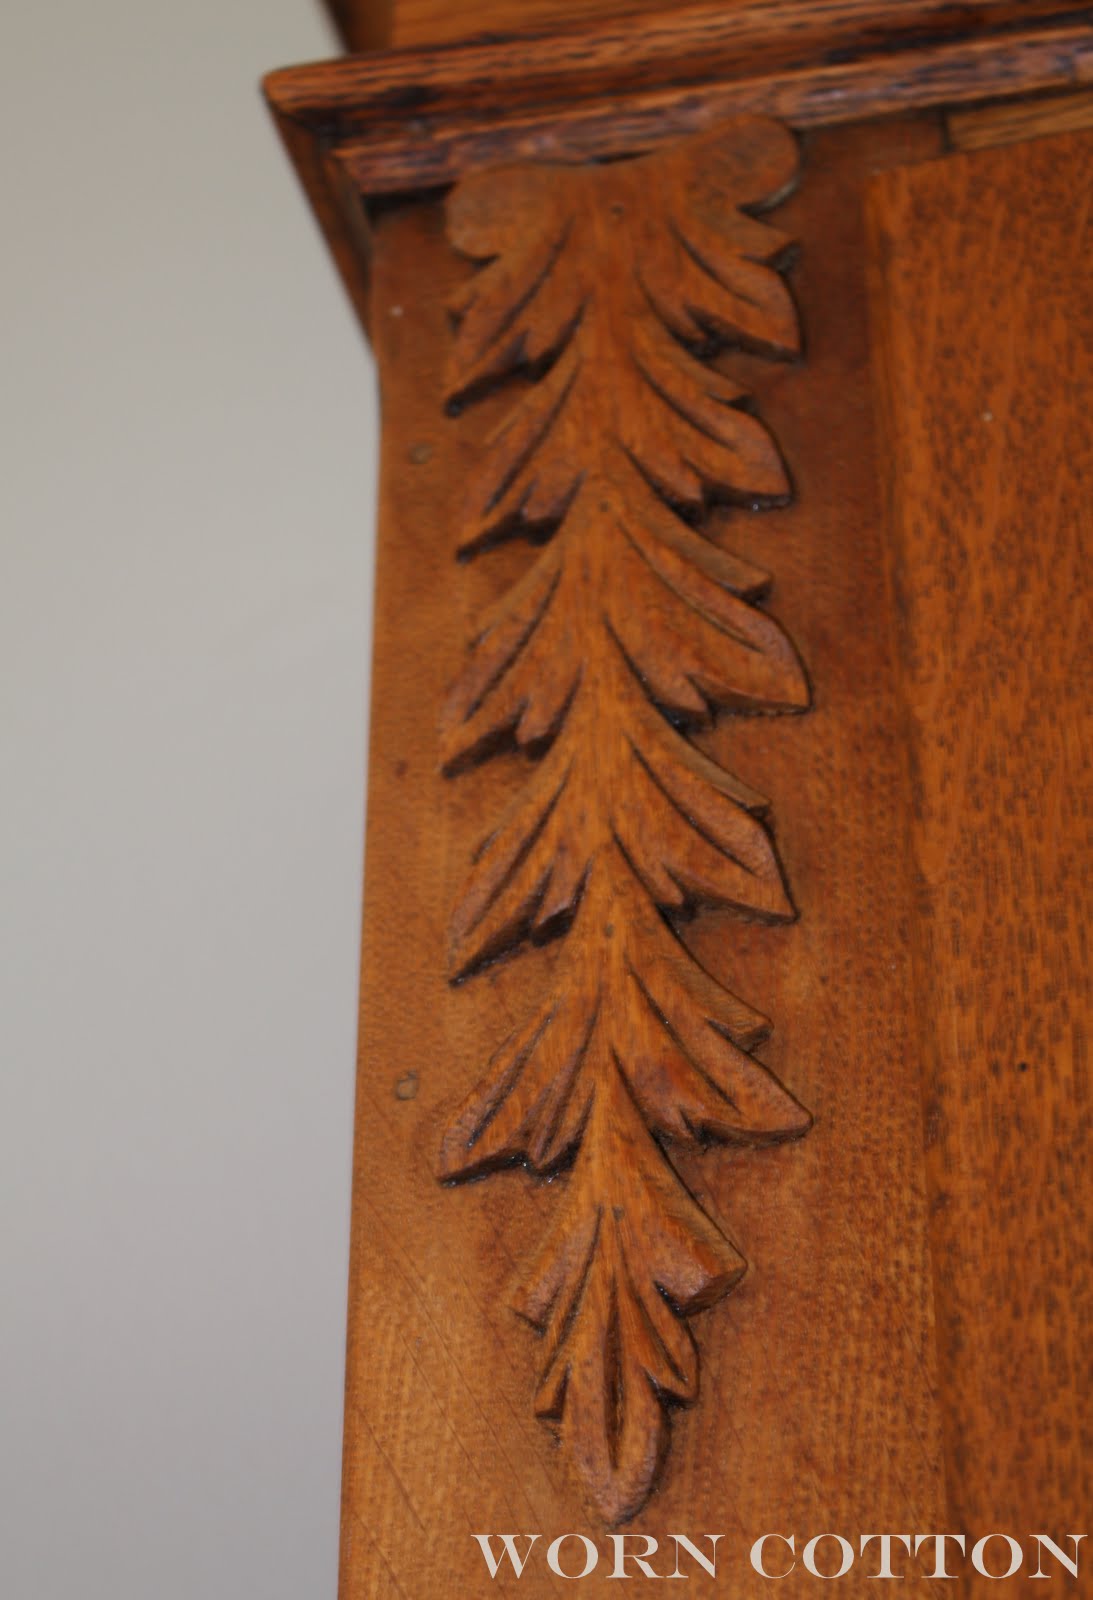
I wasn't sure at first what I wanted for the center where the mirror was.  I pondered several options and at one point thought I might just leave it.  I like rustic, but after starring at it for awhile, I decided it was a little too rustic.  I love the detail in the carvings!


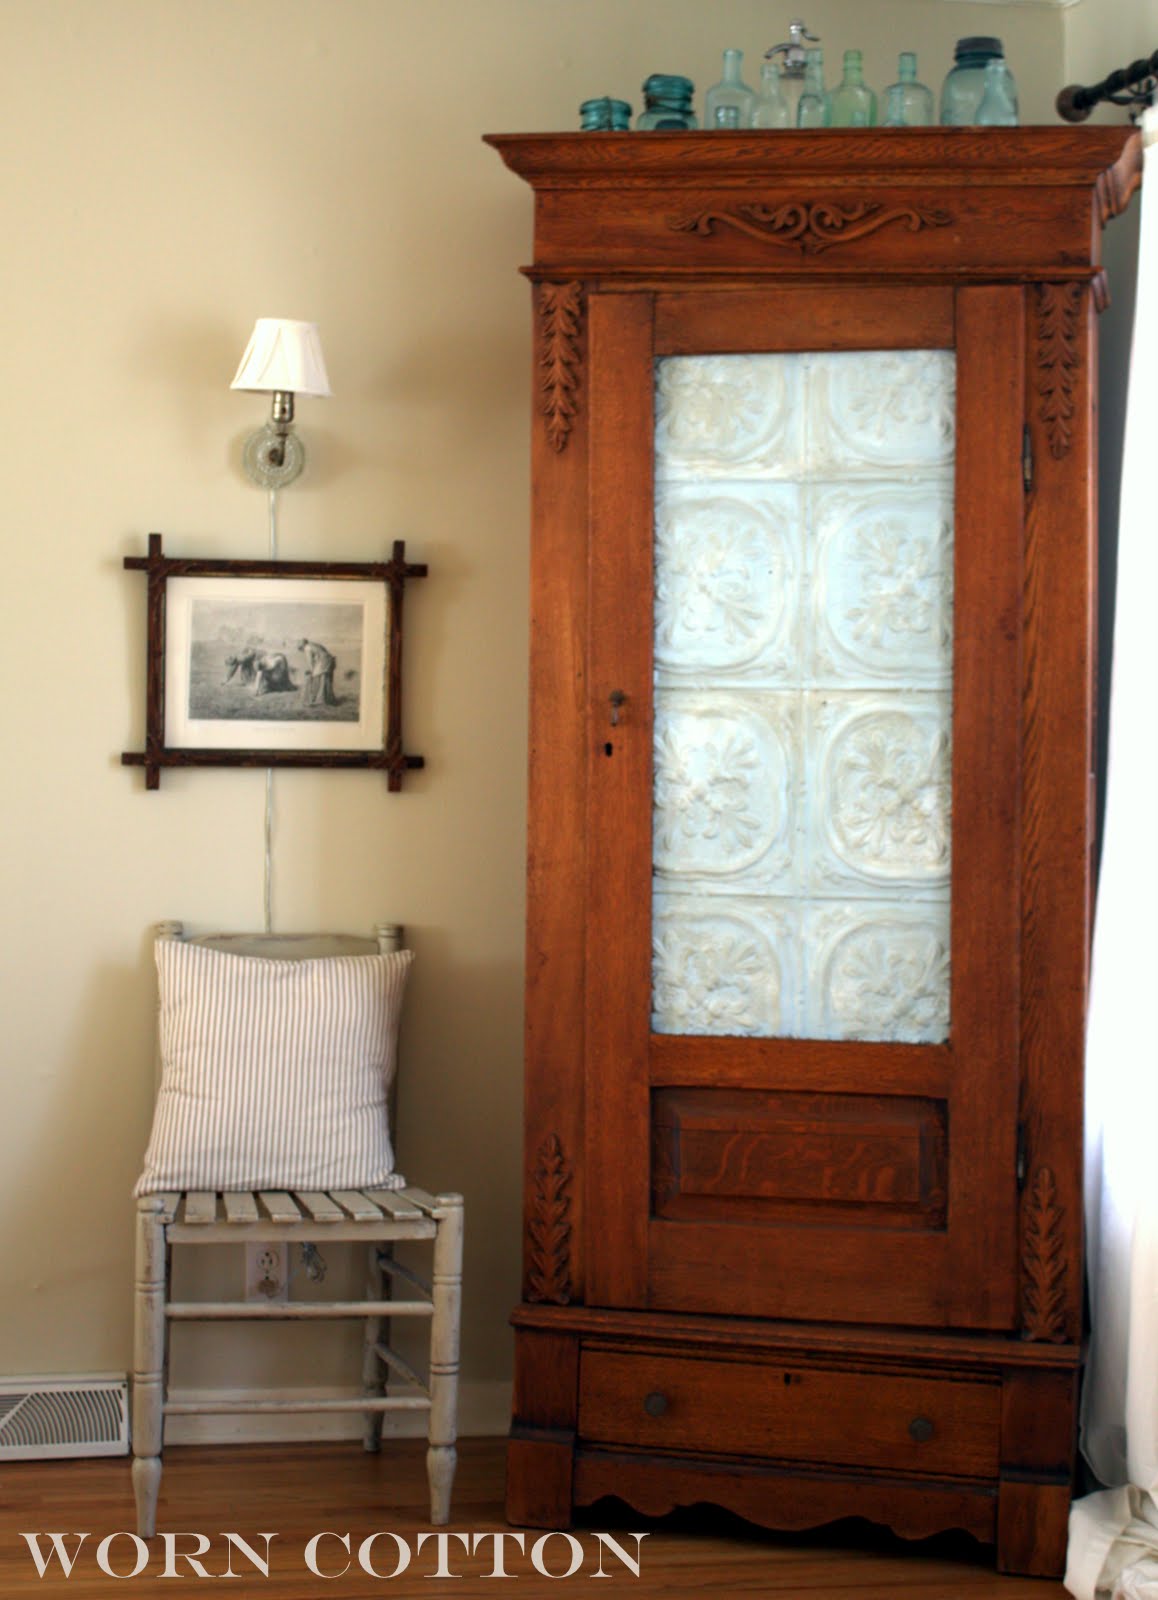
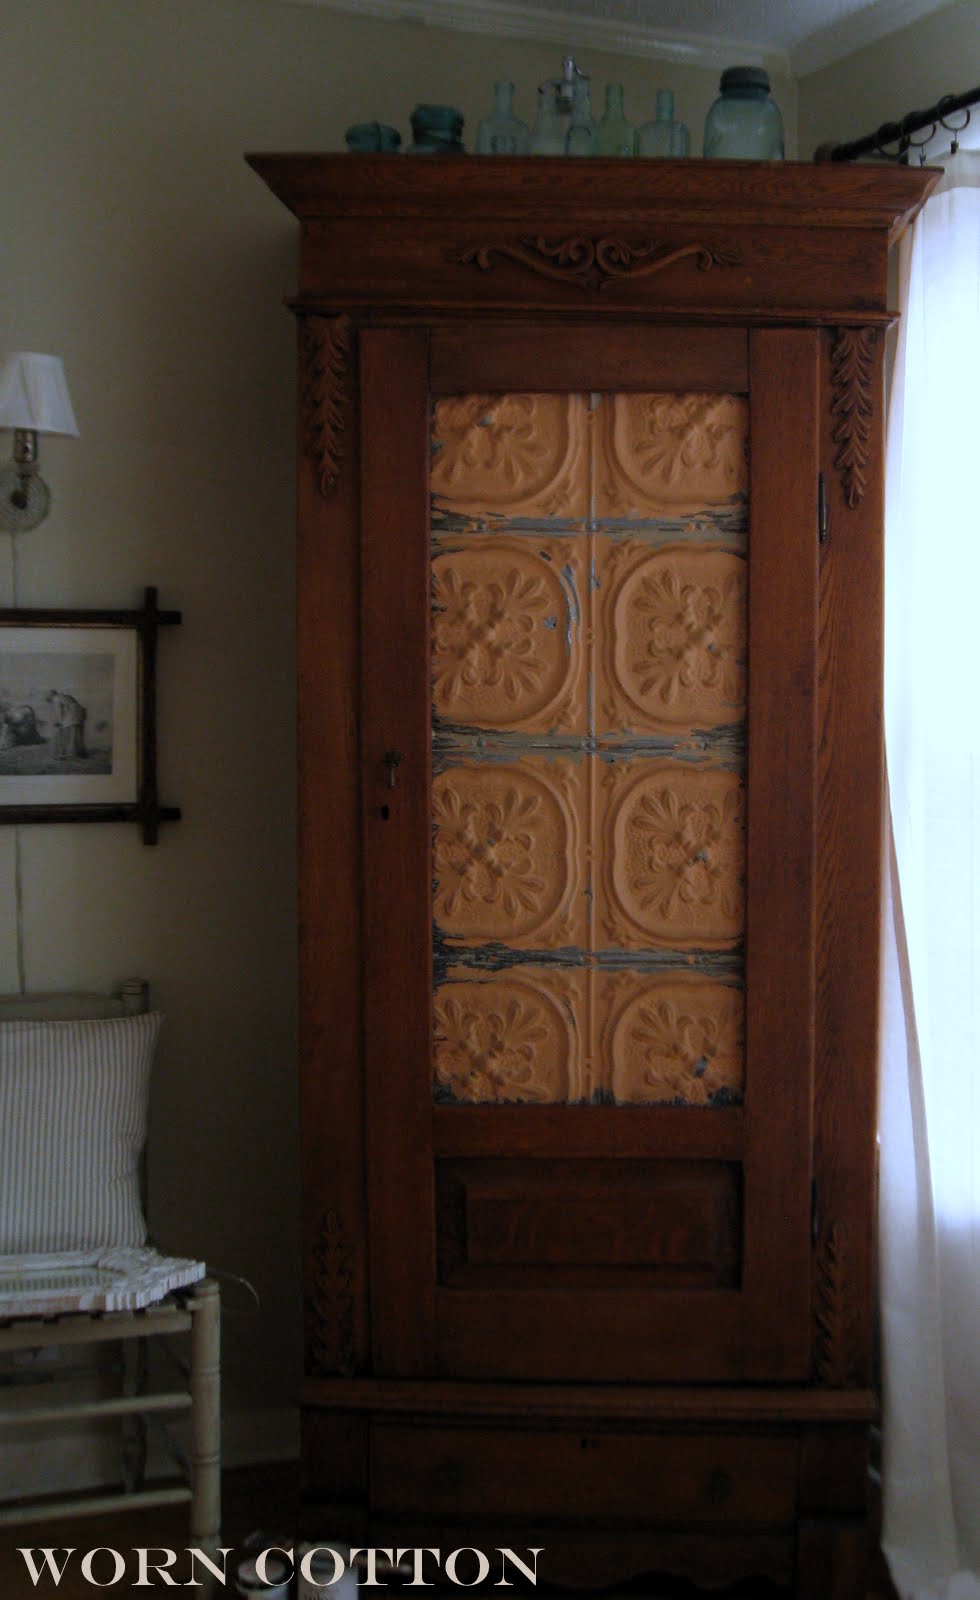
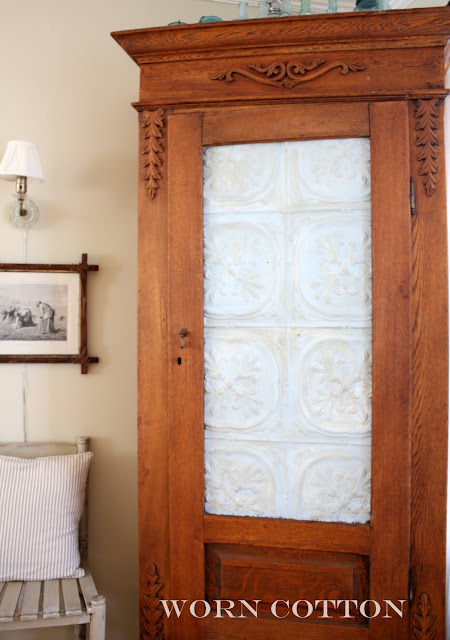
I eventually chose to use antique ceiling tin in place of a mirror.  Here is what it looks like now...

(please ignore the curtain rod and curtains.  They need to be raised up and hemmed.)


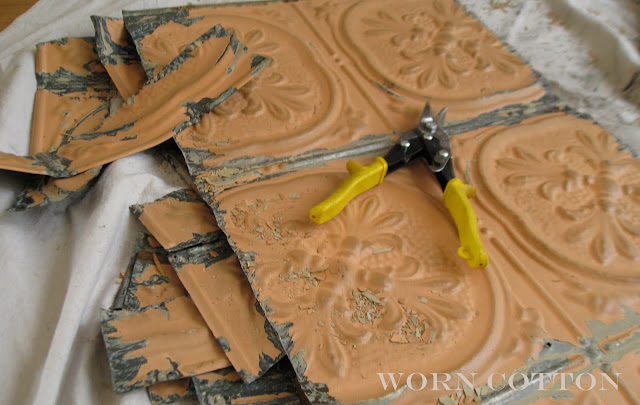
The centered measured 17" wide by 40" long.  I found this antique tin piece on Ebay. It measured 24" wide by 40" long and knew I would have to cut it to fit.   When looking for tin I had to find a pattern that would not look strange after I cut it.  Some vintage tin is very intricate and would not work for my project.  I paid around $30.00 (including s&h) for this piece.


I cut equal amounts off each side using tin snips.  When handling tin and using tin snips make sure to wear thick work gloves and safety glasses.  The the edges of the tin and the tin snips are sharp! I laid down a drop cloth to protect my floors.  This was such a messy job!   


 After I slide in the cut tin, I reattached the top piece. 


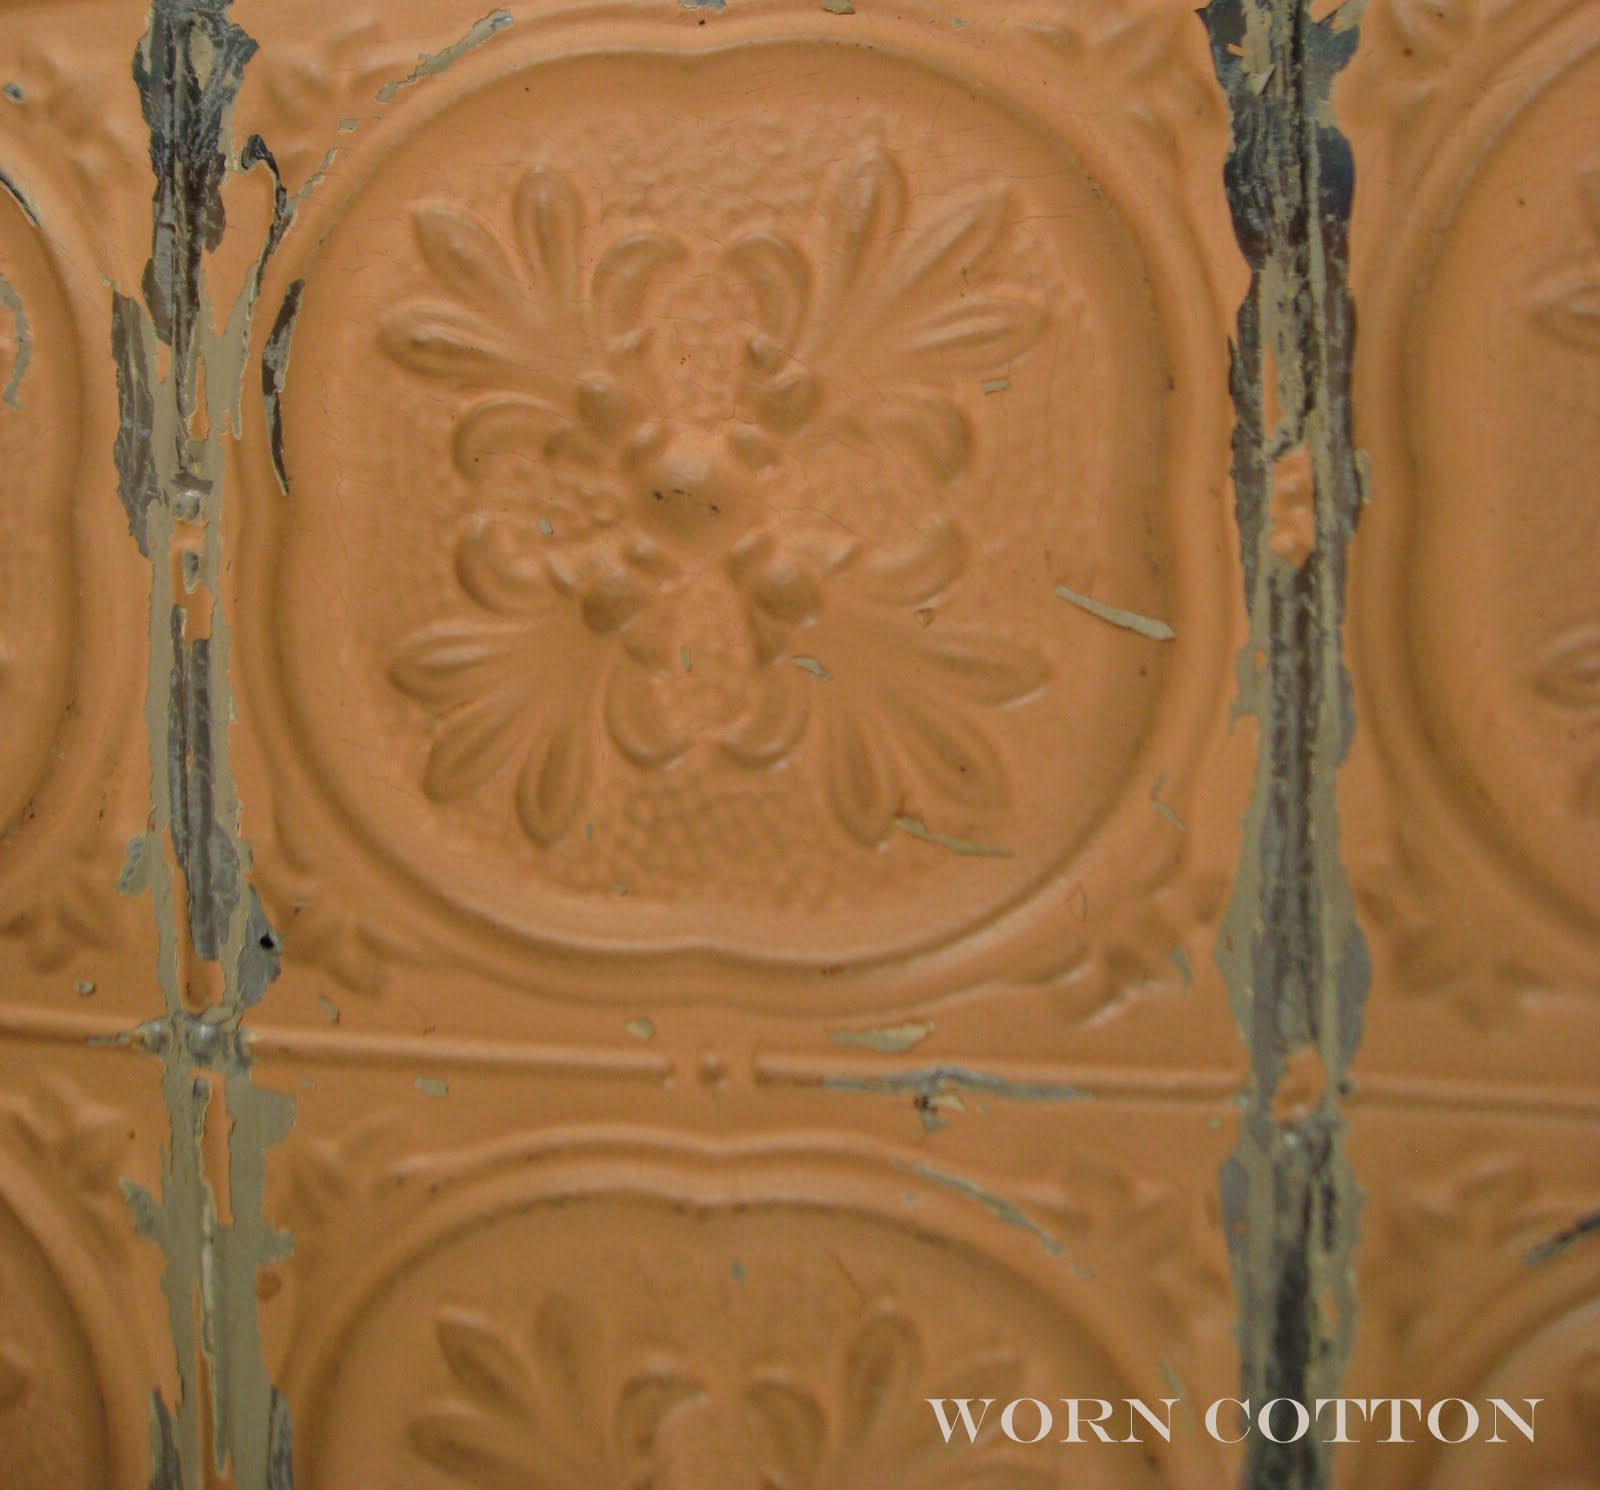
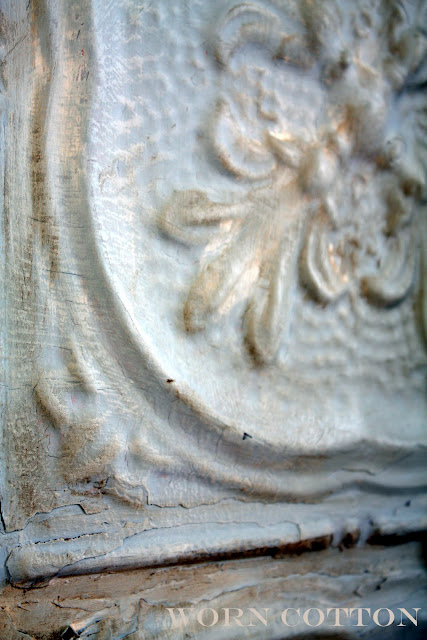
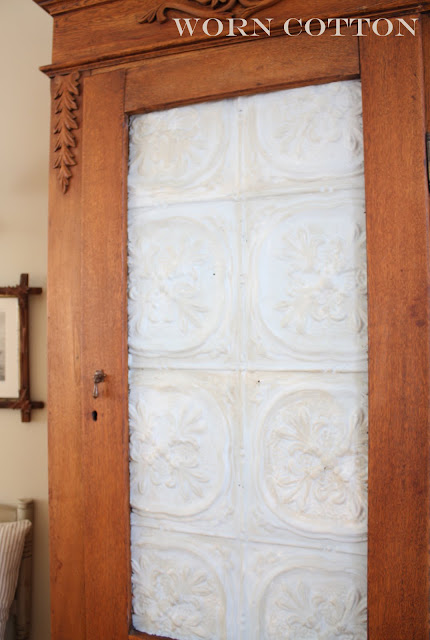
The original paint on the tin was a peachy orange color and didn't quite go with my color scheme. ;)  So, I painted it a pale blue color.  After the blue paint dried I painted the raised areas with creamy white paint to bring out the design.  


And finally, I added some dark wax to age it and seal the paint.  The wax makes the paint extra durable.


This was such a simple project that really made a ton of difference to the look of this piece.  I liked it before but I  adore it now!

I am still undecided on whether or not to paint the armoire.  I am liking it now, but I am constantly changing my mind so who knows...I'll keep you posted. :)


Linking Up At... 


 shabby creek cottage


The Shabby Nest


Pin It!

Wednesday, February 8, 2012

Replacing Rusty Nails On Vintage Picture Frames...


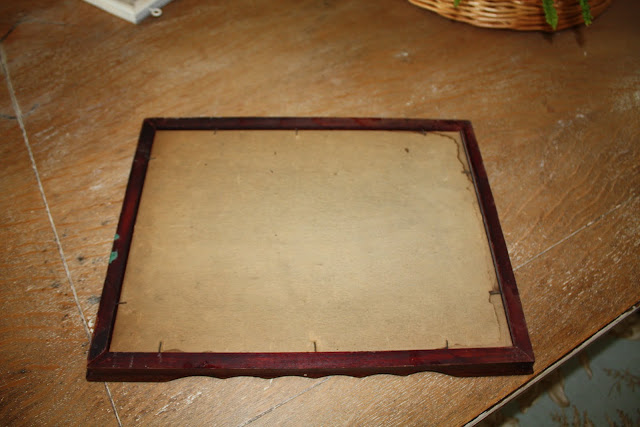
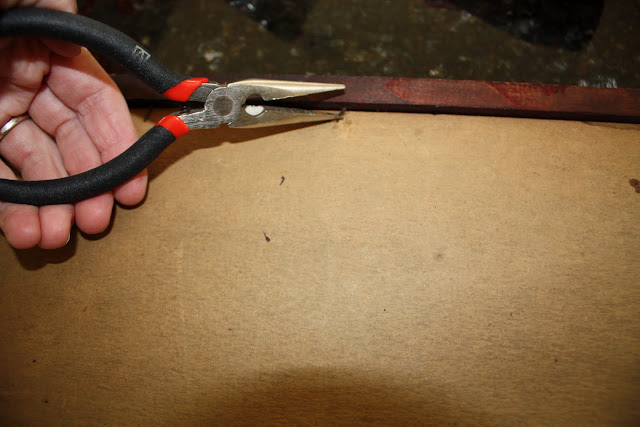
I LOVE vintage/antique picture frames.  I do not however, love the old rusty nails that come with them. I feel like I need a tetanus shot just looking at them. Plus, I hate having to break a sweat prying them up just to change out a photo.  


Most of the frames I buy for our house are vintage.  Sometimes, they have no glass or back at all.  Sometimes, they do.  Either way, if I love the frame I don't let little issues stop me from purchasing it.  This could also come in handy if you build your own picture frames too.


This is my solution to getting rid of those pesky rusty nails...


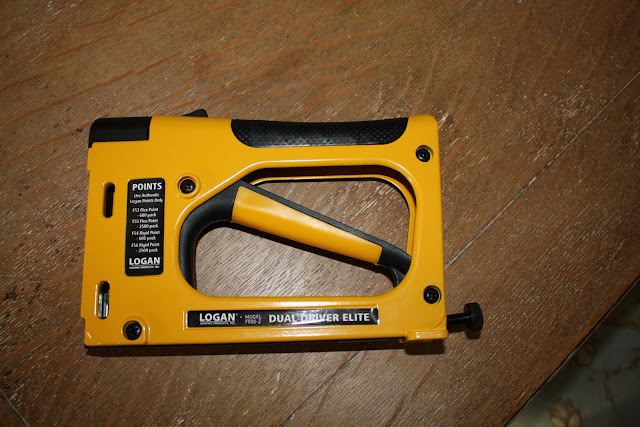
A Dual-drive point driver! It has changed my life.  Okay, that might be an overstatement but it is pretty awesome!

It shoots those little brads into the back of your frame.  You can get rigid points or flexible points.  I personally, like the flexible.  They allow me the option to change my mind. I can easily bend them up to change out pictures or even clean the inside of the glass. But, whatever you chose this little gadget is amazing. I got mine on Ebay for around $25.00 including s&h.    


First, remove all those nasty nails.  No brainer, right?

Then get out this guy and get to work!


The point driver works just like a staple gun.  The only difference is the brads come out the front of the gun instead of underneath.  Just hold it flush to the edge of the frame and fire away. 


*One precaution.  If your frame is very fragile, you might not want to use this. Or at least reinforce your frame first.  This has some power behind it and I would hate for it to damage your frame.  


You are left with secure brads holding everything in place.  Well worth the investment if you scour flea markets and antique stores for vintage frames like I do.  


*Another tip: This frame had some green paint splattered on the side.  I rubbed some "Goof off" on it and it came right off.  It is another product I use a lot of for several types of things.


*I am not compensated by this company in any way.  I personally use this product and wanted to share. 
Pin It!

Monday, February 6, 2012

Dining Room Sign...


I finally got the sign I made hung up in our dining room.  It was super simple to make...not as simple to hang.  I hung it by myself. Someone would have helped me, but I am impatient like that. I am just glad no one was around to watch...not pretty. ;) Oh well, a few bruises later and I have some new DIY art on my wall. 

I found the ginormous wooden spoon while out thrifting.  It was stained brown and was kinda neat like it was, but I had something else in mind.  

We have tons of scrap wood lying around, so I went on a search and found the perfect piece of 1x8 pine to mount it on.  I just used my nail gun to nail them together but a good ole hammer and nails would have worked too. 

I framed it out with a furring strip and then painted them all at once using Rustoleum's Heirloom White.  I distressed it all over and added some dark brown wax. 


I used these hook and eye loops on each board.  You just screw them in. Super easy. This allows me to take the chalk board off and lay it on a flat surface to write messages. 


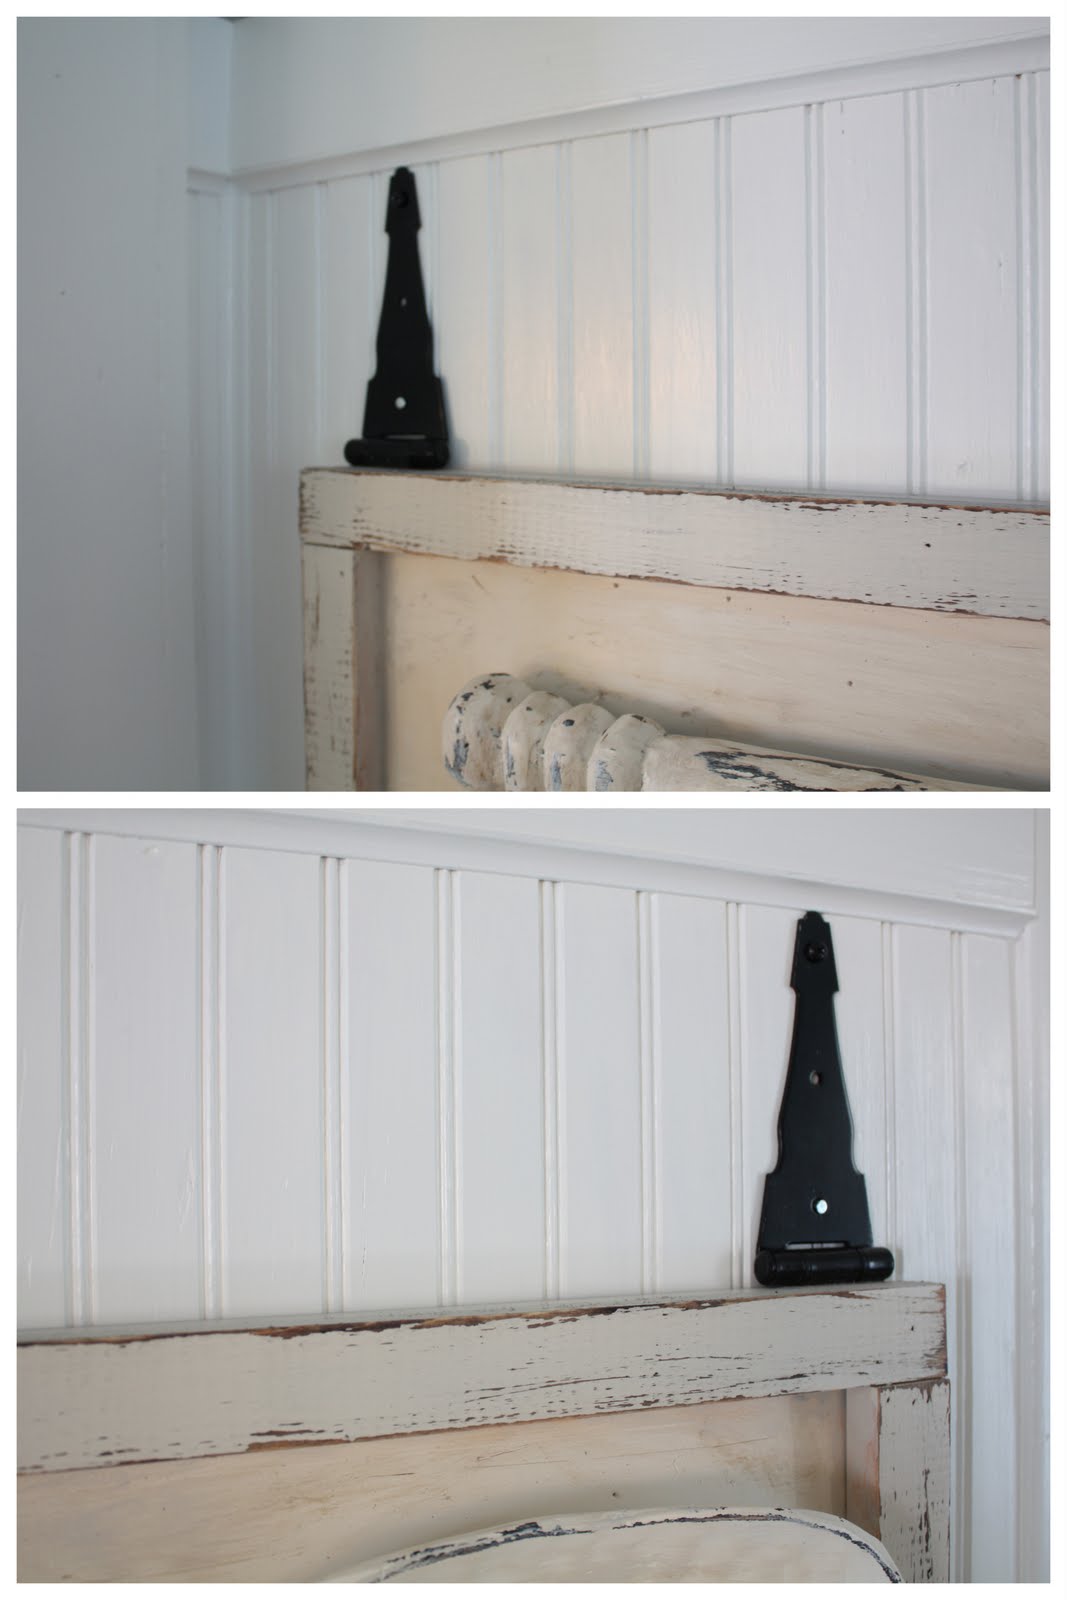
I attached these black gate hinges to the back of the sign with wood screws and screwed the top directly into the wall.  I bought the hinges at Lowes. I think they were the 5" hinges (sorry I didn't save the packages) but they were around 5.00 a piece.  I would love to find some antique ones but I might just rough these up.  I made sure to screw the hinges into studs so the sign won't come crashing down.  It is a pretty heavy duty piece. 


For the bottom chalk board, I used a little wall sign I wasn't really crazy about anymore and painted it with homemade chalkboard paint.  I have done this before and it works really well for small projects.  I posted a link to the recipe here before.  I attached a little piece of chalk to some twine and tied it to the hook eye.  Otherwise, it would get carried off by a 4 year old. They do things like that, ya know. ;)  


I am linking up here:


Pin It!
Related Posts Plugin for WordPress, Blogger...