Showing posts with label Dining Room. Show all posts

Monday, February 6, 2012

Dining Room Sign...


I finally got the sign I made hung up in our dining room.  It was super simple to make...not as simple to hang.  I hung it by myself. Someone would have helped me, but I am impatient like that. I am just glad no one was around to watch...not pretty. ;) Oh well, a few bruises later and I have some new DIY art on my wall. 

I found the ginormous wooden spoon while out thrifting.  It was stained brown and was kinda neat like it was, but I had something else in mind.  

We have tons of scrap wood lying around, so I went on a search and found the perfect piece of 1x8 pine to mount it on.  I just used my nail gun to nail them together but a good ole hammer and nails would have worked too. 

I framed it out with a furring strip and then painted them all at once using Rustoleum's Heirloom White.  I distressed it all over and added some dark brown wax. 


I used these hook and eye loops on each board.  You just screw them in. Super easy. This allows me to take the chalk board off and lay it on a flat surface to write messages. 
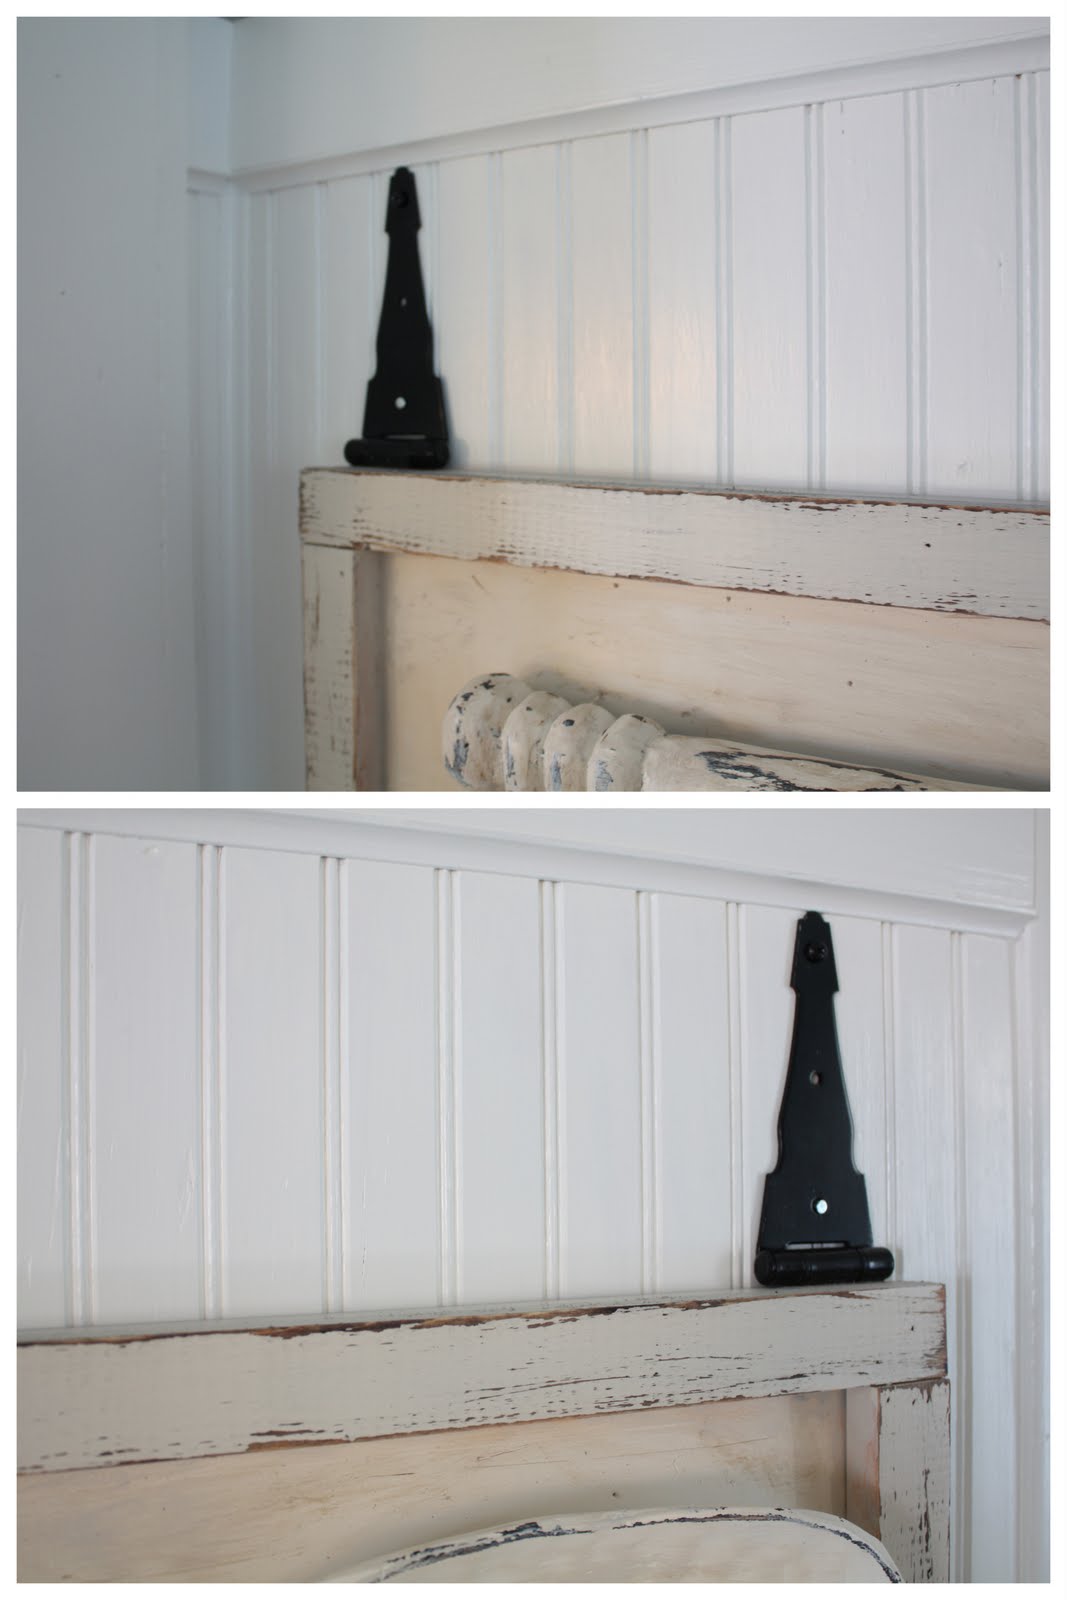


I attached these black gate hinges to the back of the sign with wood screws and screwed the top directly into the wall.  I bought the hinges at Lowes. I think they were the 5" hinges (sorry I didn't save the packages) but they were around 5.00 a piece.  I would love to find some antique ones but I might just rough these up.  I made sure to screw the hinges into studs so the sign won't come crashing down.  It is a pretty heavy duty piece. 


For the bottom chalk board, I used a little wall sign I wasn't really crazy about anymore and painted it with homemade chalkboard paint.  I have done this before and it works really well for small projects.  I posted a link to the recipe here before.  I attached a little piece of chalk to some twine and tied it to the hook eye.  Otherwise, it would get carried off by a 4 year old. They do things like that, ya know. ;)  


I am linking up here:


Pin It!

Saturday, February 4, 2012

A Little Dining Room Update...


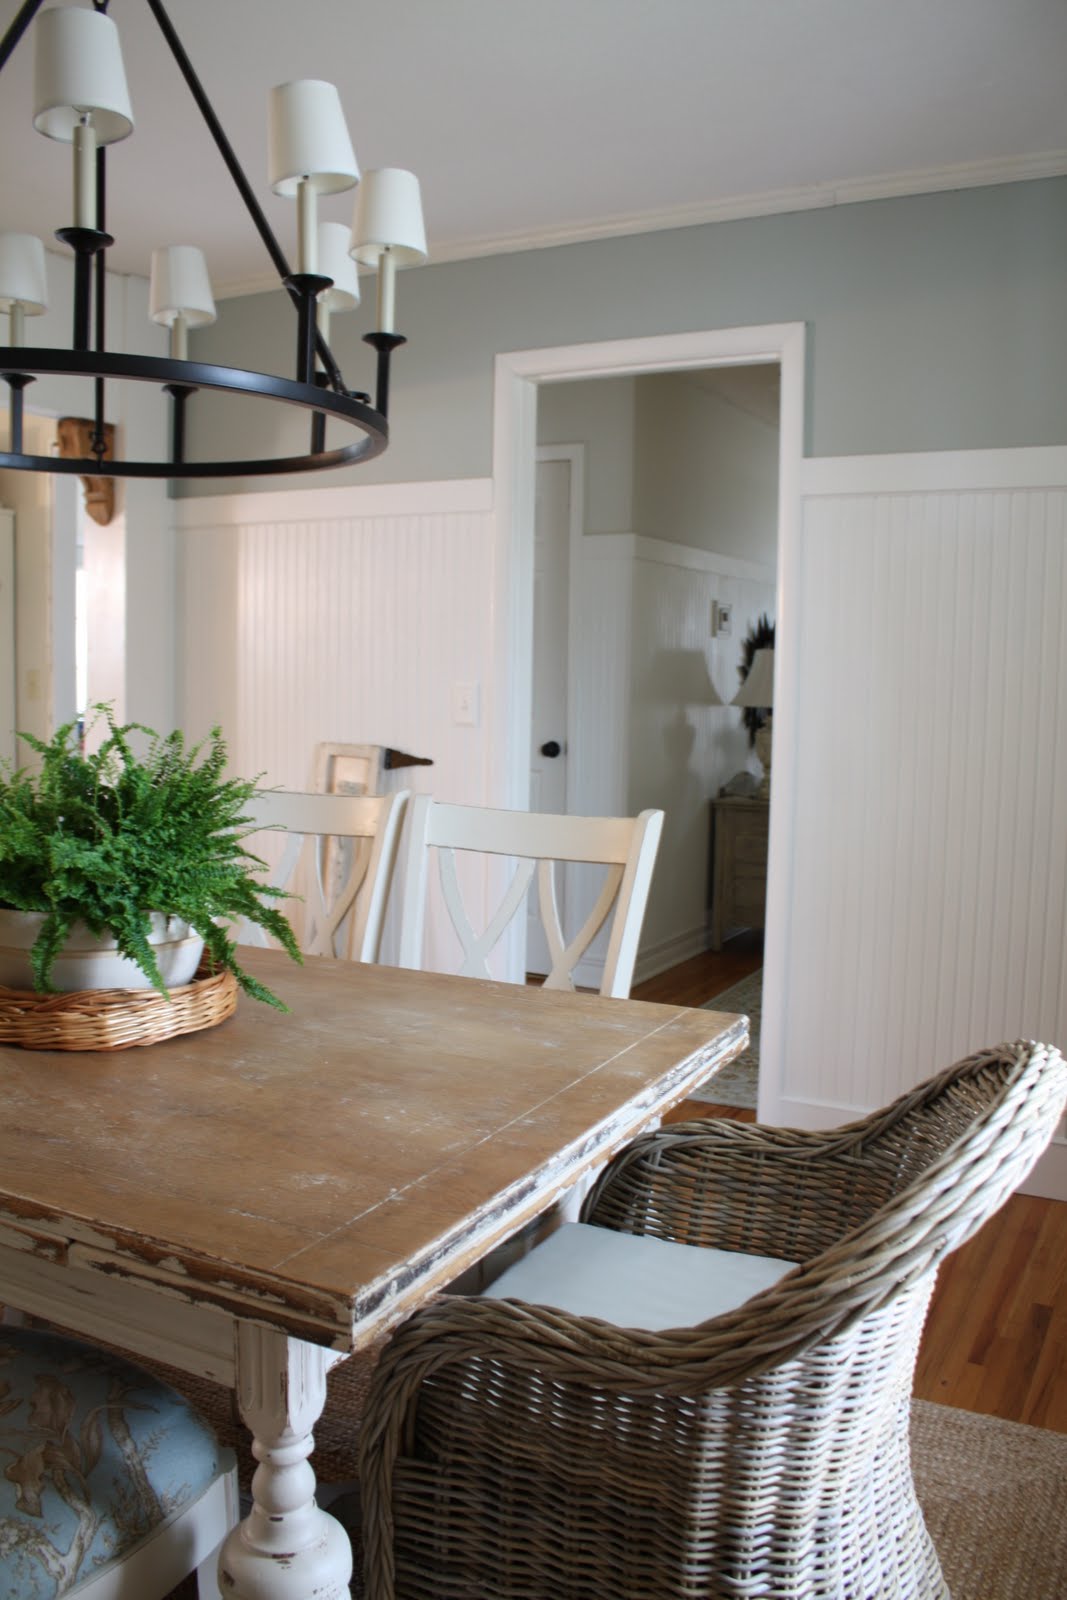
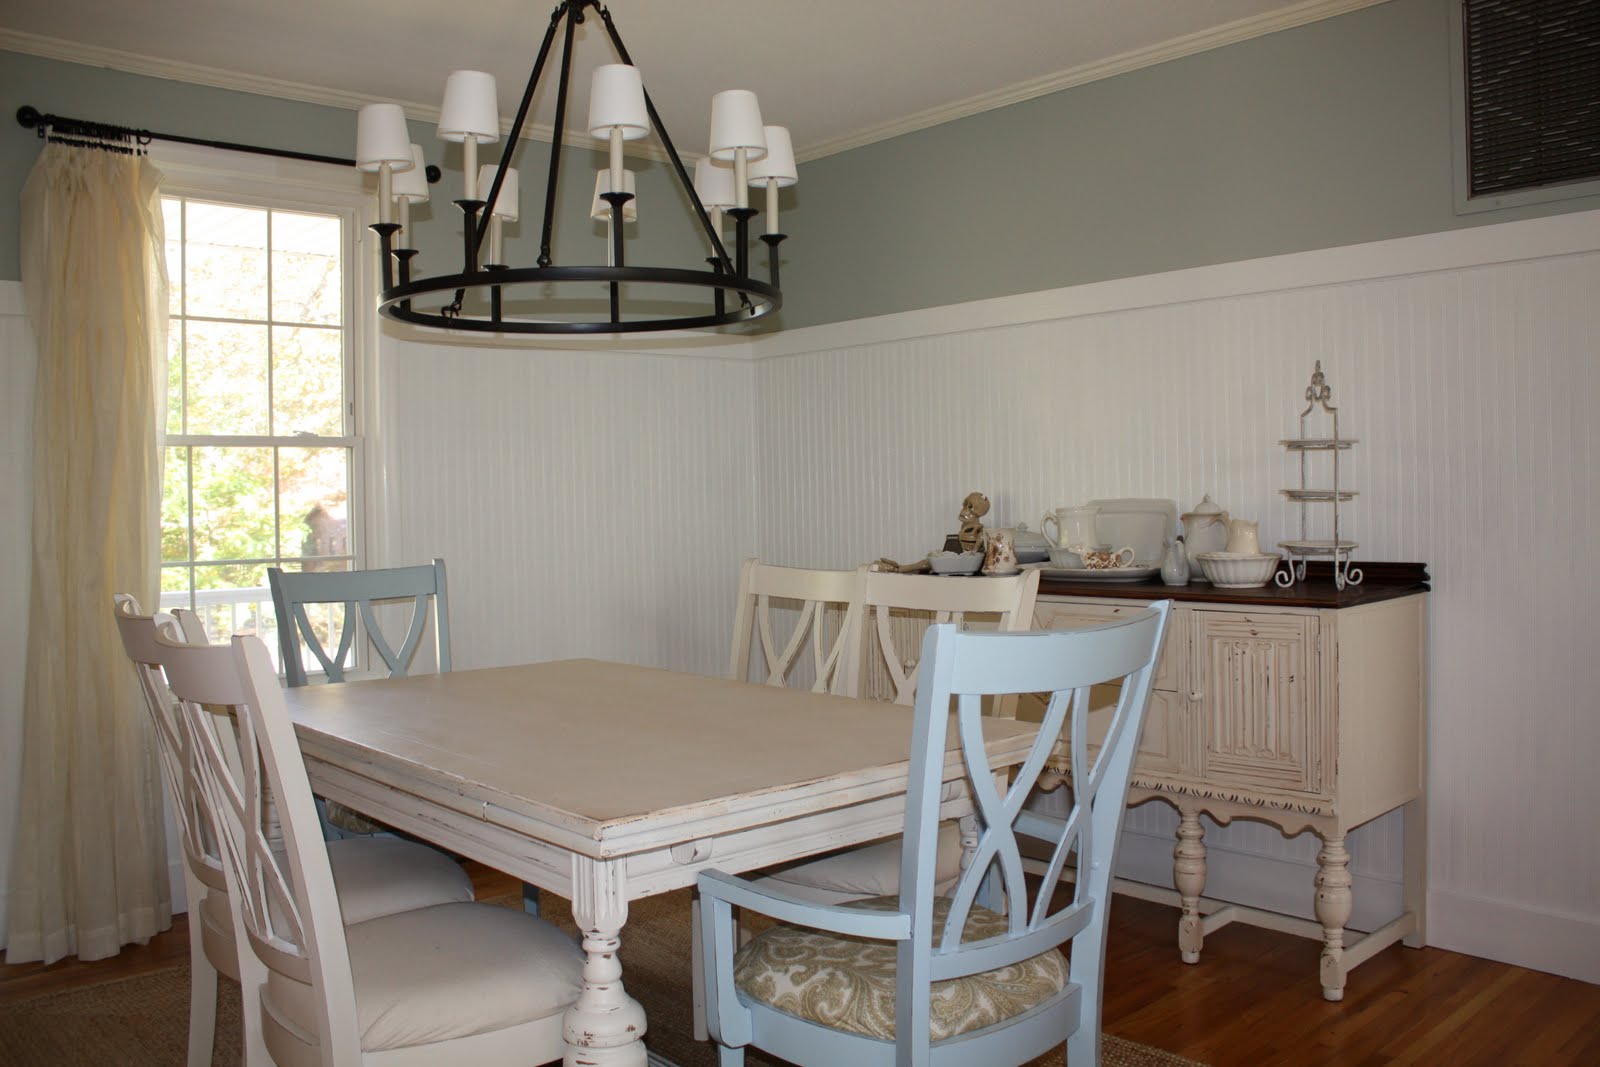
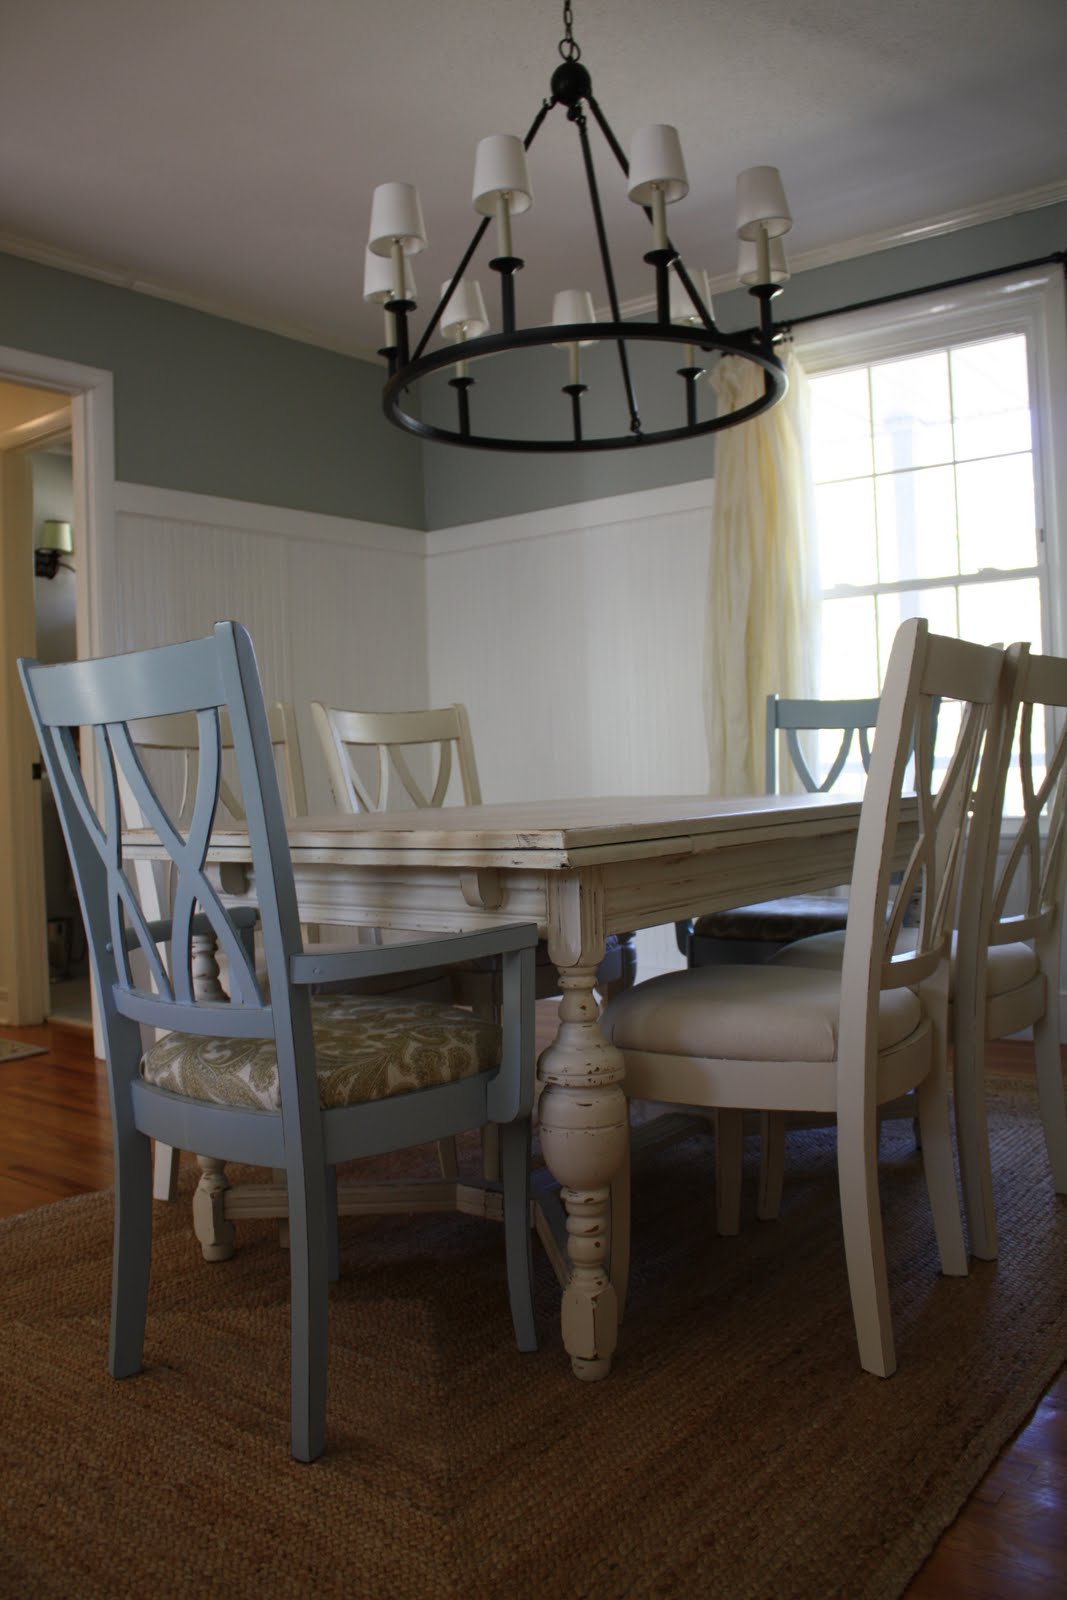
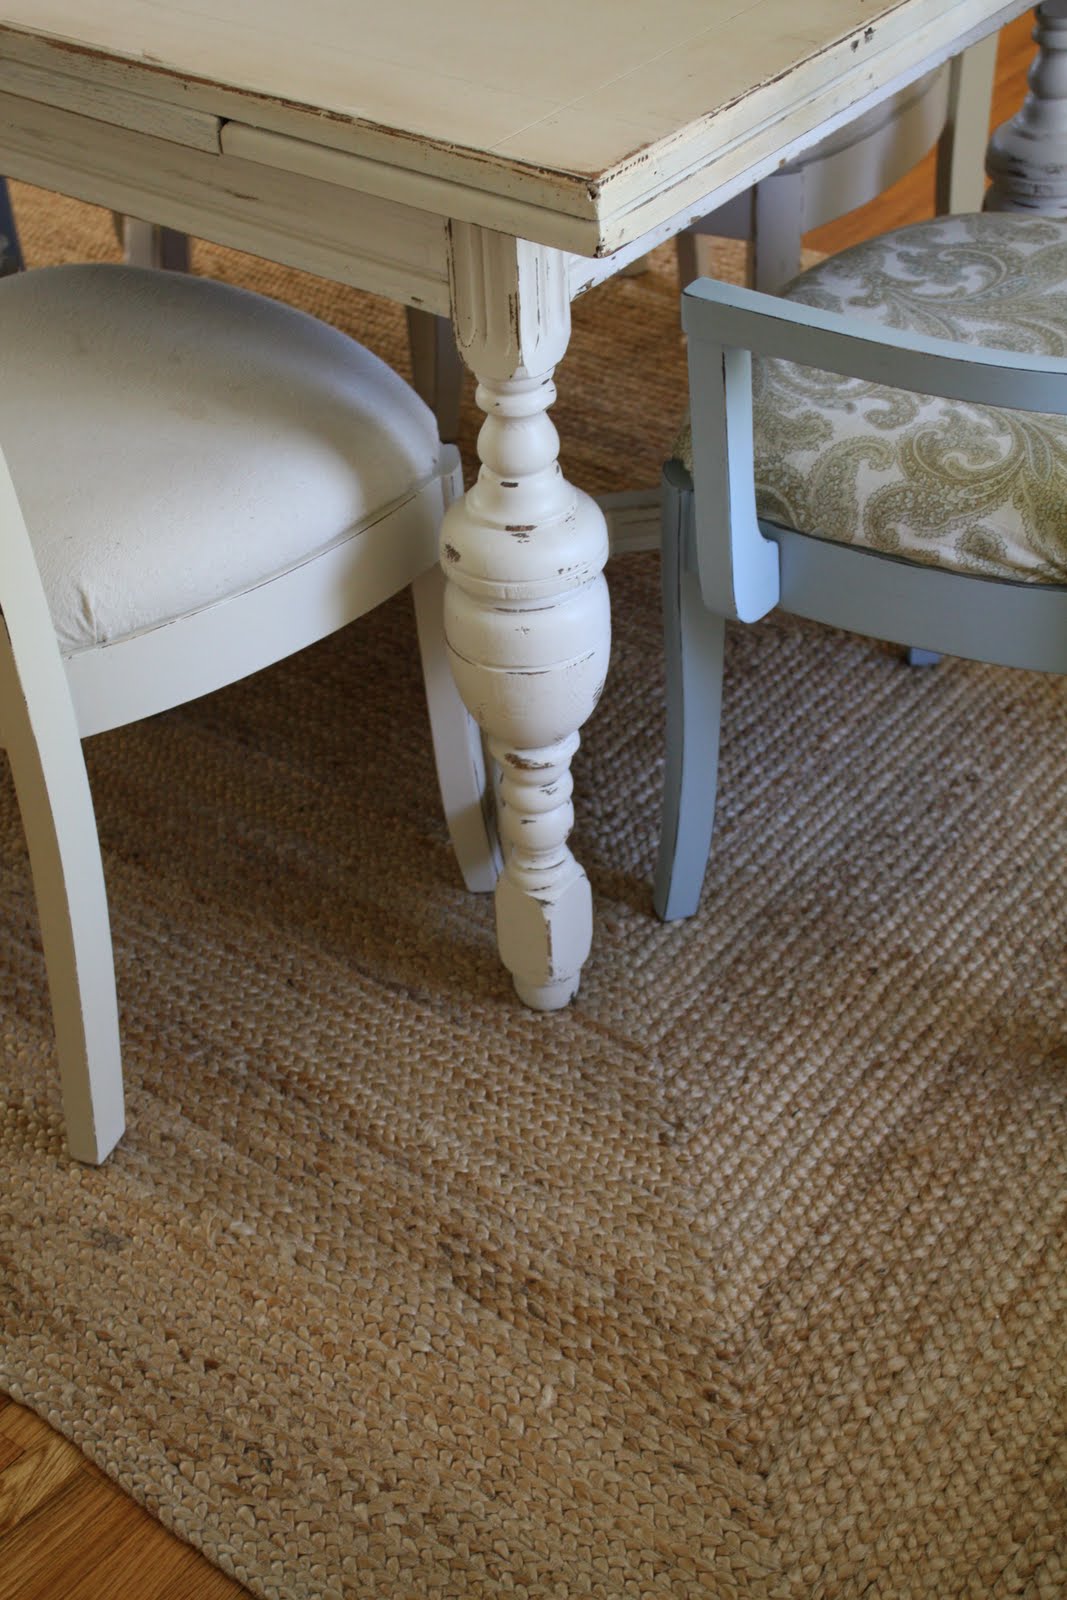
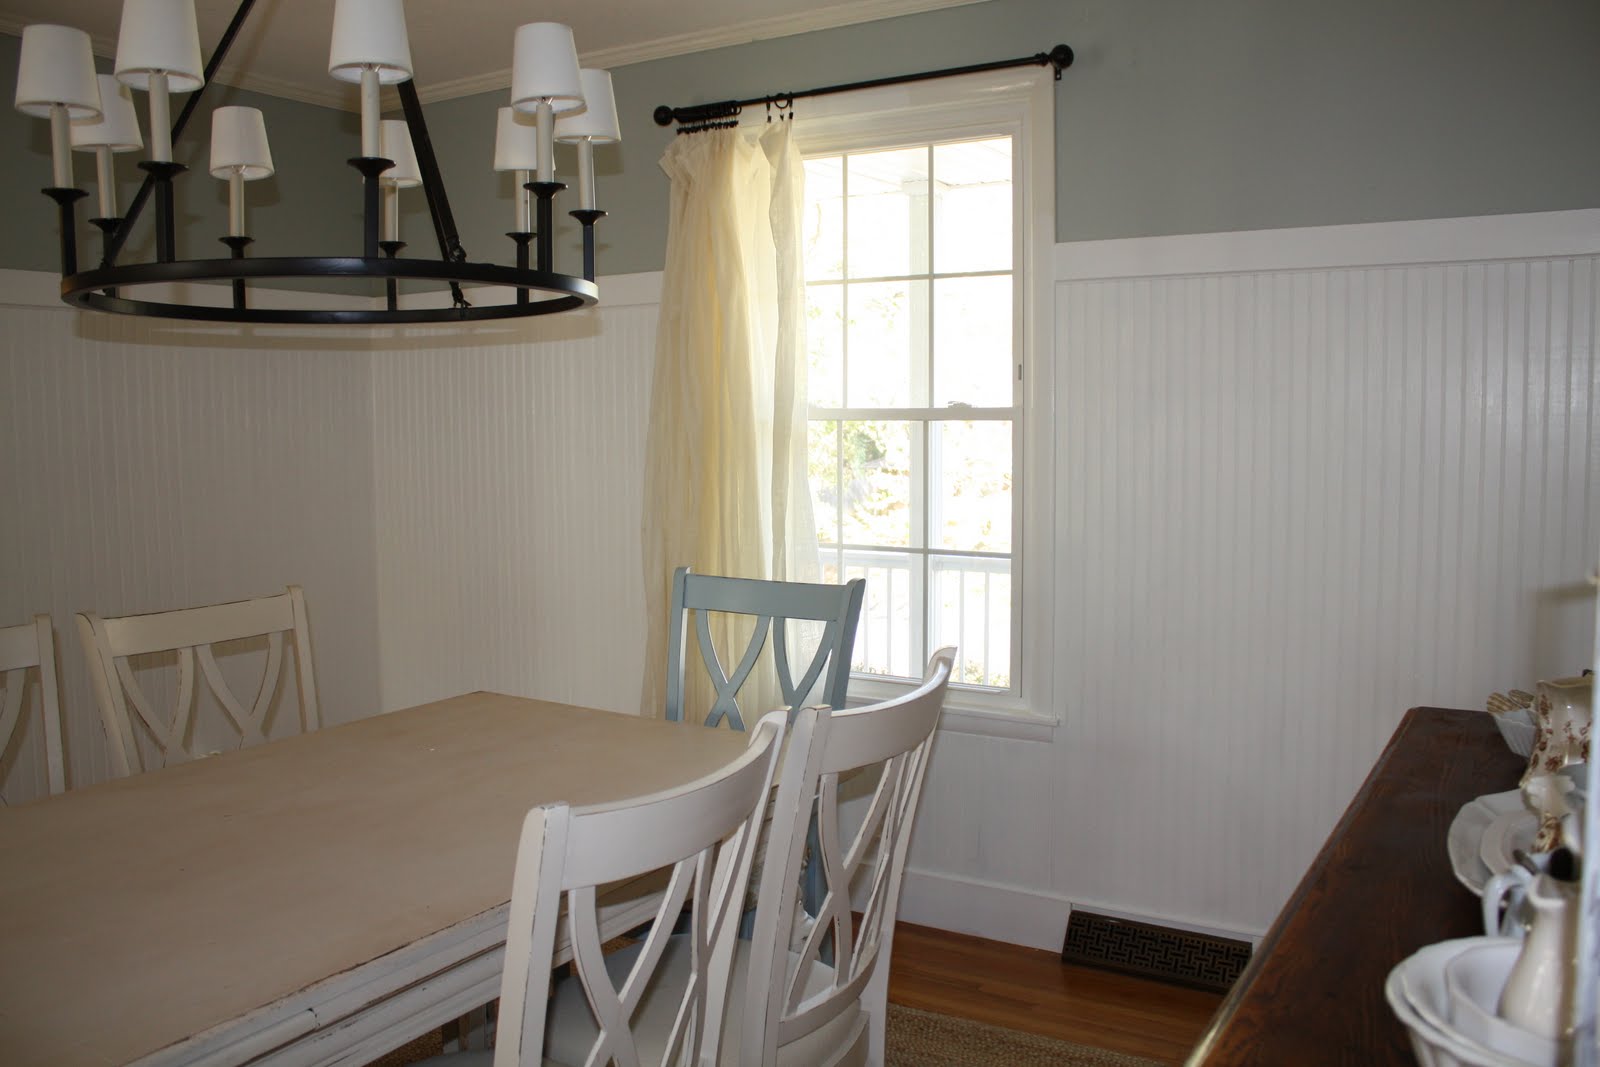
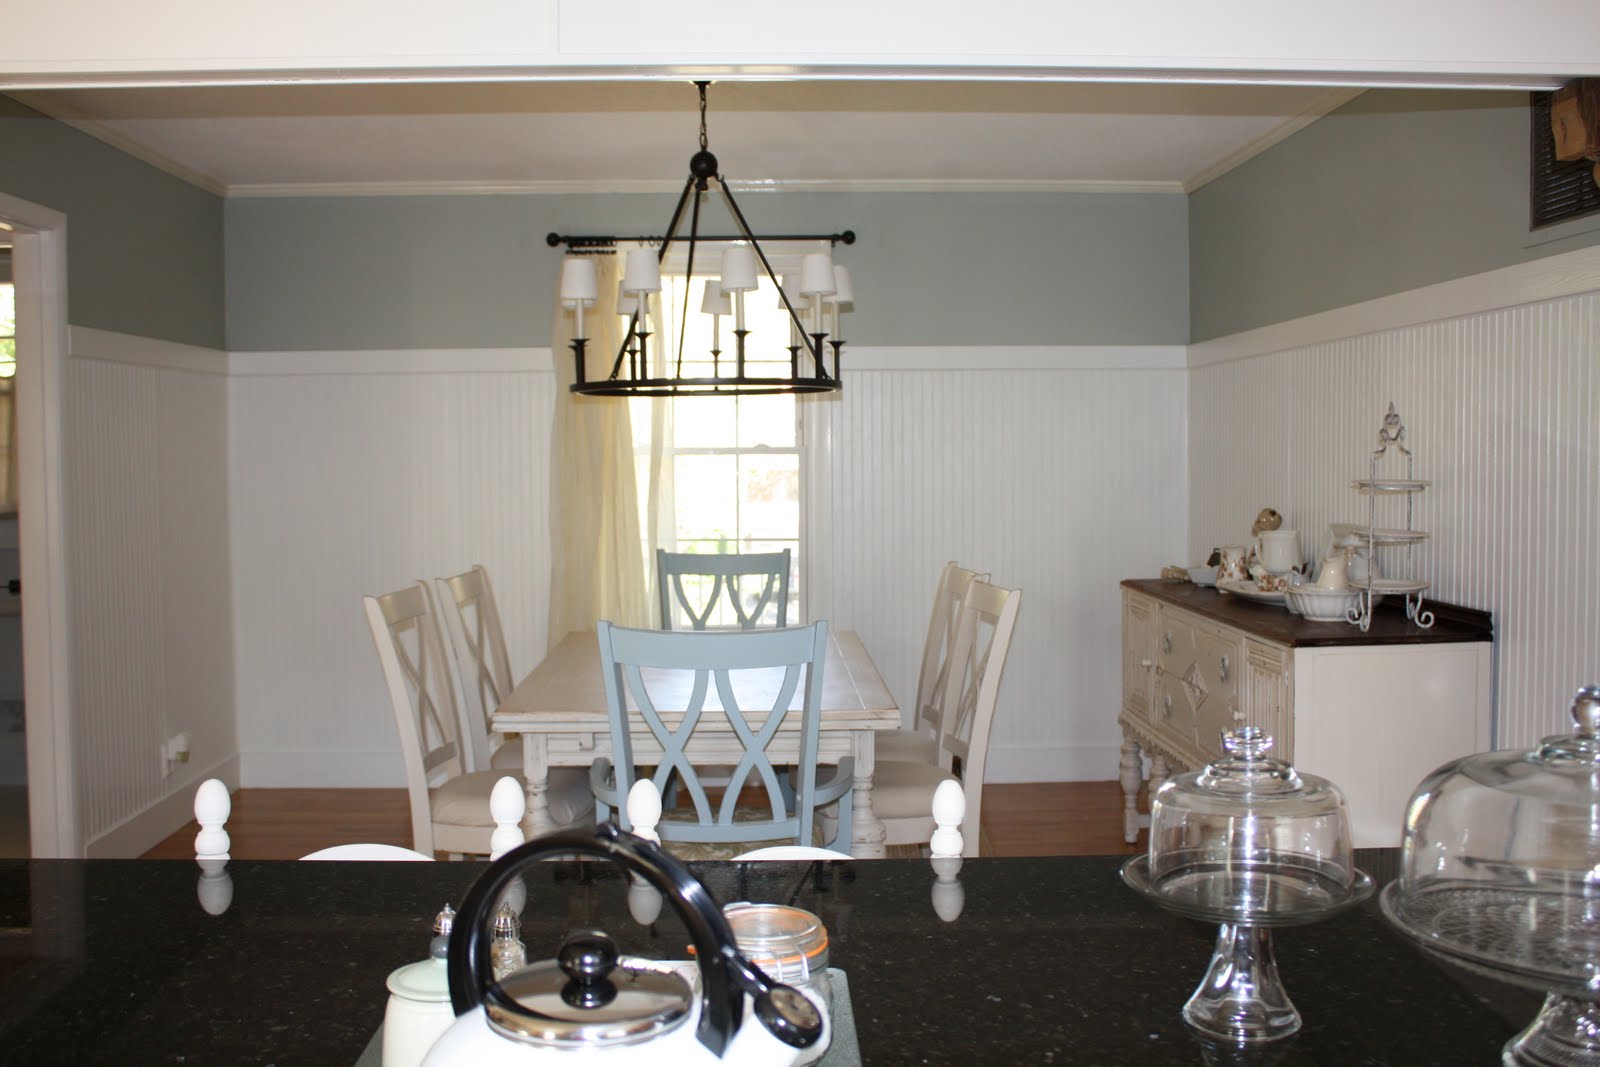
We have been very busy with house projects, as always! We have slowly added more furniture to our dining room and it is beginning to look somewhat complete. We still need to paint the crown molding and replace it on one wall.  


I am still working on styling the buffet.  I haven't quite decided what I want it to look like yet. I did paint some blue to the drawer fronts though.  I think it helps break up the white.  Although, the blue is light, it adds some dimension to the piece.  This buffet was given to me by my parents. It was actually in my room when I was a baby.  It has been with me every place I have ever lived (except Germany). :) 


I framed a piece of a vintage, crocheted table cloth and hung it above the buffet. I love it there. Although, not hers, it reminds me of my grandmother for some reason.


This is the view into the front entryway. I am working on a sign that will hang on the blank wall next to the kitchen.  It is currently leaning against the wall...


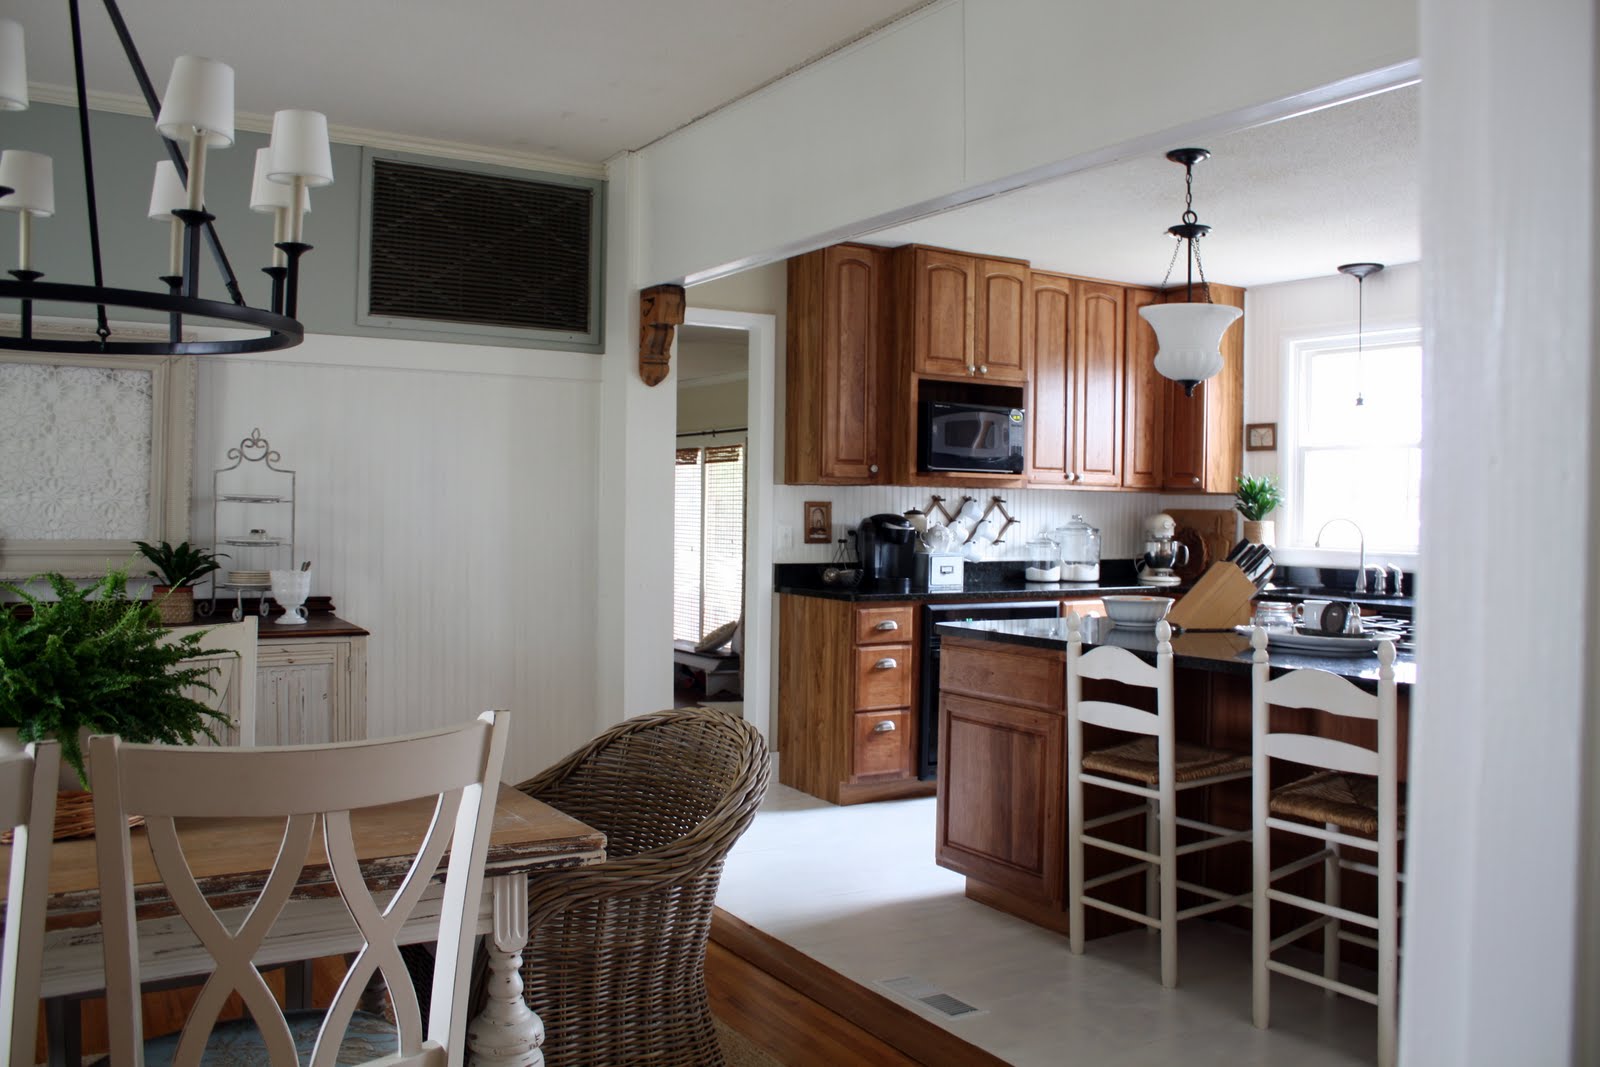
Here is a little glimpse of the kitchen.  We are still working on it.  I added a beadboard blacksplash, but still want to beadboard the entire kitchen, floor to ceiling.  I really wish we had stainless steel appliances but these were brand new when we bought the house, and we just can't justify replacing them right now. 


I would love to paint our cabinets, but my husband is totally against it.  He doesn't request much, so I figure, he wins on this one...for now. ;)


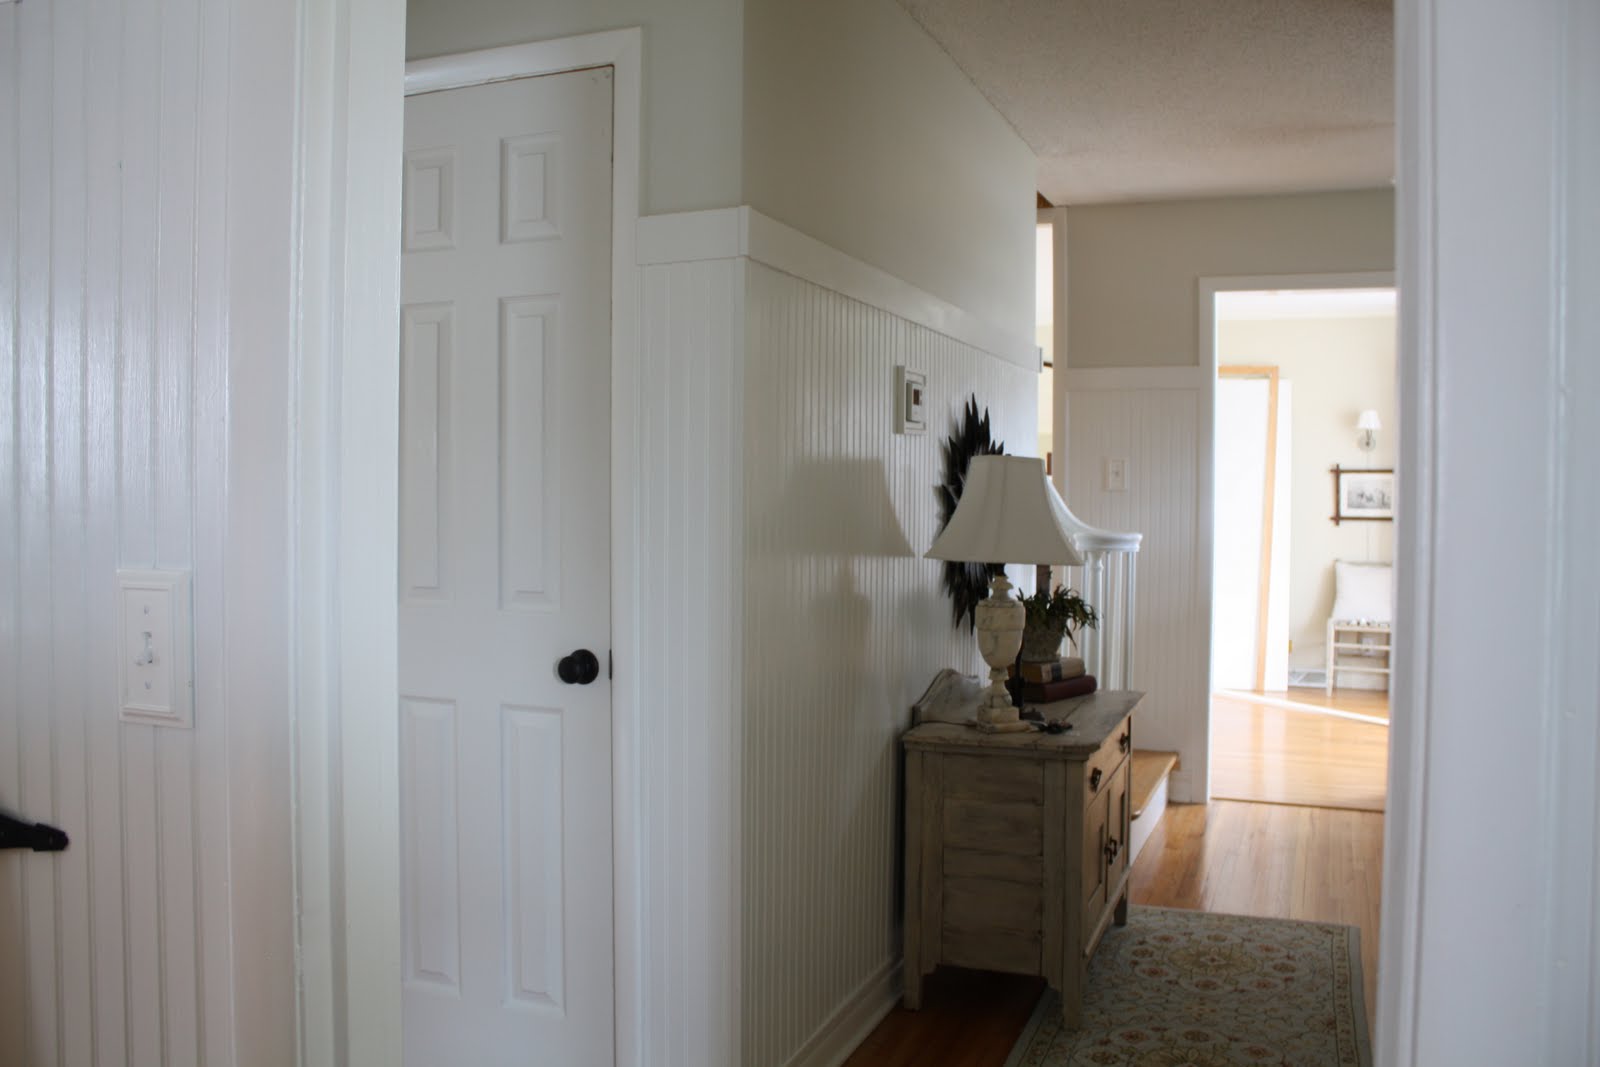
This is looking down the hallway.  Our living room is at the end.  We still have quit a bit to do in there, so more on that later. I still need to paint that closet door so ignore that....while your at it, ignore the mess in the living room.


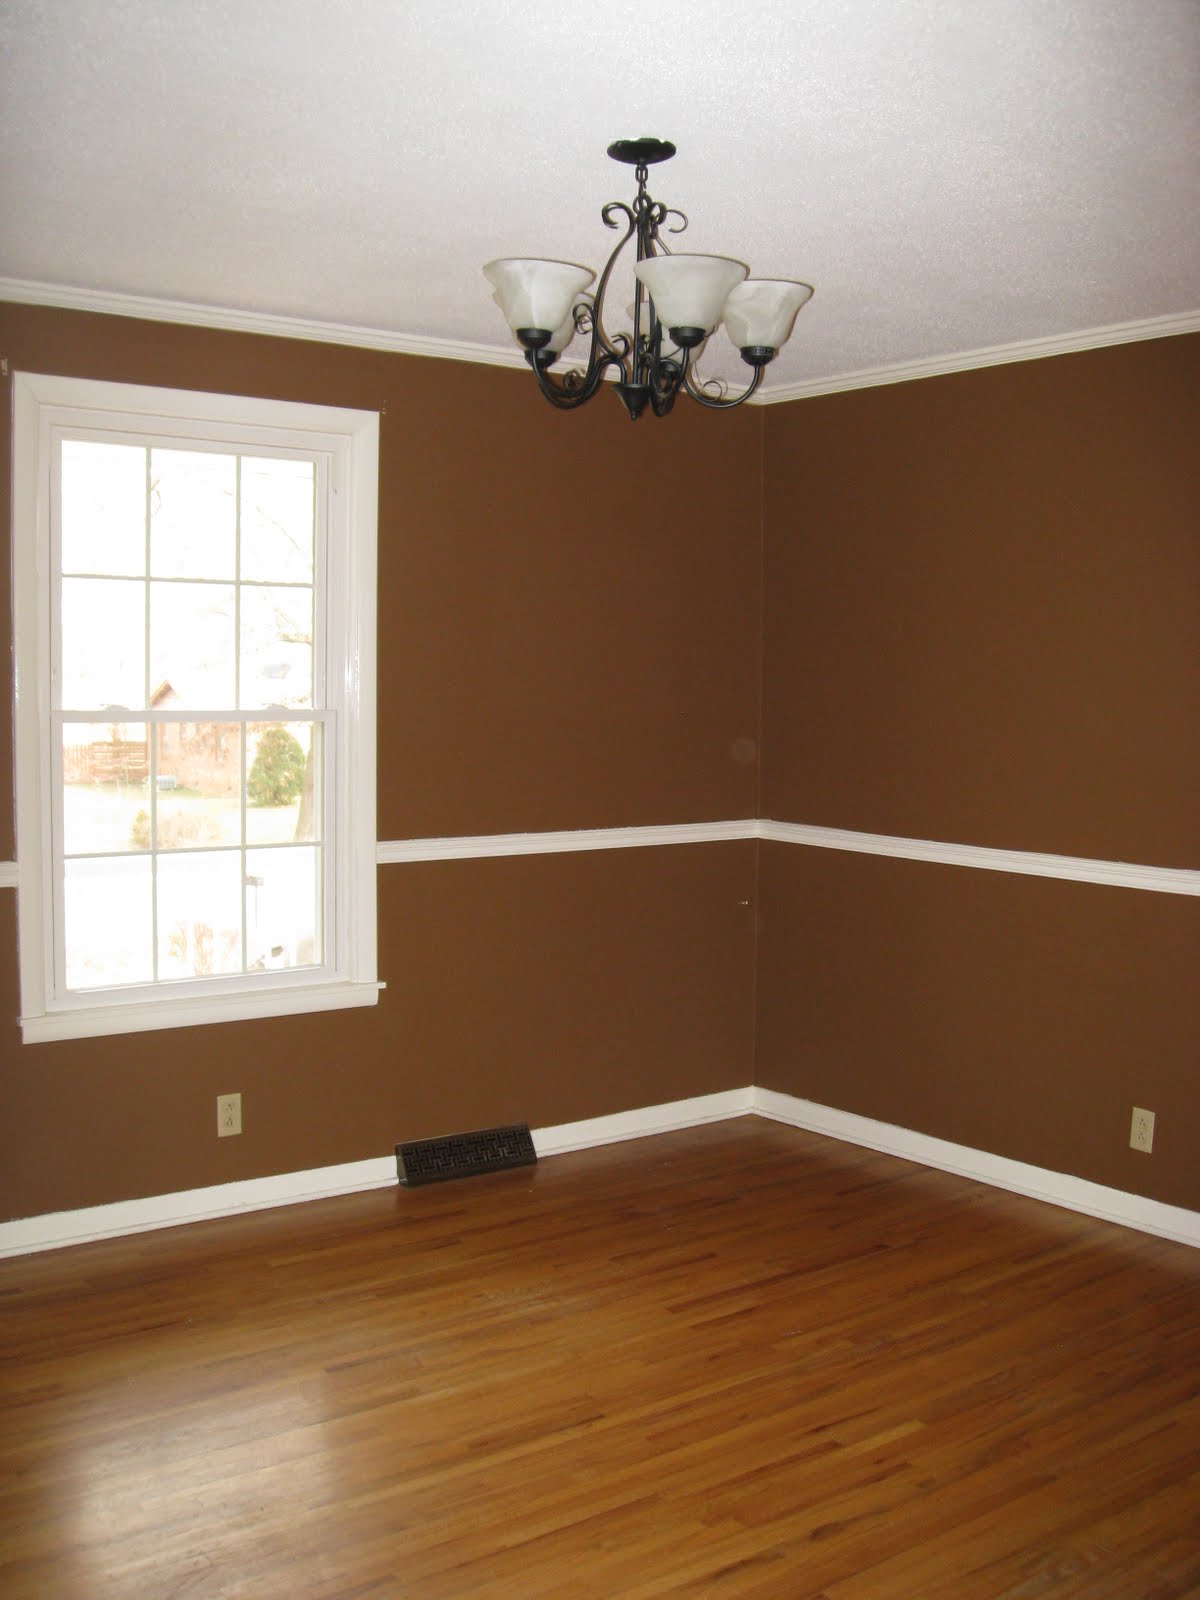
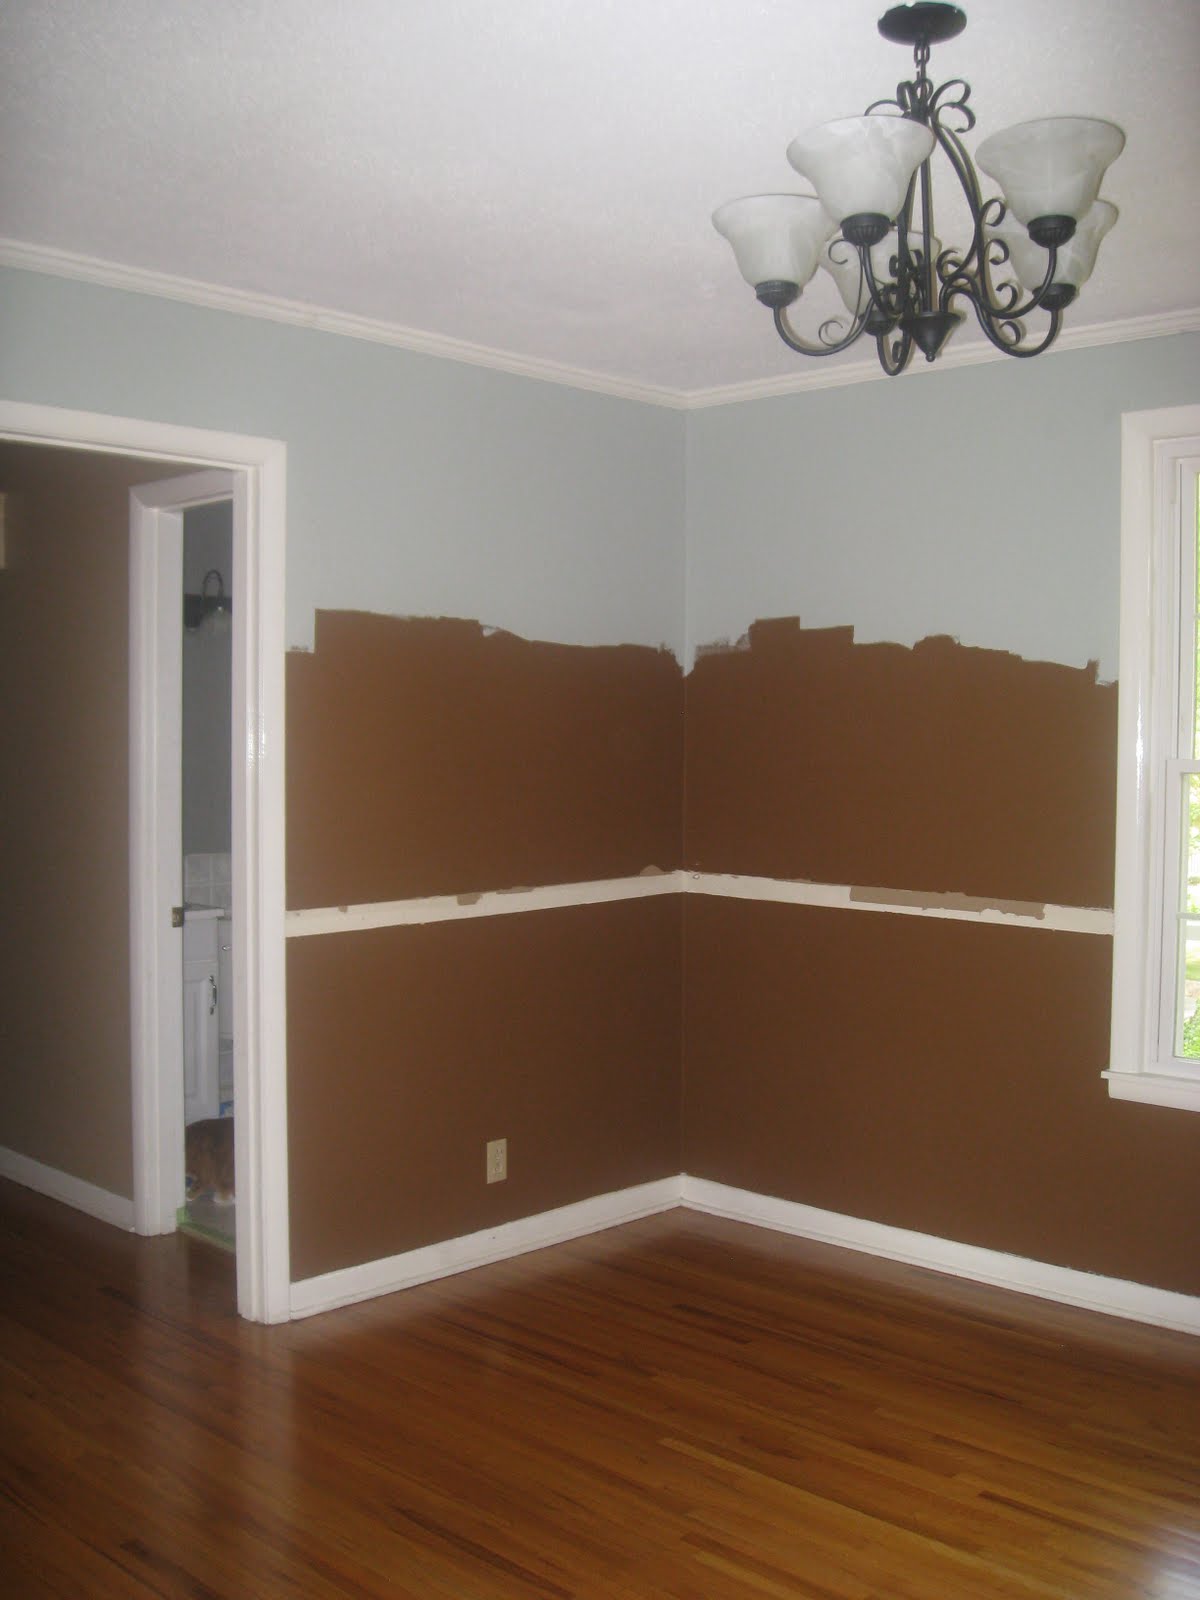
Just a reminder of what these spaces looked like when we moved in...


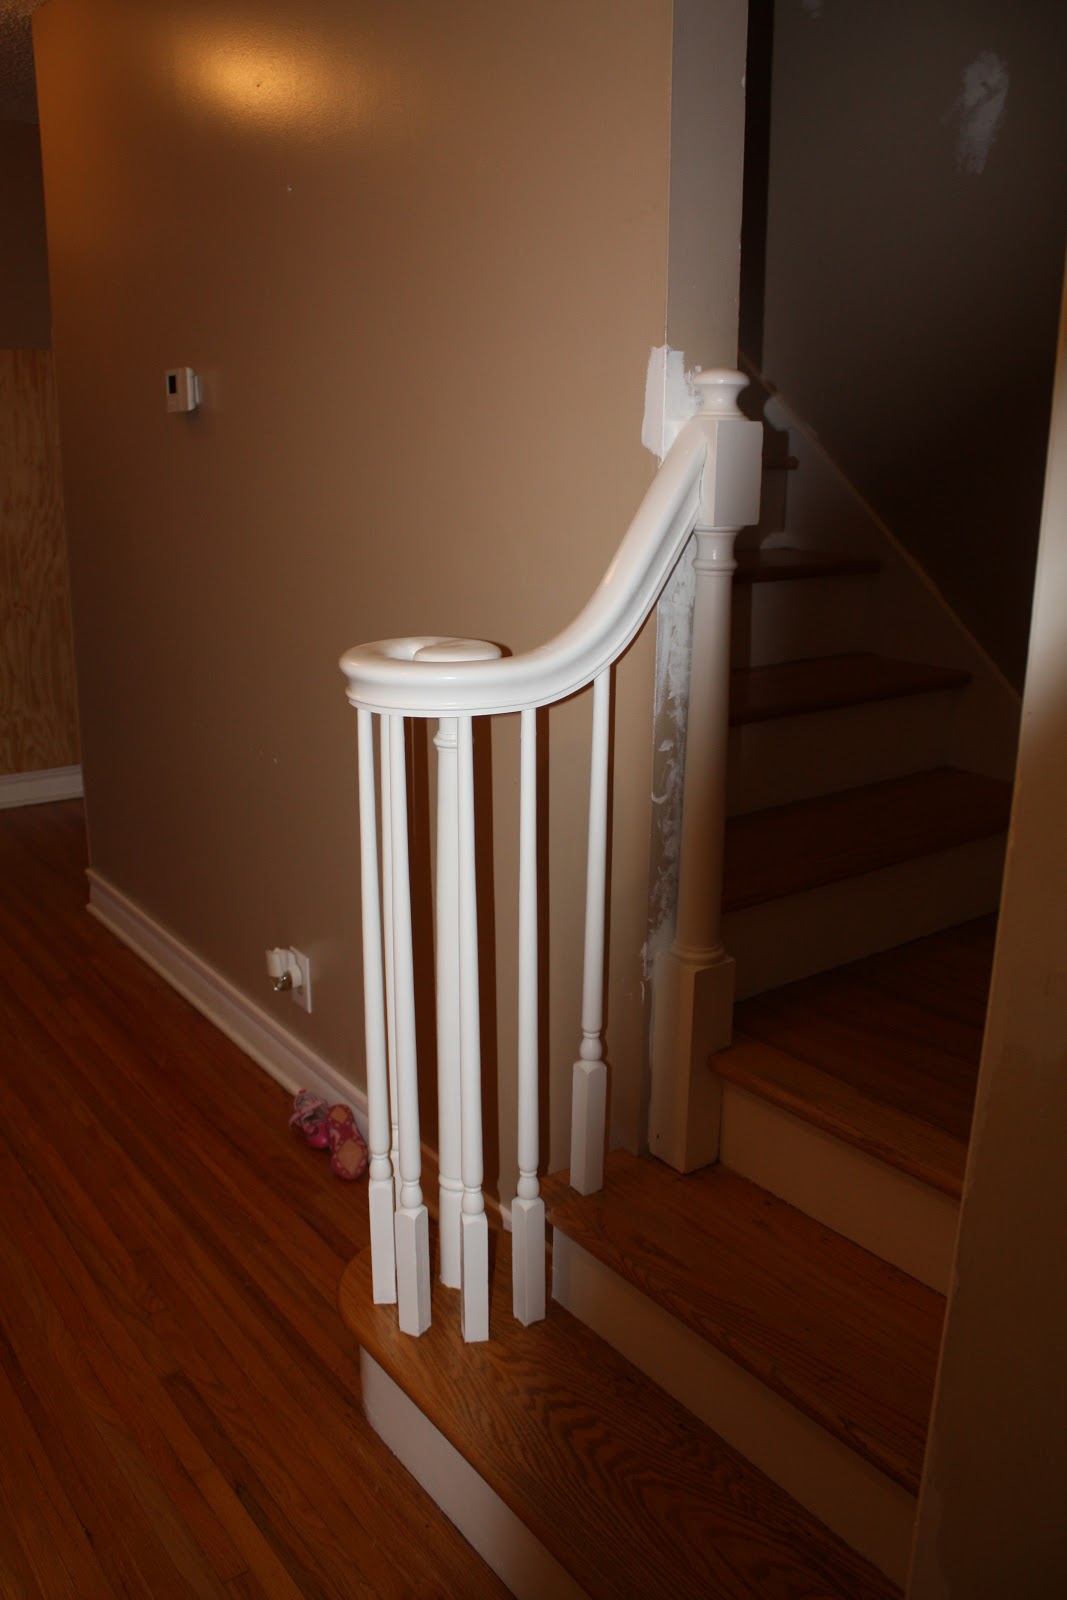
This is actually after I painted the stairs, but it's the only before photo I have of the hallway. 

Thanks for looking!
Pin It!

Wednesday, October 27, 2010

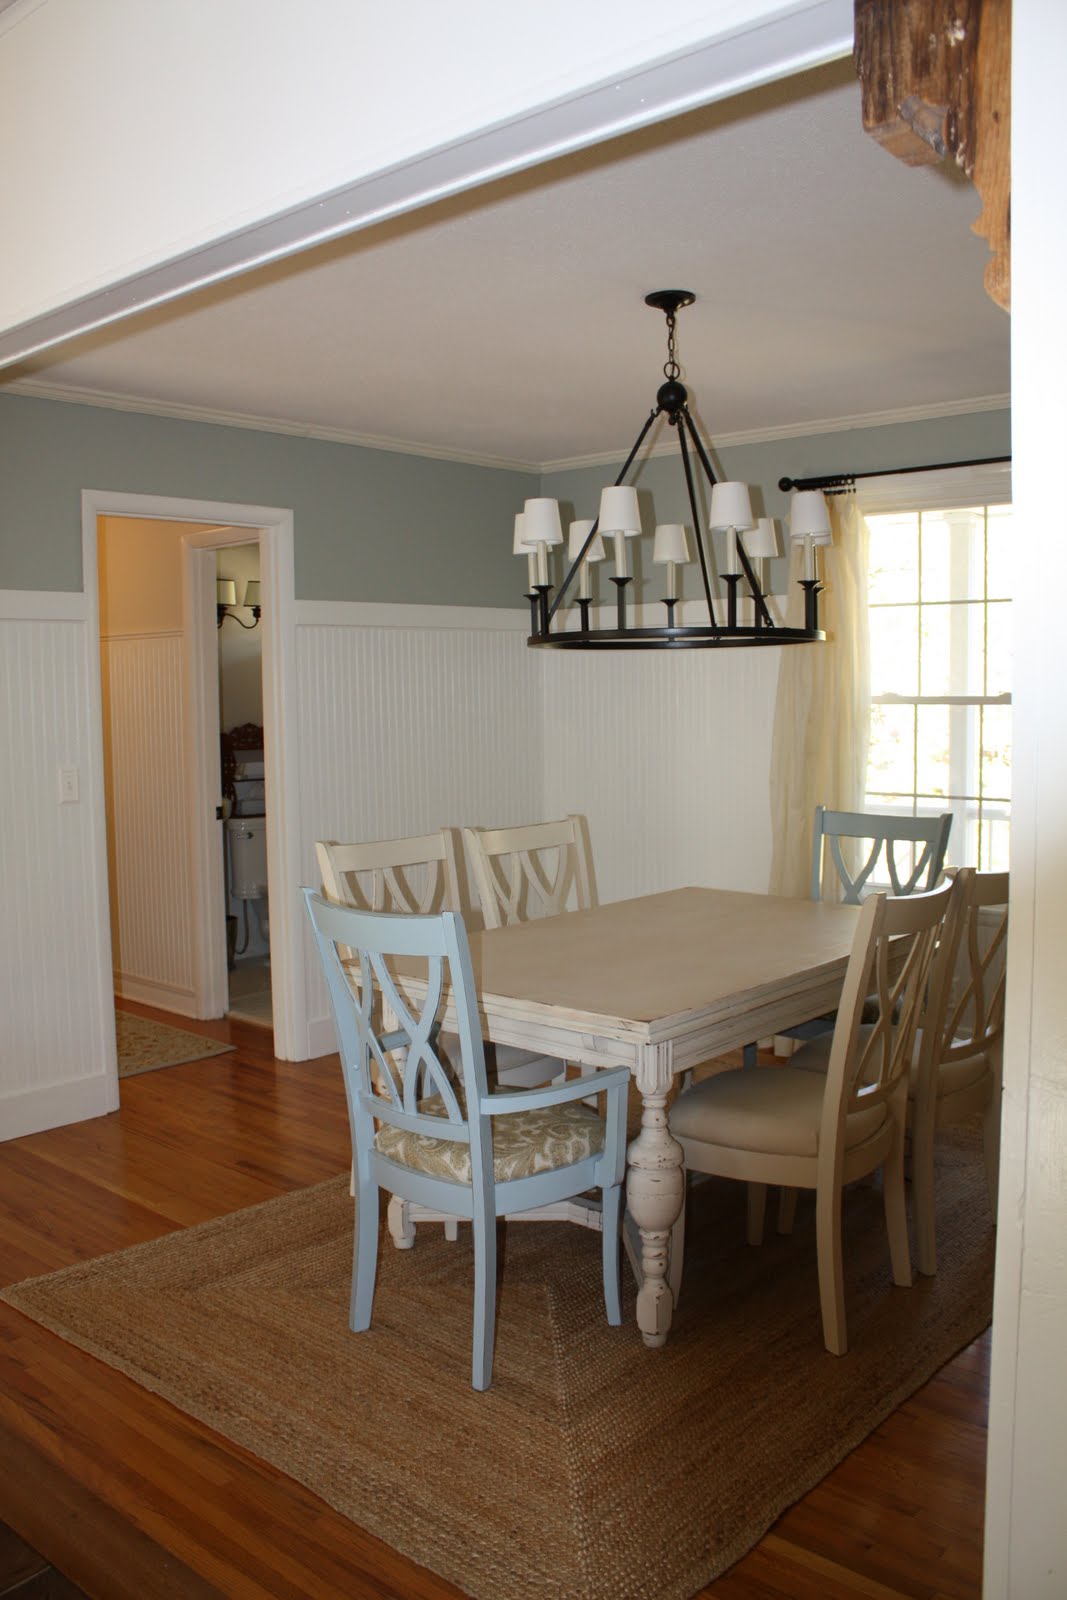
Dining Room Makeover-Part Two: Walls...


Okay I'm a day late posting this but I wanted to get one final coat of paint on the beadboard before I posted pics.

Here is the before once again.


The previous owners had stained the center beam and surrounding trim a shade of orange, that didn't match anything.  We primed it using an oil base primer so the stain wouldn't bleed through the white paint.  The primer also allowed us to use a latex paint over an oil based stain.  


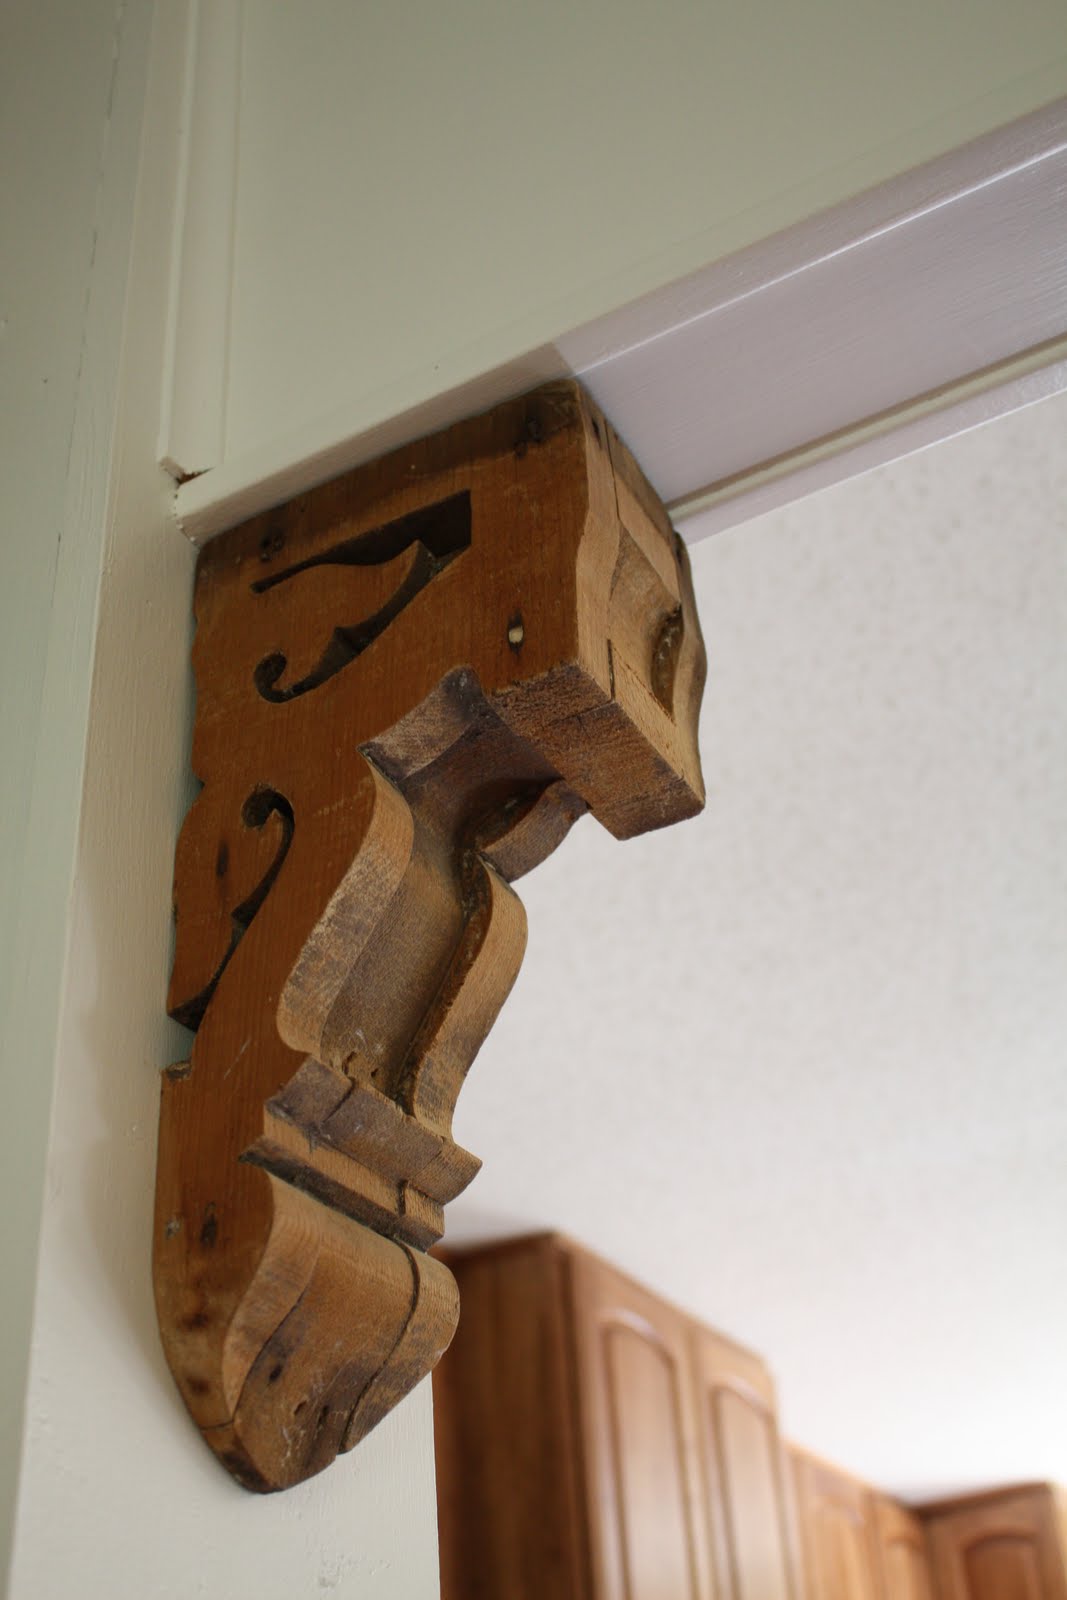
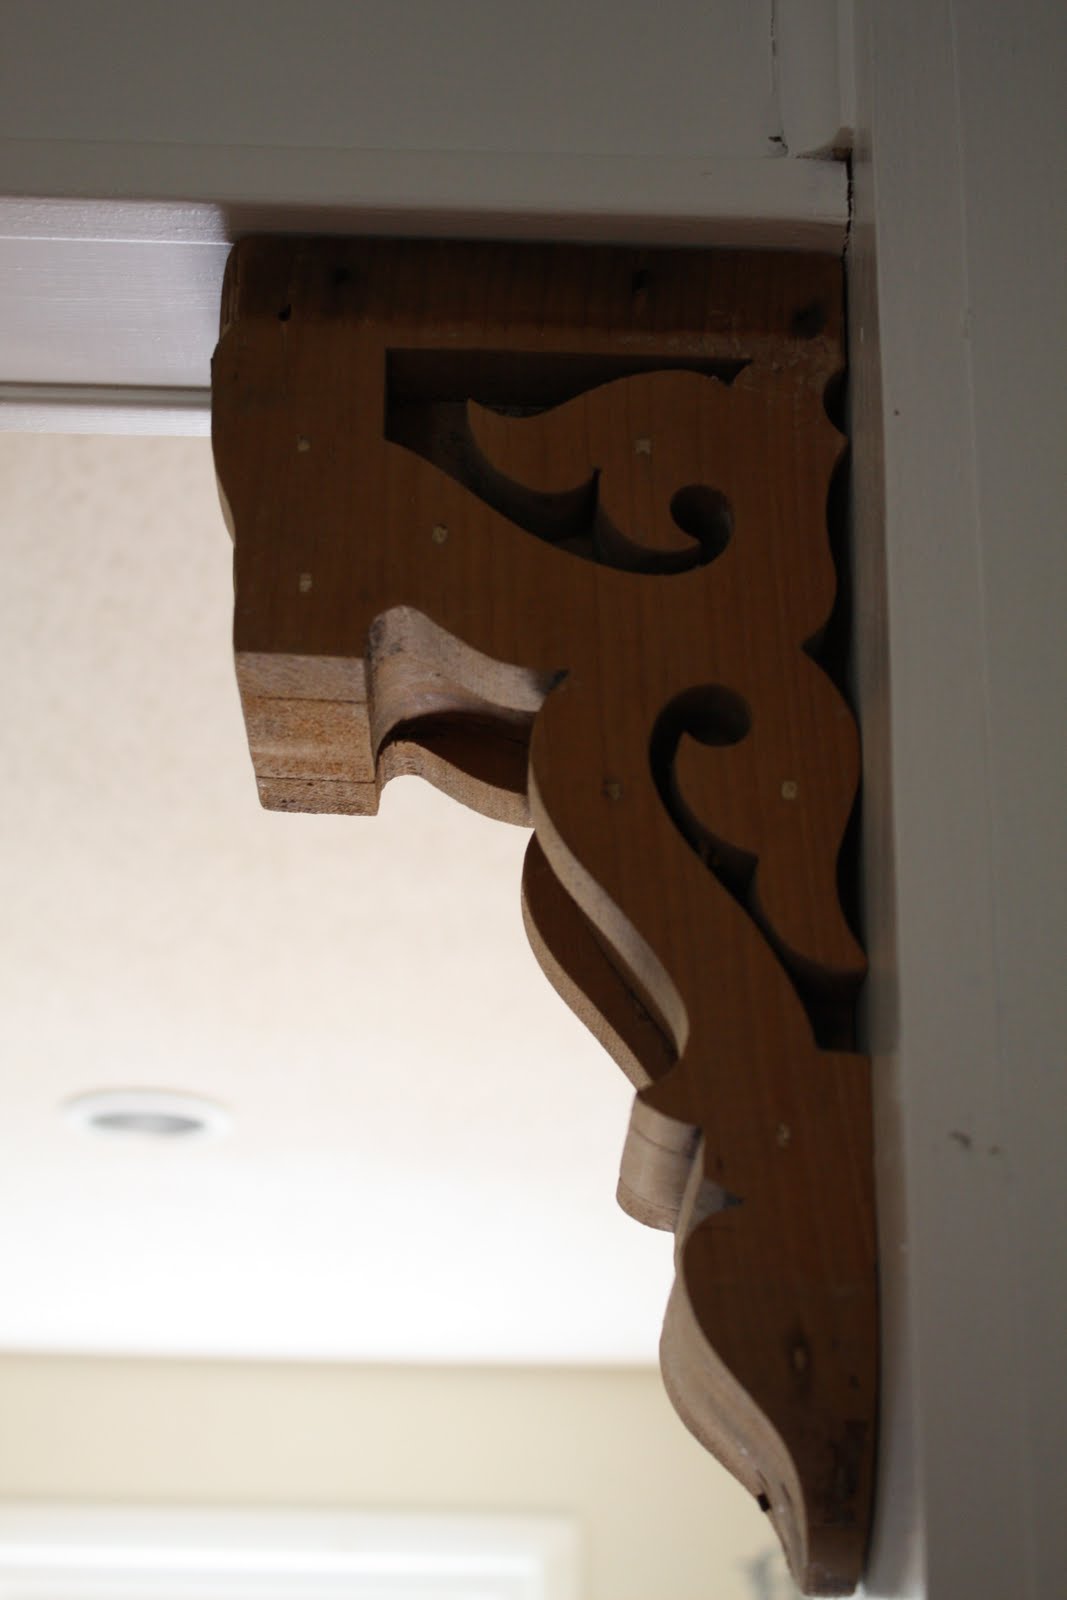
I found some antique corbels at a flea market and knew immediately I wanted to use them on our beam.  I left them in the original state.  I love their rustic look.  I wish I knew where they had been used before.  


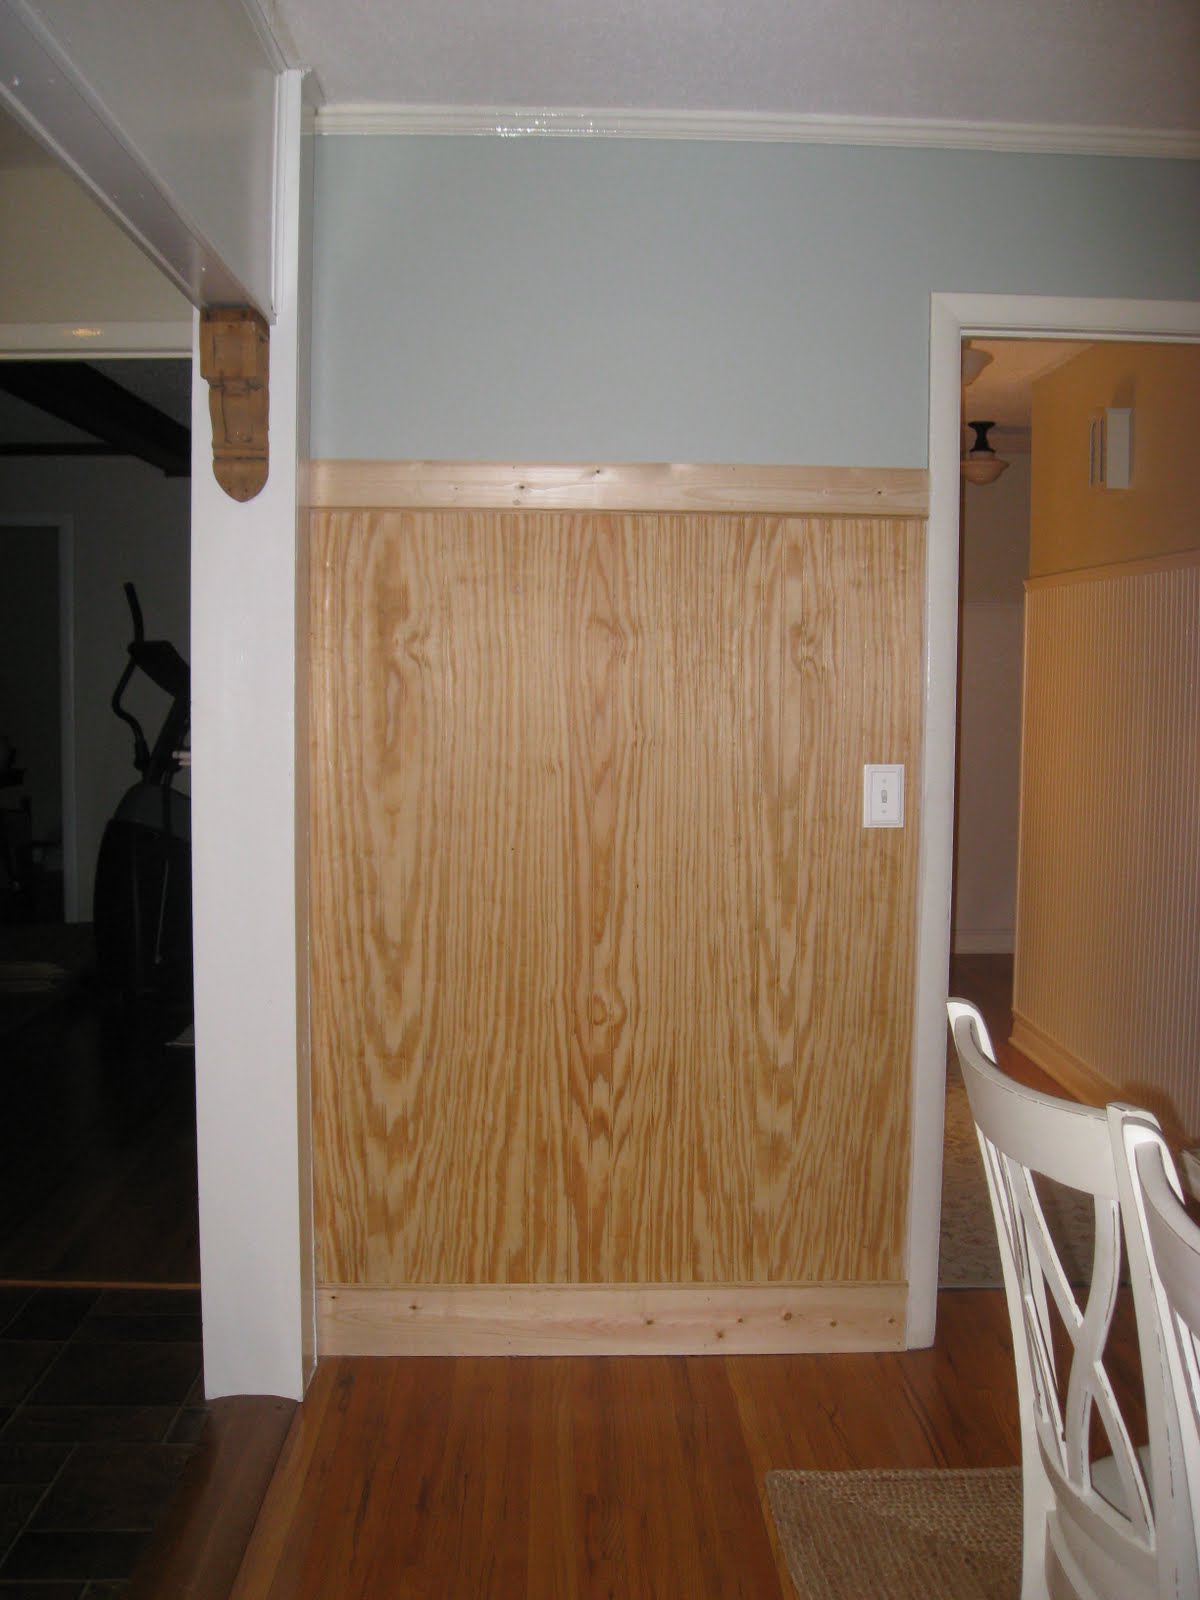
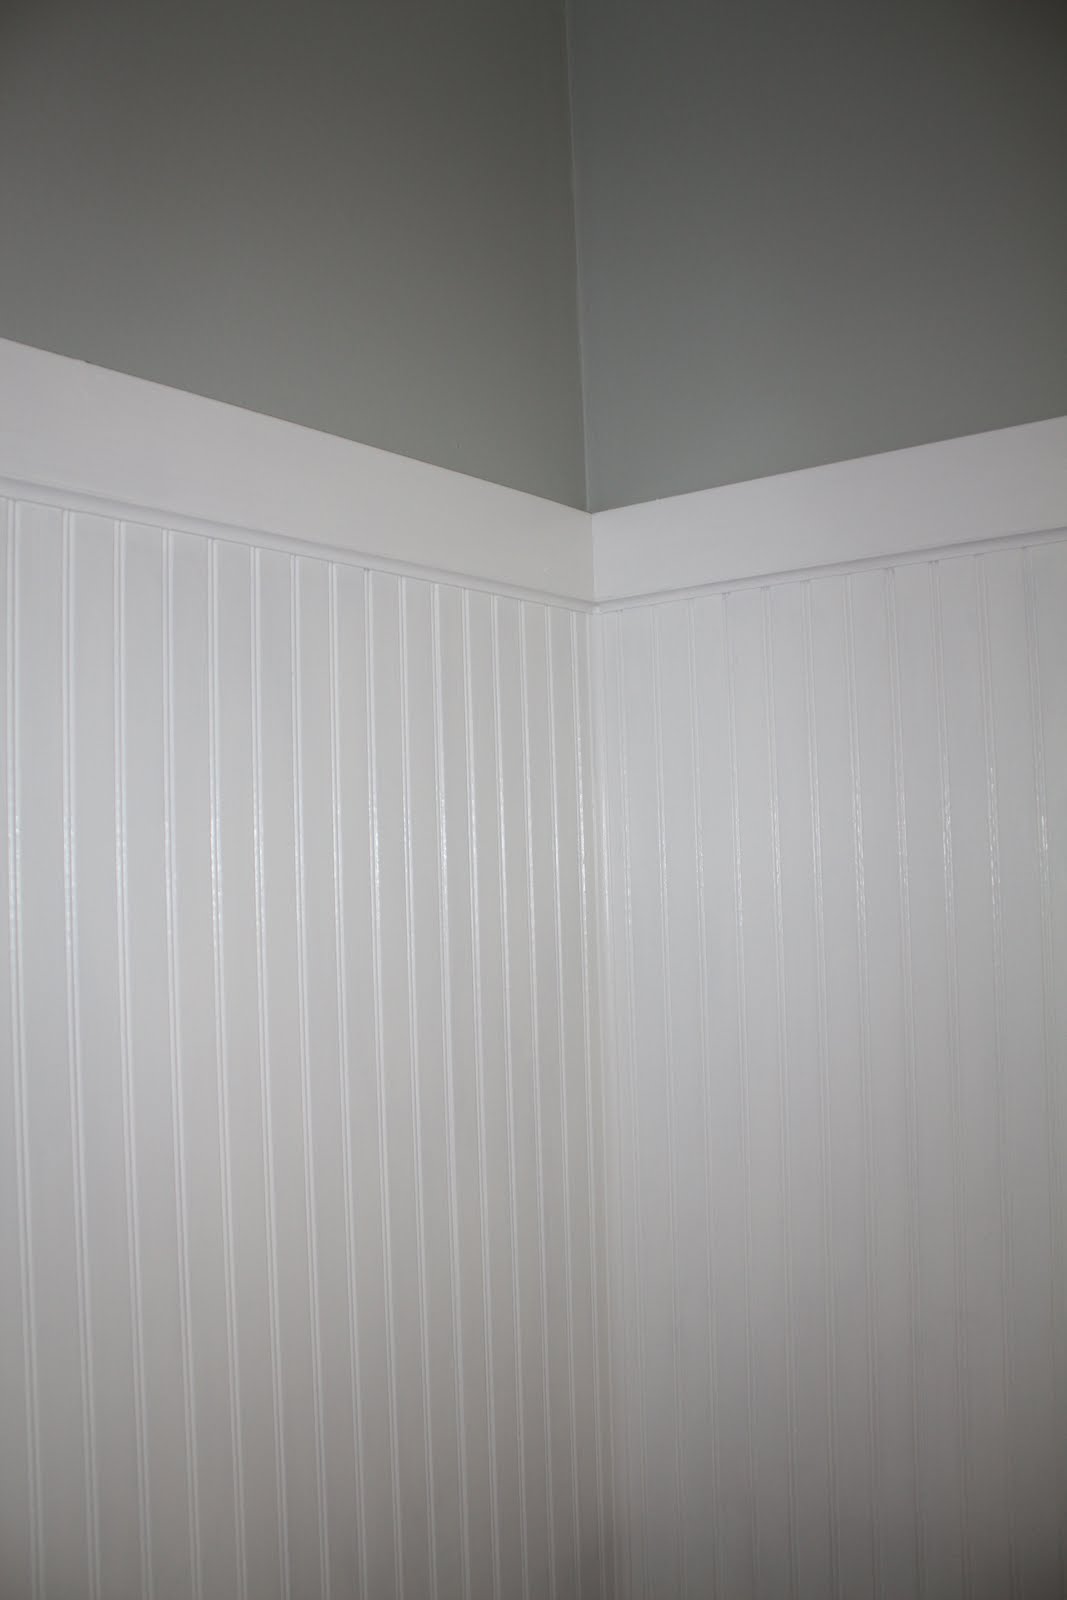
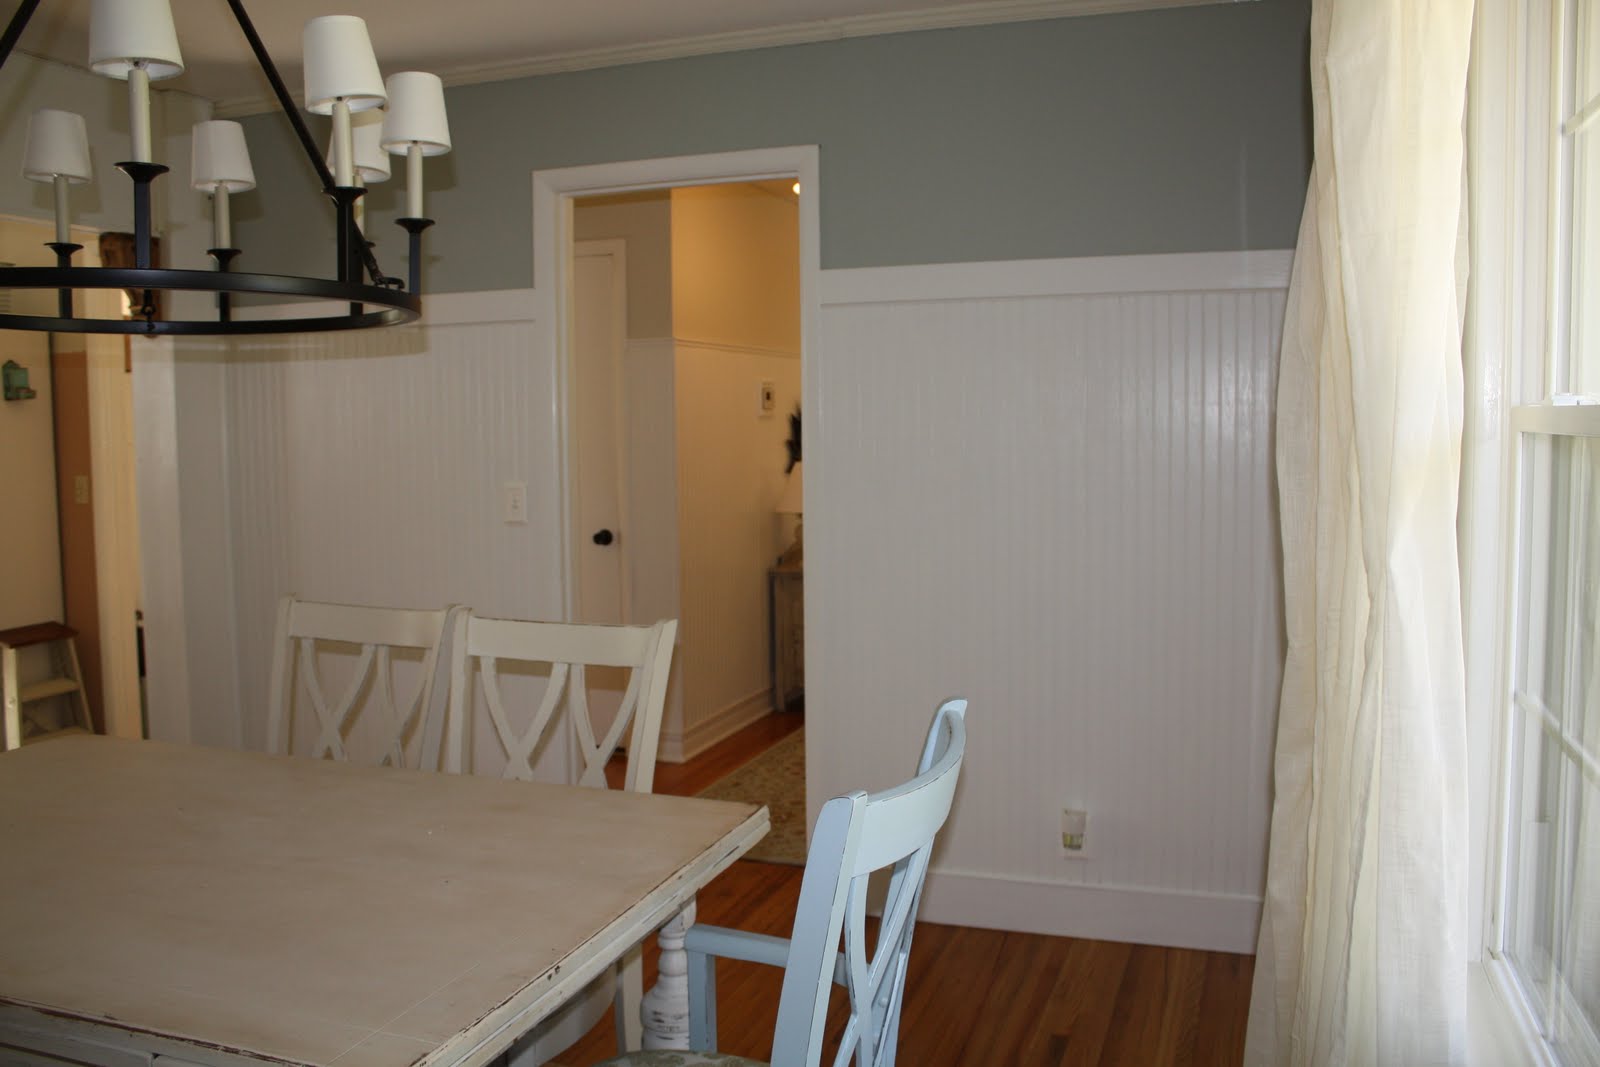
After we hung the beadboard in the hallway, I knew I wanted to continue it into the dining room and kitchen. But this time we needed to replace baseboards.  I love the look of chunky baseboards.  In fact, we have already replaced the baseboards in our den and used 1x6's (that's another post ;).  We loved how that turned out and decided to go that route.  


Sorry for the horrible night time picture!


We added a 1x4 to the top and then added smaller trim to both the top and the base boards.  Twice Remembered Cottage gives a great tutorial on installing beadboard this way.  It was such a great help to us!


 We still have so much to do.  The crown molding needs to be replaced badly.  We plan on getting some antique chairs for the table and I am going to build a hutch for the buffet.  I probably will make some new curtains for the window as well and of course we need something on the walls. I am having a hard time putting holes in my new walls until I am absolutely certain where and what I want as art.  Is anyone else that way? 


Pin It!

Monday, October 25, 2010

Dining Room Makover- Part One: Lighting...
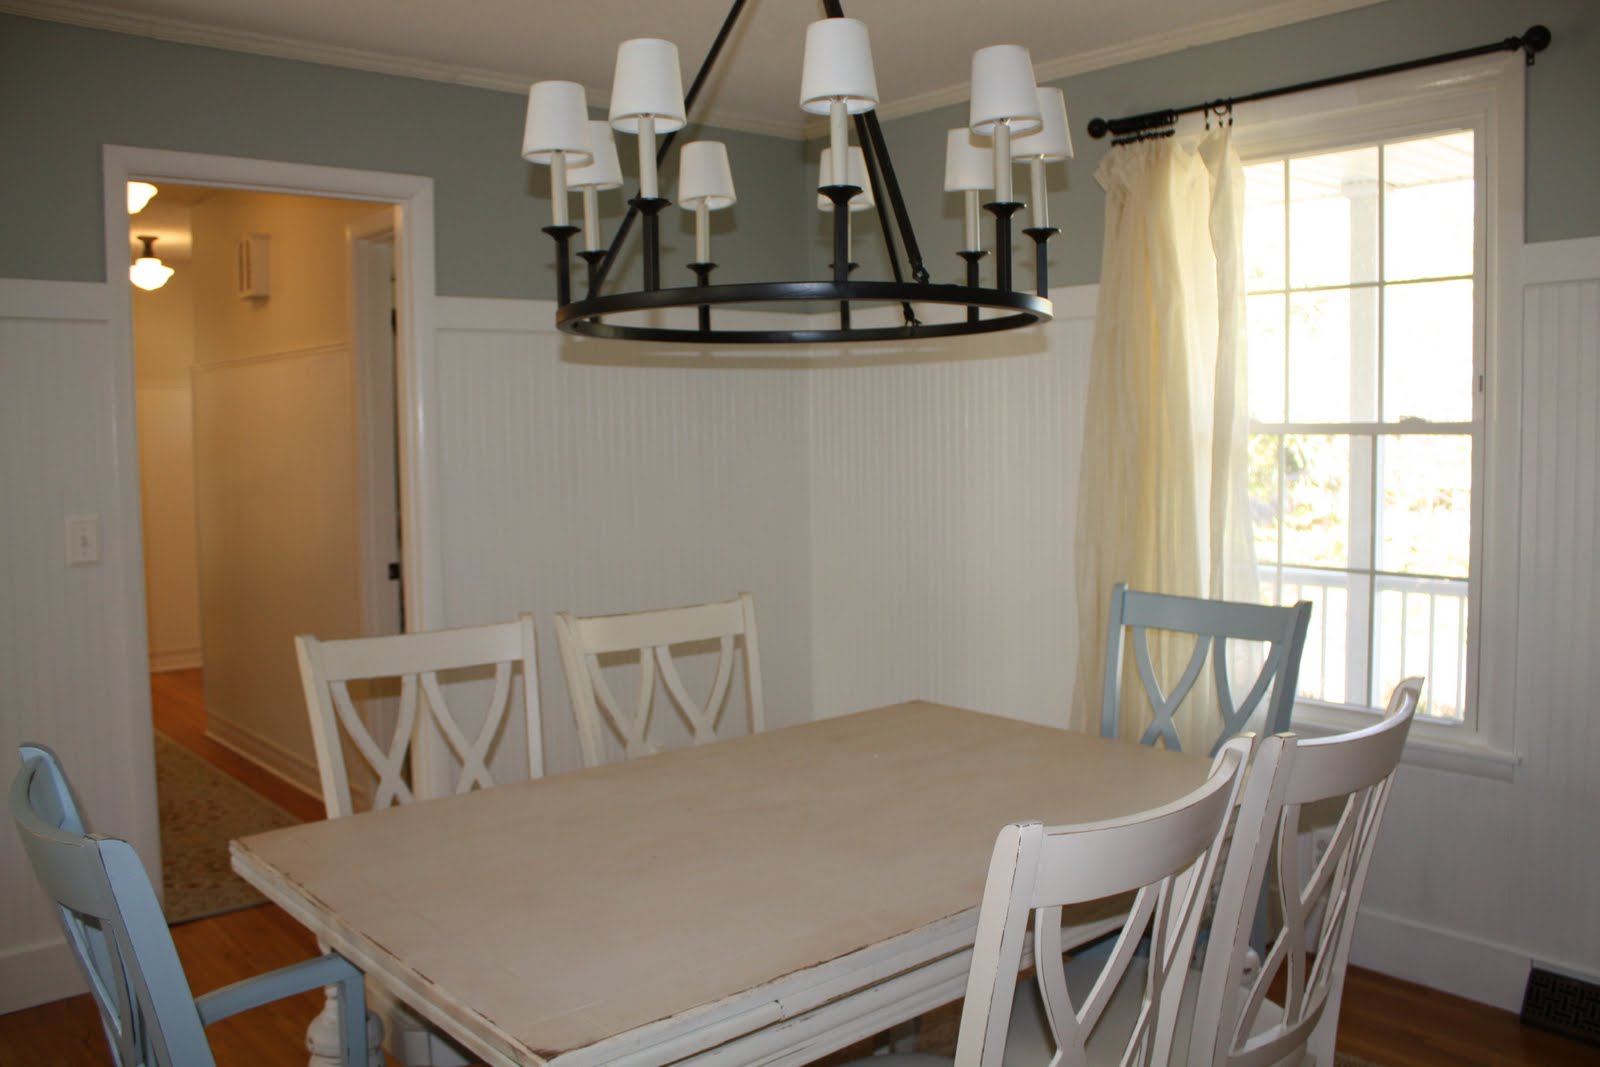


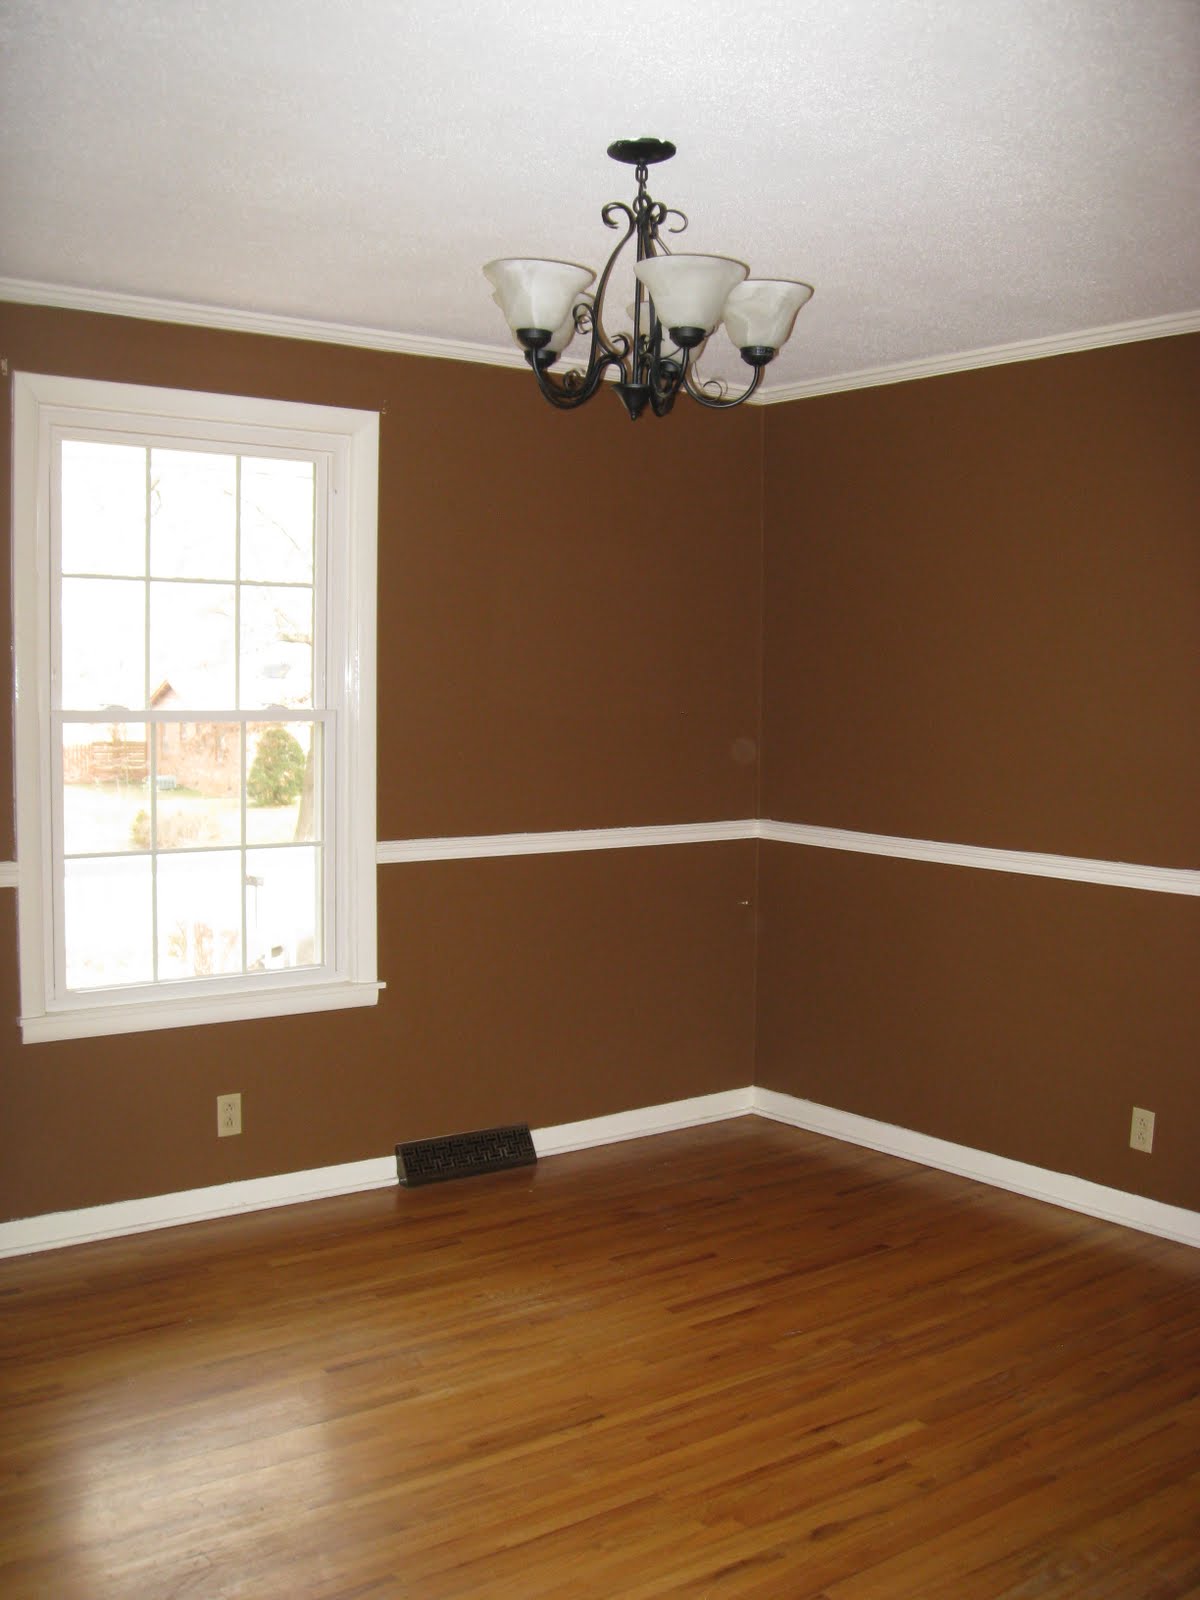
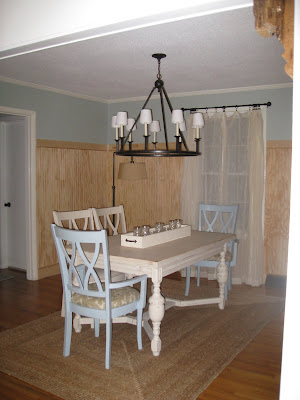
This is how our Dining room looked the day we moved in.  By far not the worst looking room in the house but nonetheless, I had pictured a little something different. Notice how high the chandelier is hung?? That drove me crazzzzy! 


My impatience once again got the best of me, and I decided to rip down the chair rail and paint the upper portion of the wall.  And, we have lived with this mess for almost seven months.  Luckily, my husband and I recently moved it to the top of our to-do-list and got busy. 

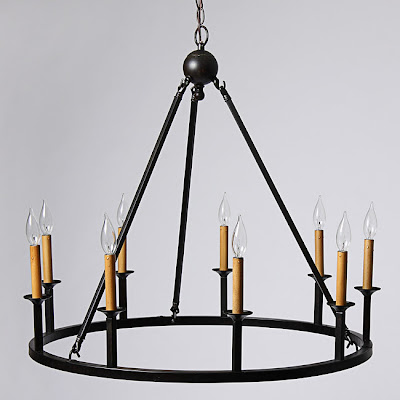
Overstock Old World Chandelier


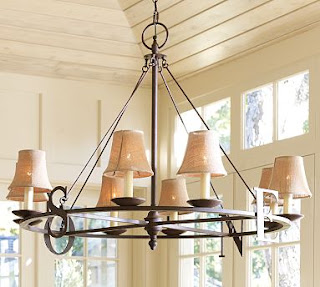
Pottery Barn Weathervane Chandelier

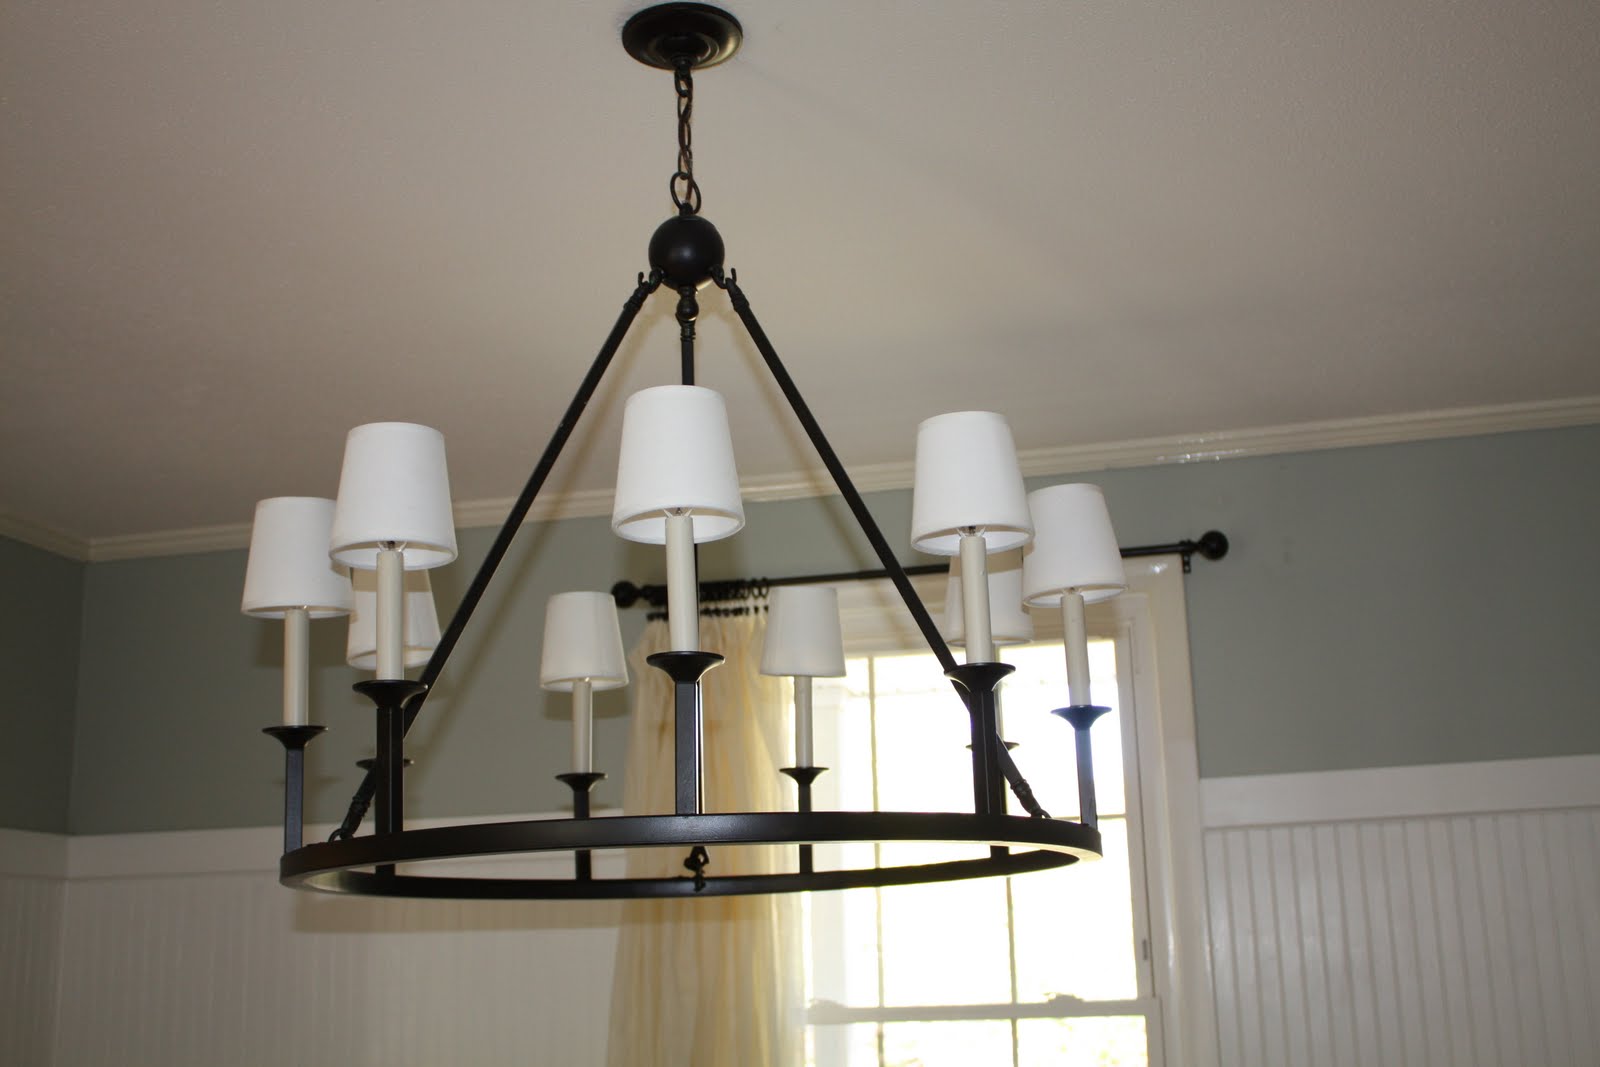
I found this chandelier at Overstock.com and knew it was exactly what I was looking for.  I loved the Pottery Barn Weathervane Chandelier but it was out of our price range so I thought we could achieve a similar look with the Overstock light.

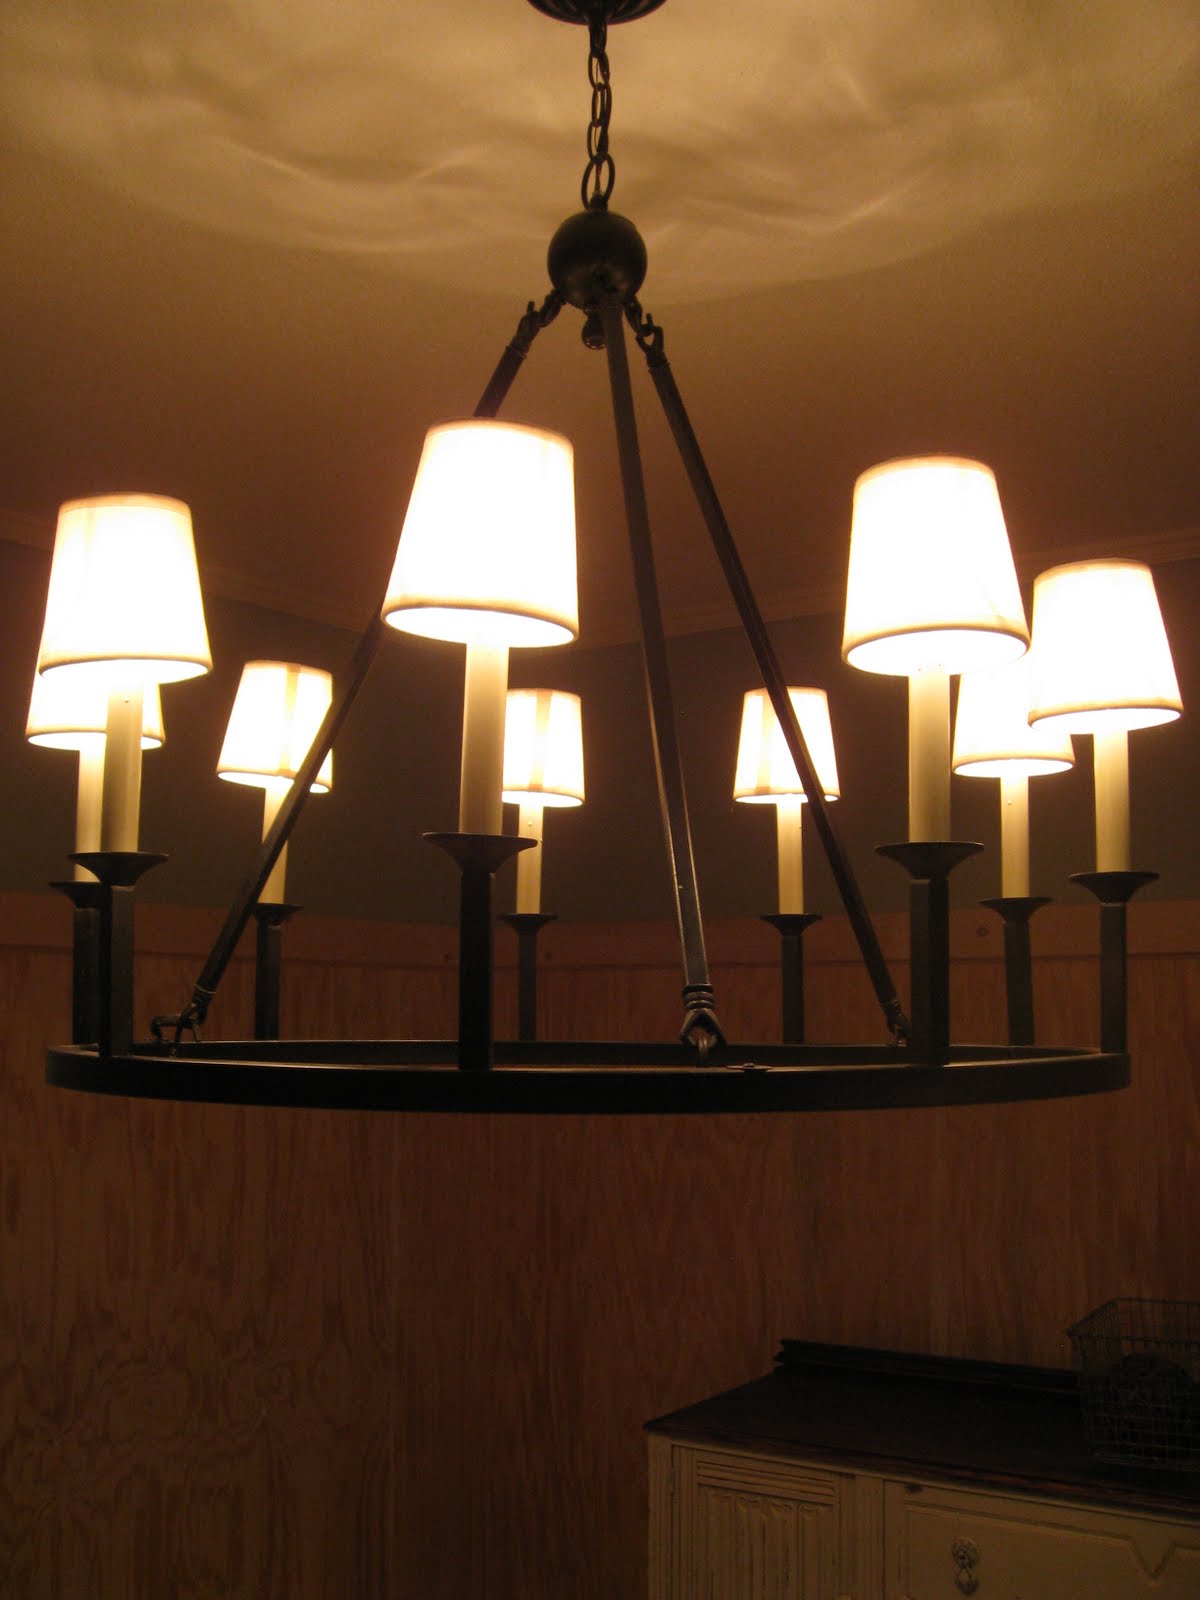
When it arrived the "candle" color just didn't appeal to me so I turned to my trusty can of spray paint to help me out.


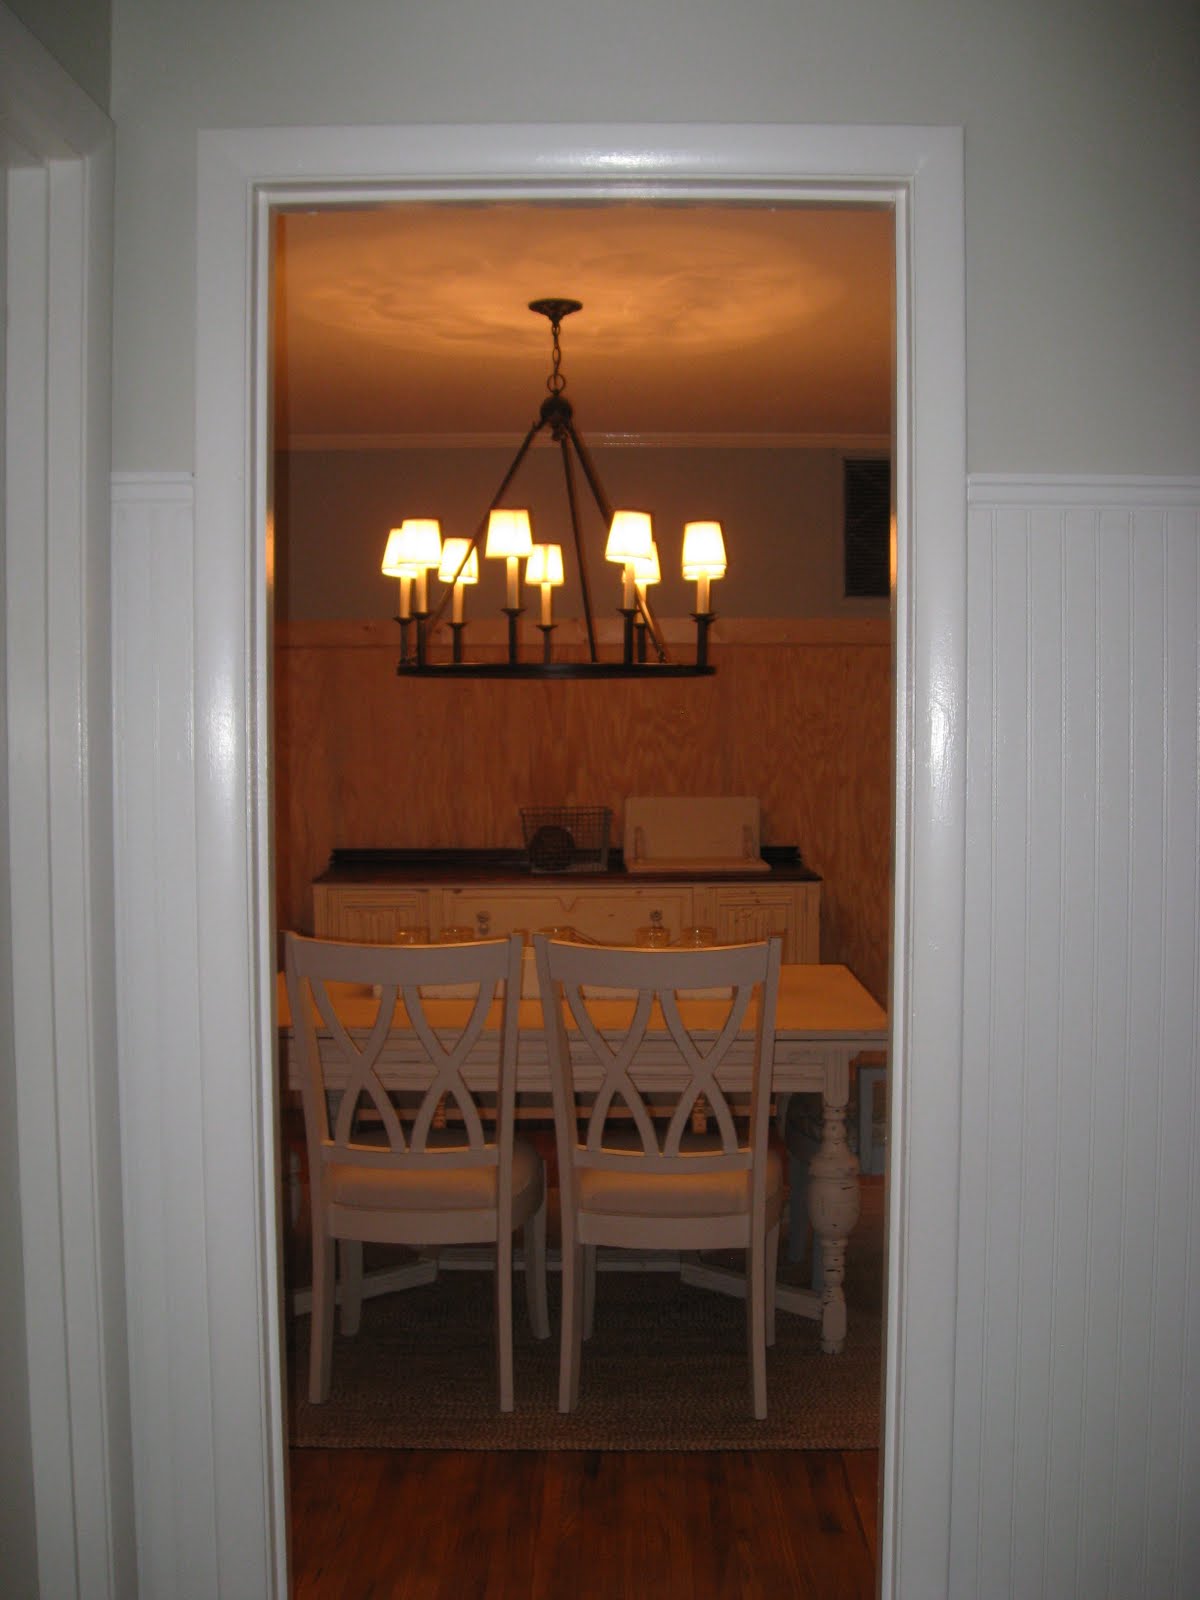
I purchased some small shades at Lowe's and I think the final result makes such a statement.  With the chandelier hanging at the appropriate height the room is much better lit. I am still thinking about a project for the shades to make them look a little more like the Pottery Barn version, but for now they'll do. ;)


We have done so much more to the room, but this post is getting a tad long.  I'll post more tomorrow....hopefully!
Pin It!
Related Posts Plugin for WordPress, Blogger...