Showing posts with label Makeover. Show all posts

Sunday, February 26, 2012

I Just Wing'd it...


The post title says it all-I reupholstered a wing back chair- by just winging it! Never have I ever reupholstered anything more difficult than a dining chair cushion. But I didn't want to spend money on hiring an upholsterer to recover 2 chairs. Plus, I have tons of DIY spirit I need to constantly channel into something.  

This is what I started with...2 of these lovely chairs.  The bones were in great shape-they just needed some new fabric and a little TLC.


I started out watching a couple of YouTube videos which were mildly helpful, and then I just went for it. I mean, I couldn't mess up that old green fabric.  If it failed, it still would have looked better than it started out looking!

First, I removed all the fabric piece by piece, very carefully, so I could use it as a pattern of sorts for my new fabric.  This was the most grueling part.  I stabbed myself with my screwdriver and cut my hands on the staples a million times.  Wearing gloves would have been smart. ;) 
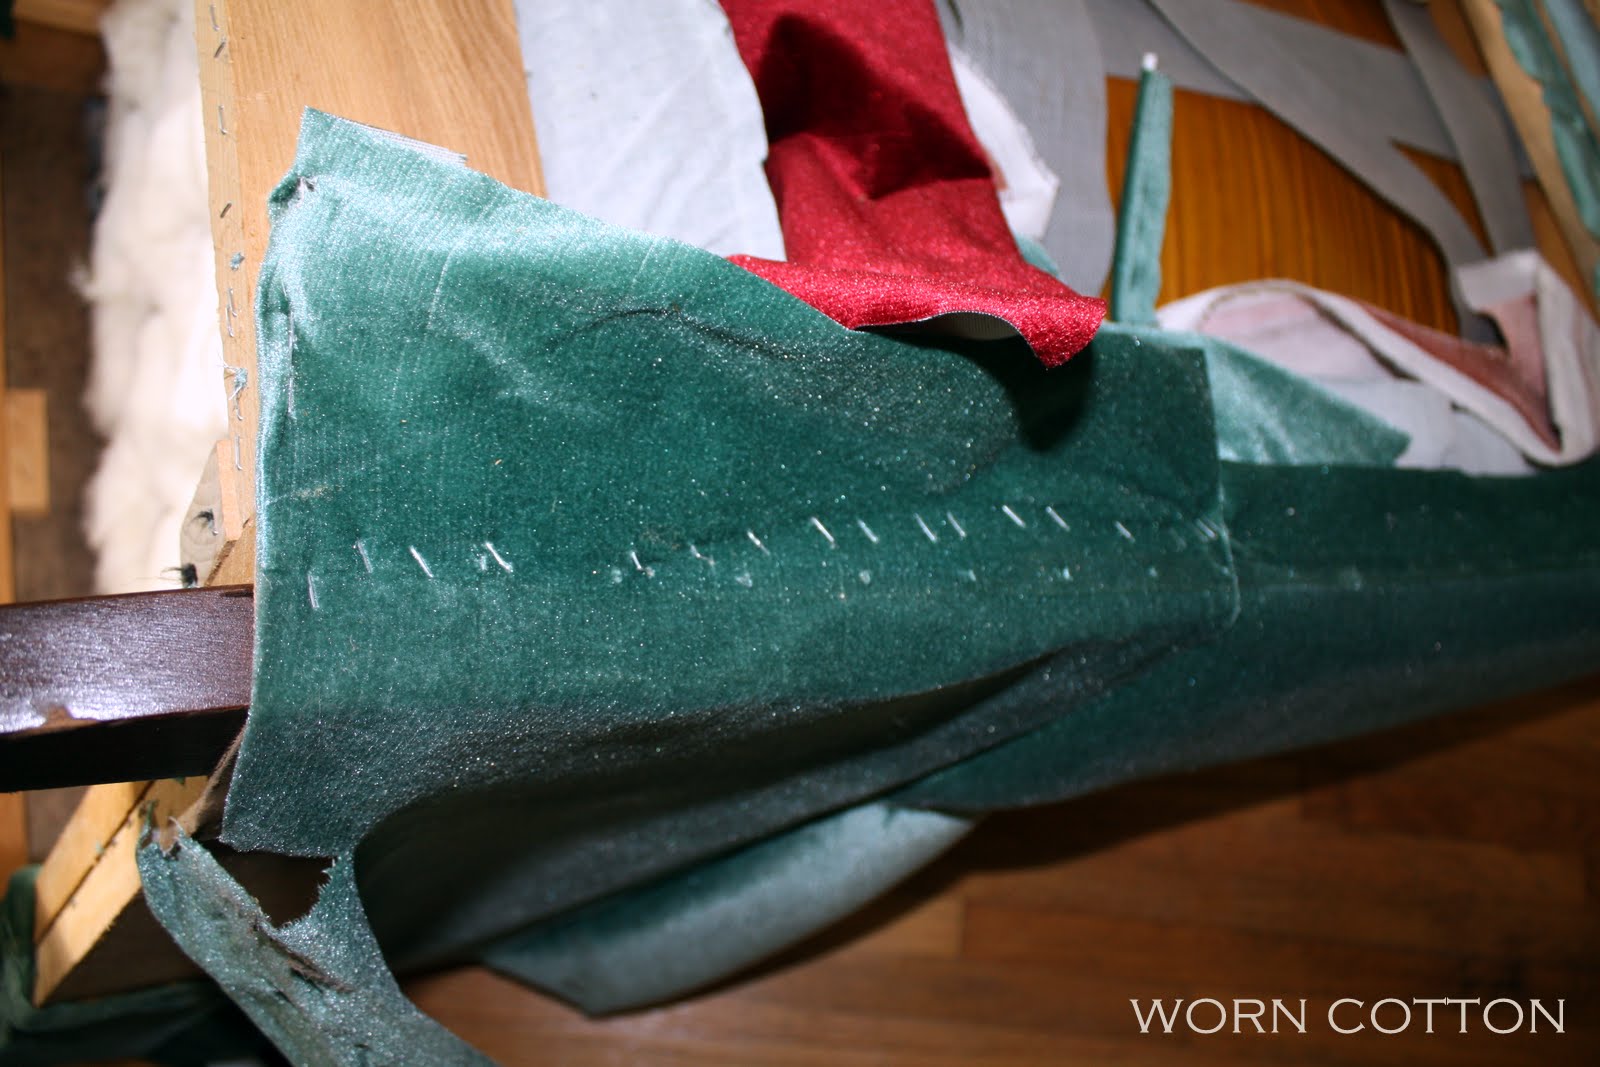


Just look at all those evil staples!! 

I took pictures of how the fabric was stapled on in case I needed a reminder later on.  It helps to also jot down what order you remove each piece.  Then when you reupholster, just start with the last piece you took off.  I basically learned as I went along.  

I have to mention, I have a pneumatic staple gun and an air compressor.  I don't think I could have tackled this project without one.


I decided to paint the legs.  I used regular latex paint and finished them with a dark brown paste wax.  I like them so much better! 


(We are working on installing new base boards in here.  Please ignore them in their unpainted, unfinished state.)

It was such a simple project-once I got all the old fabric off.  Although not perfect, it exceeded my expectations by far. I still want to add some more jute trim along the front, but I need to order more.  I got it at MJ Trim.  Now, I just have to get motivated to finish the second one...I am still having nightmares about those staples! ;) 

I also want some pretty pale yellow pillows to go in each chair but, I haven't found one I am in love with yet.  Any suggestions?? :)


Linking up at: 


Pin It!

Sunday, March 6, 2011

Den table and chairs...


Recently, I "made over" this table and chairs for our den.  We have a dining room we use to eat dinner in everyday, but I purchased this table to use when we have larger gatherings and need extra eating spaces.  Of course I forgot to take pictures of them before I started painting.  ooops...I promise they were pretty dang bad though. 

The previous owner had painted the table green and it was very dirty.  I completely sanded it down and repainted the legs.  I left the top natural but I did cover it with several coats of satin poly.  The chairs were pretty rough when I found them.  I sanded them smooth and then dry brushed them the same color I used to paint the table legs. I lightly hand sanded to finish.

We are getting ready to add crown molding to our den.  Hopefully, it will be done soon so I can post pictures of all our progress.  :)    
Pin It!

Sunday, August 8, 2010

Bar Stool Redo...


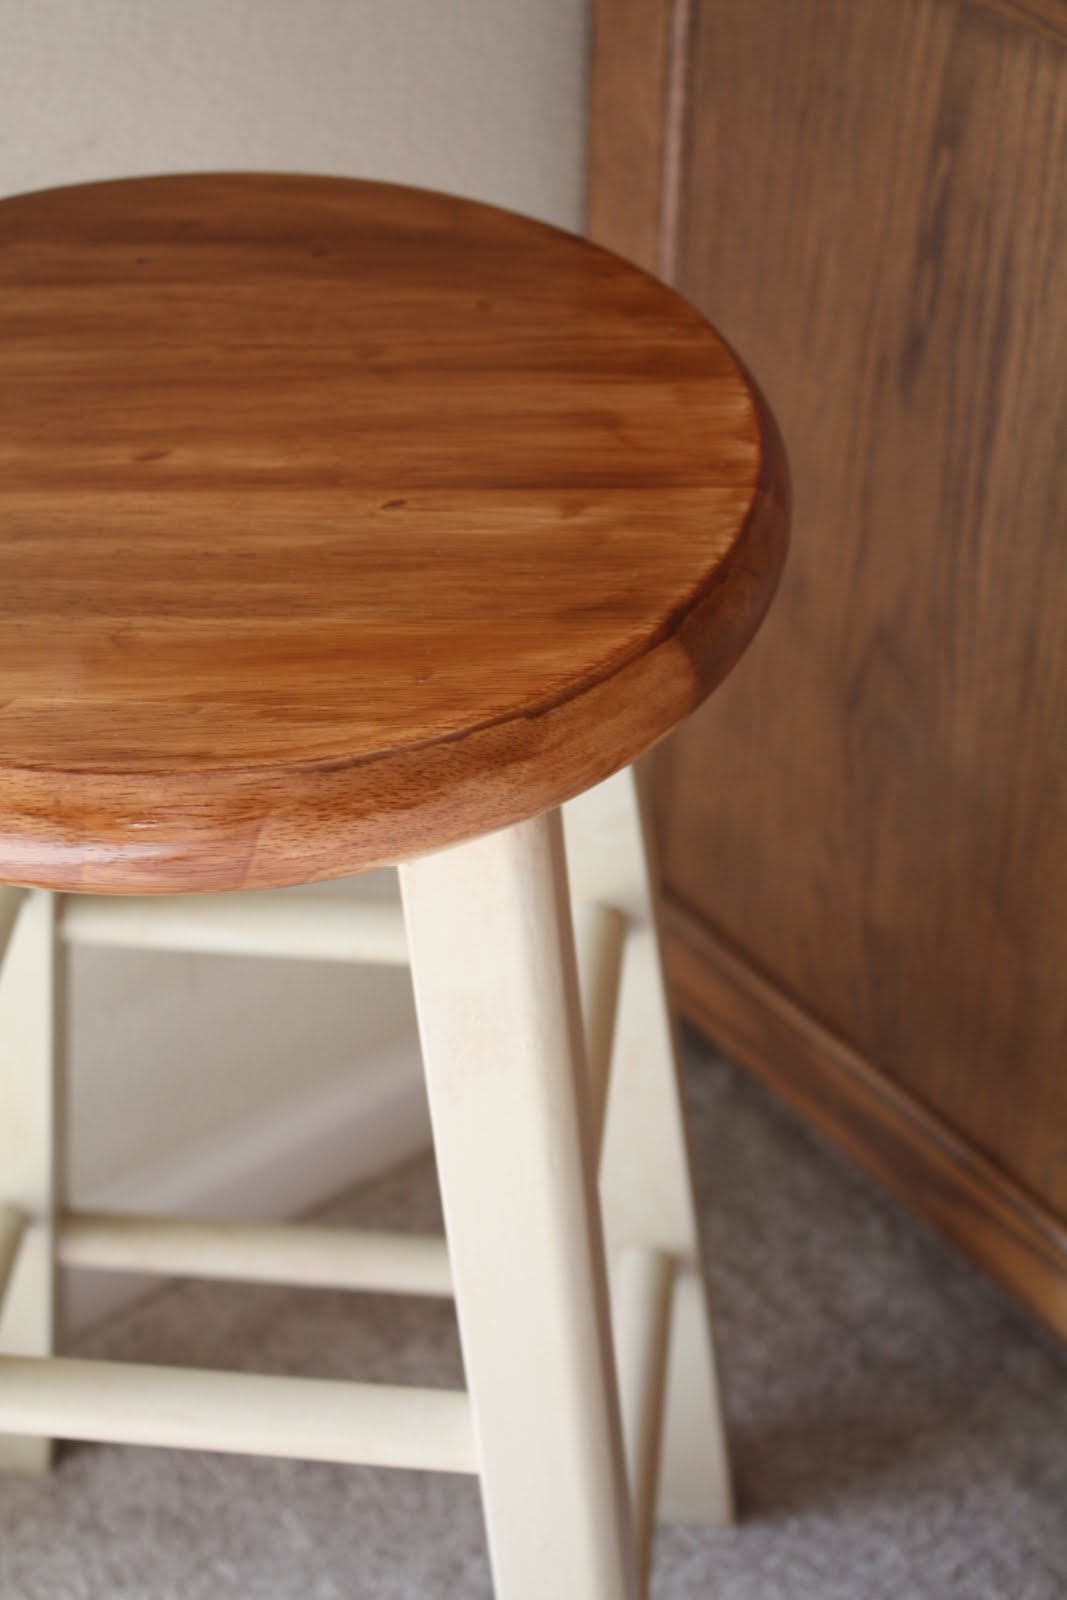
A couple of years ago, my husband and I got 2 of these stools as a gift. They are nicely made stools, but still nonetheless, pretty plain Jane, run of the mill, everybody has them, stools. So, one day, I decided to change them up a bit and make them a little more original.


This shows it stained too
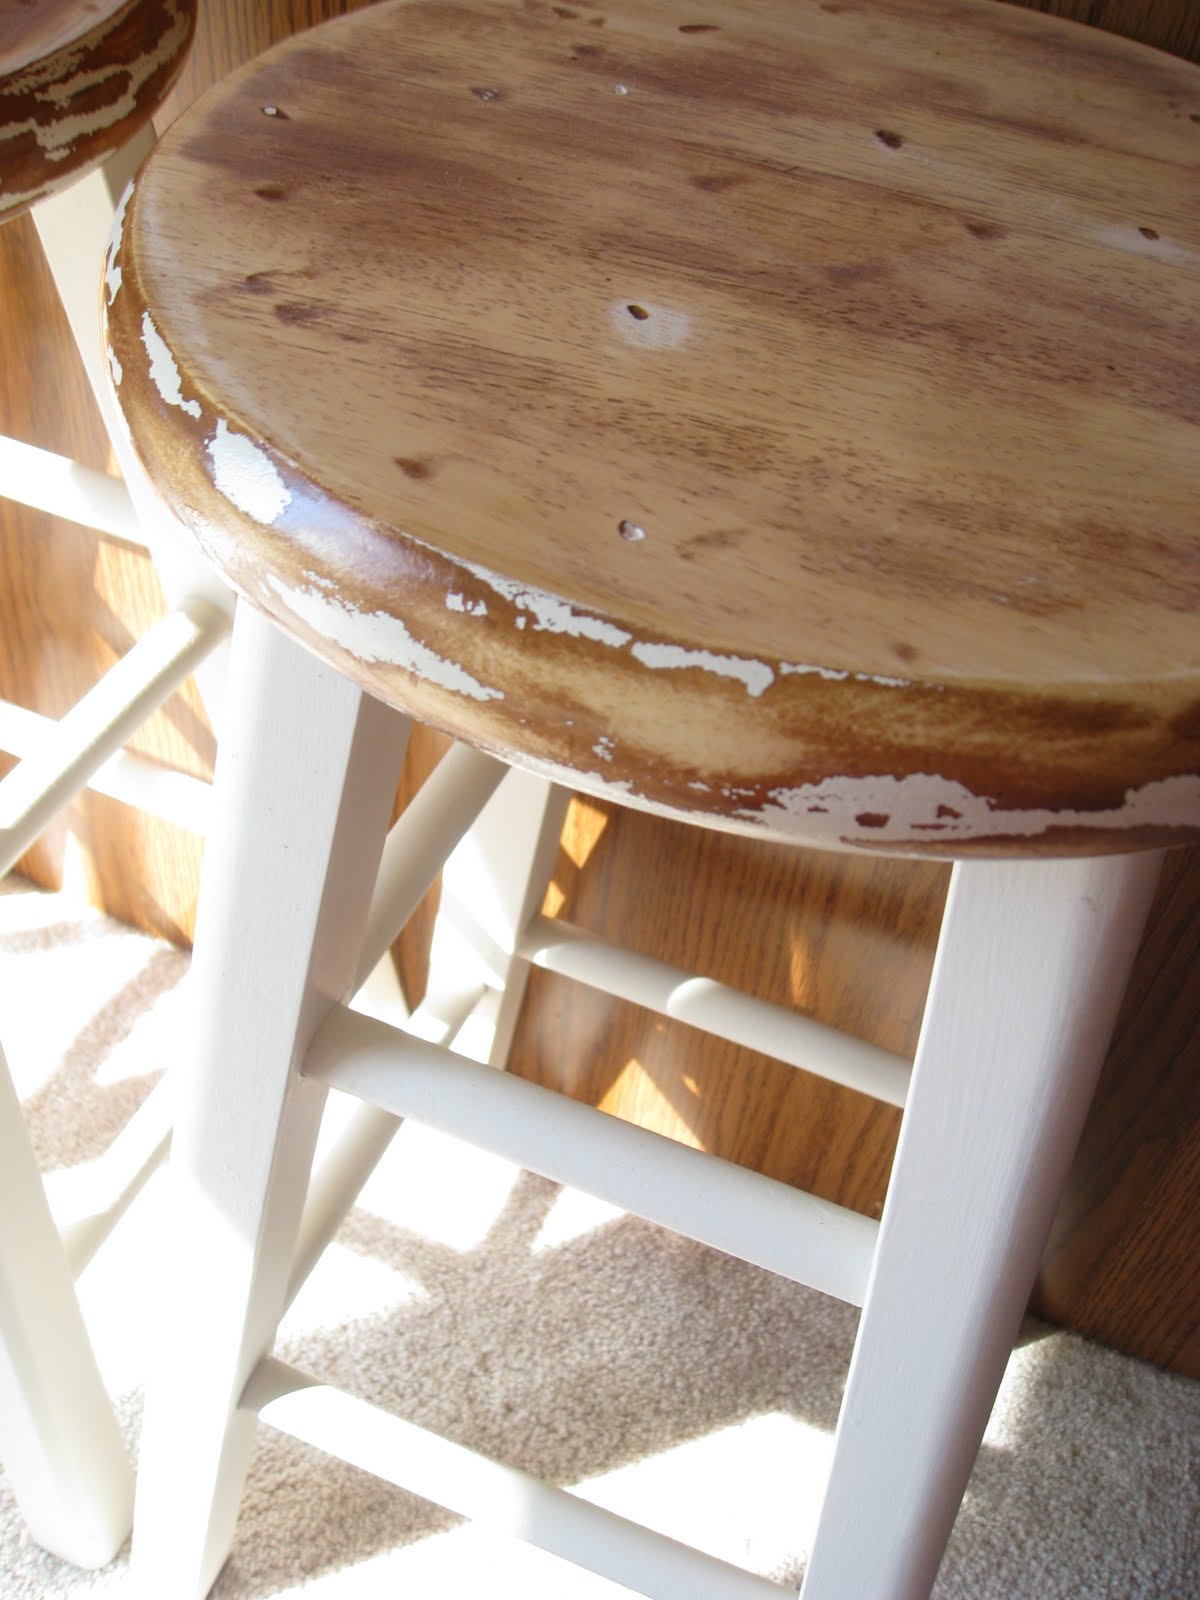
First thing I did was sand them down with my electric sander until there was no trace of their original finish. (Sorry, I don't have pics of this step...I'm still learning.) Then, I painted the legs using Valspars "Natural" in a satin finish.  After they dried I applied a little bit of brown glaze to give it more of an aged look. 


I used screwdrivers, nails, and a hammer to distress the top. I then stained the top a darker color than it was originally. I painted the sides of the top with the same paint I used for the legs. This time, I used my block sander to get most of the paint off the sides.  A little tip for projects like this, is don't let the paint dry too long and it will be easier to sand.


I used a rubber stamp with script writing to stamp the tops of the stools.


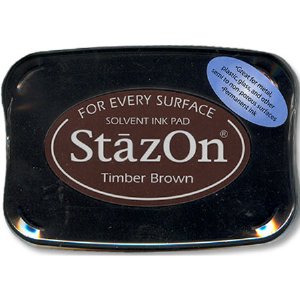
 I used a fantastic ink called StazOn in Timber Brown. It is sold at most major craft stores and comes in a wide range of colors.  Here is a description of the ink.

"StazOn is Tsukineko's only solvent-based stamp pad, designed for decorating non-porous surfaces such as glass, metal, shrink plastic, cellophane, aluminum foil, leather and acrylic. With StazOn, you'll achieve a beautiful stained glass appearance, due to the transparent nature of the ink. Thanks to its mild smell, StazOn is much safer to use than other permanent inks."


After the ink dried I gave each stool two coats of sealer using Minwax Wipe-On Poly in semi gloss. I did this to lock in the ink and so the stools would wipe down better when they need to be cleaned. 


I did this project over a year ago and these stools are holding up wonderfully! We love them!


Pin It!

Wednesday, August 4, 2010

Chalk Board Children's Desk and Chair...


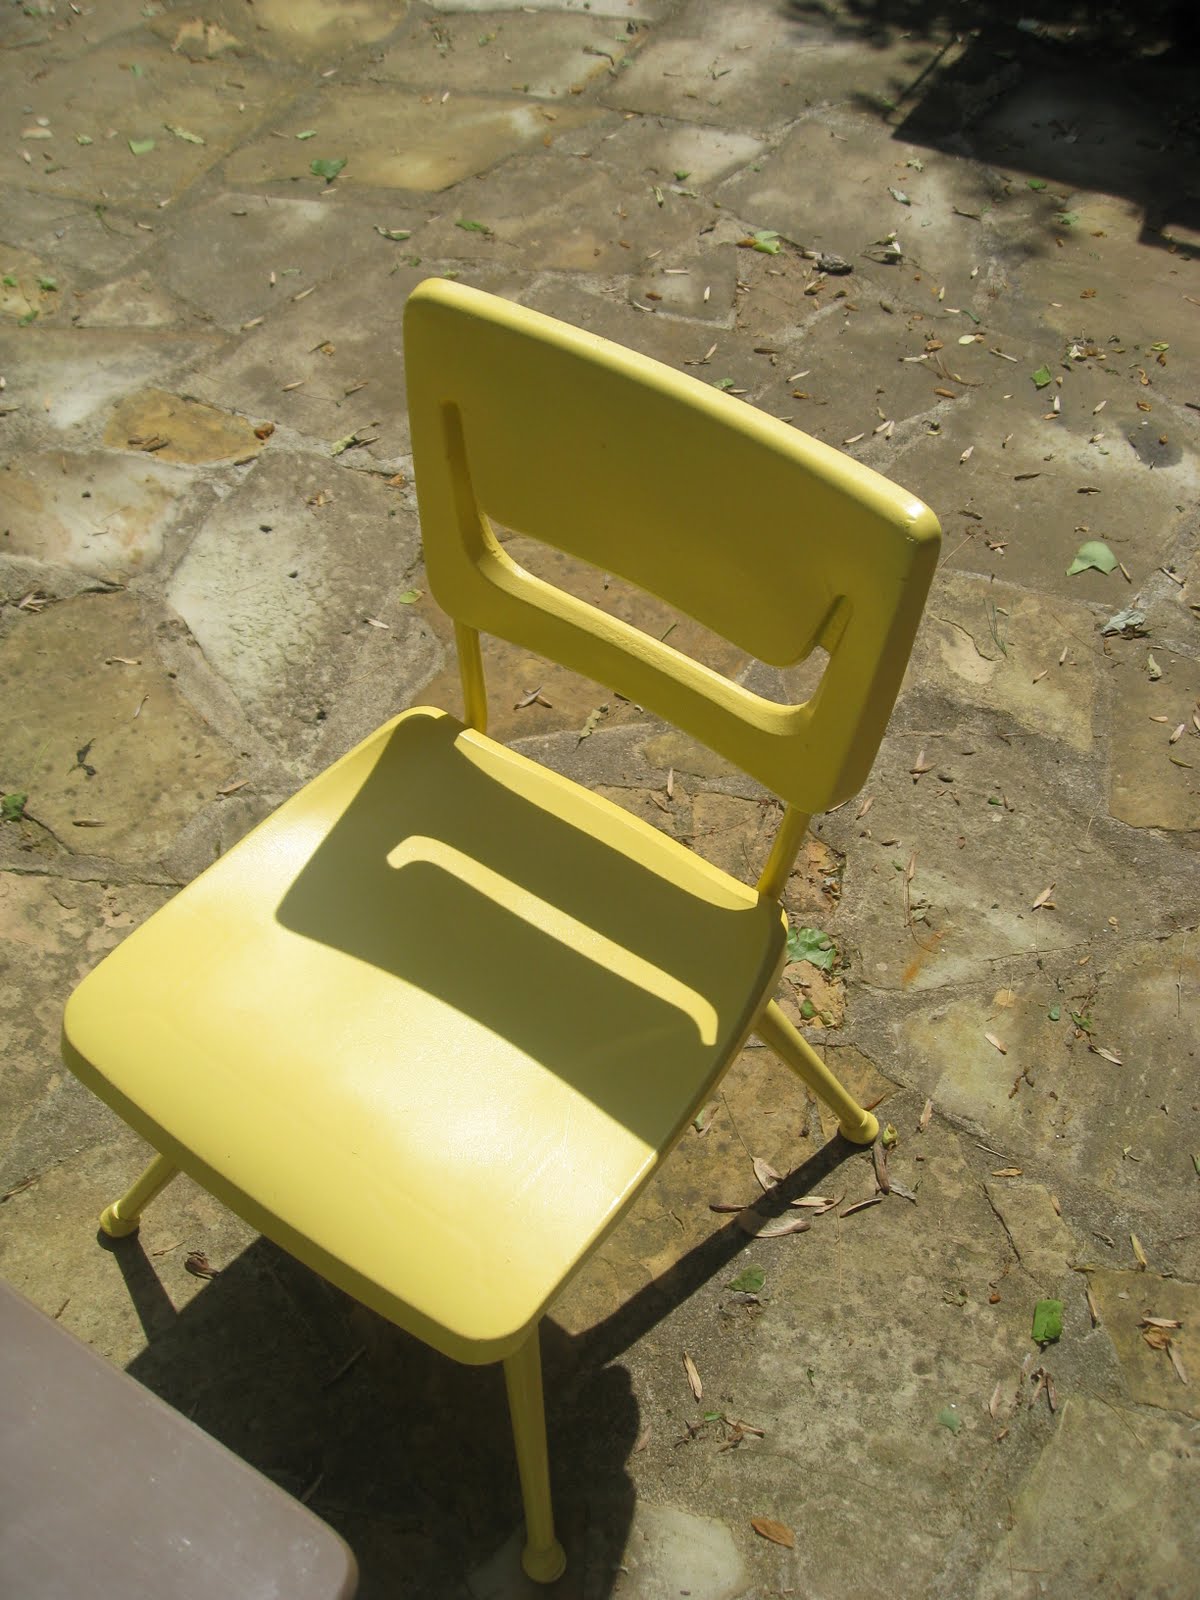
It all started with this old child's desk and school chair.  My wonderful mom picked up the chair at a garage sale for 25 cents. I thought for that price I would give it a go, and try to spiffy it up with a fresh coat of paint.  I found the desk at a flea market for 10 bucks. I could have probably found a better price somewhere, but I got a little impatient.


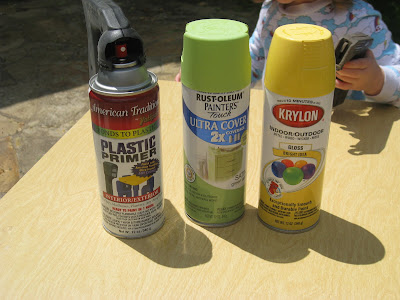
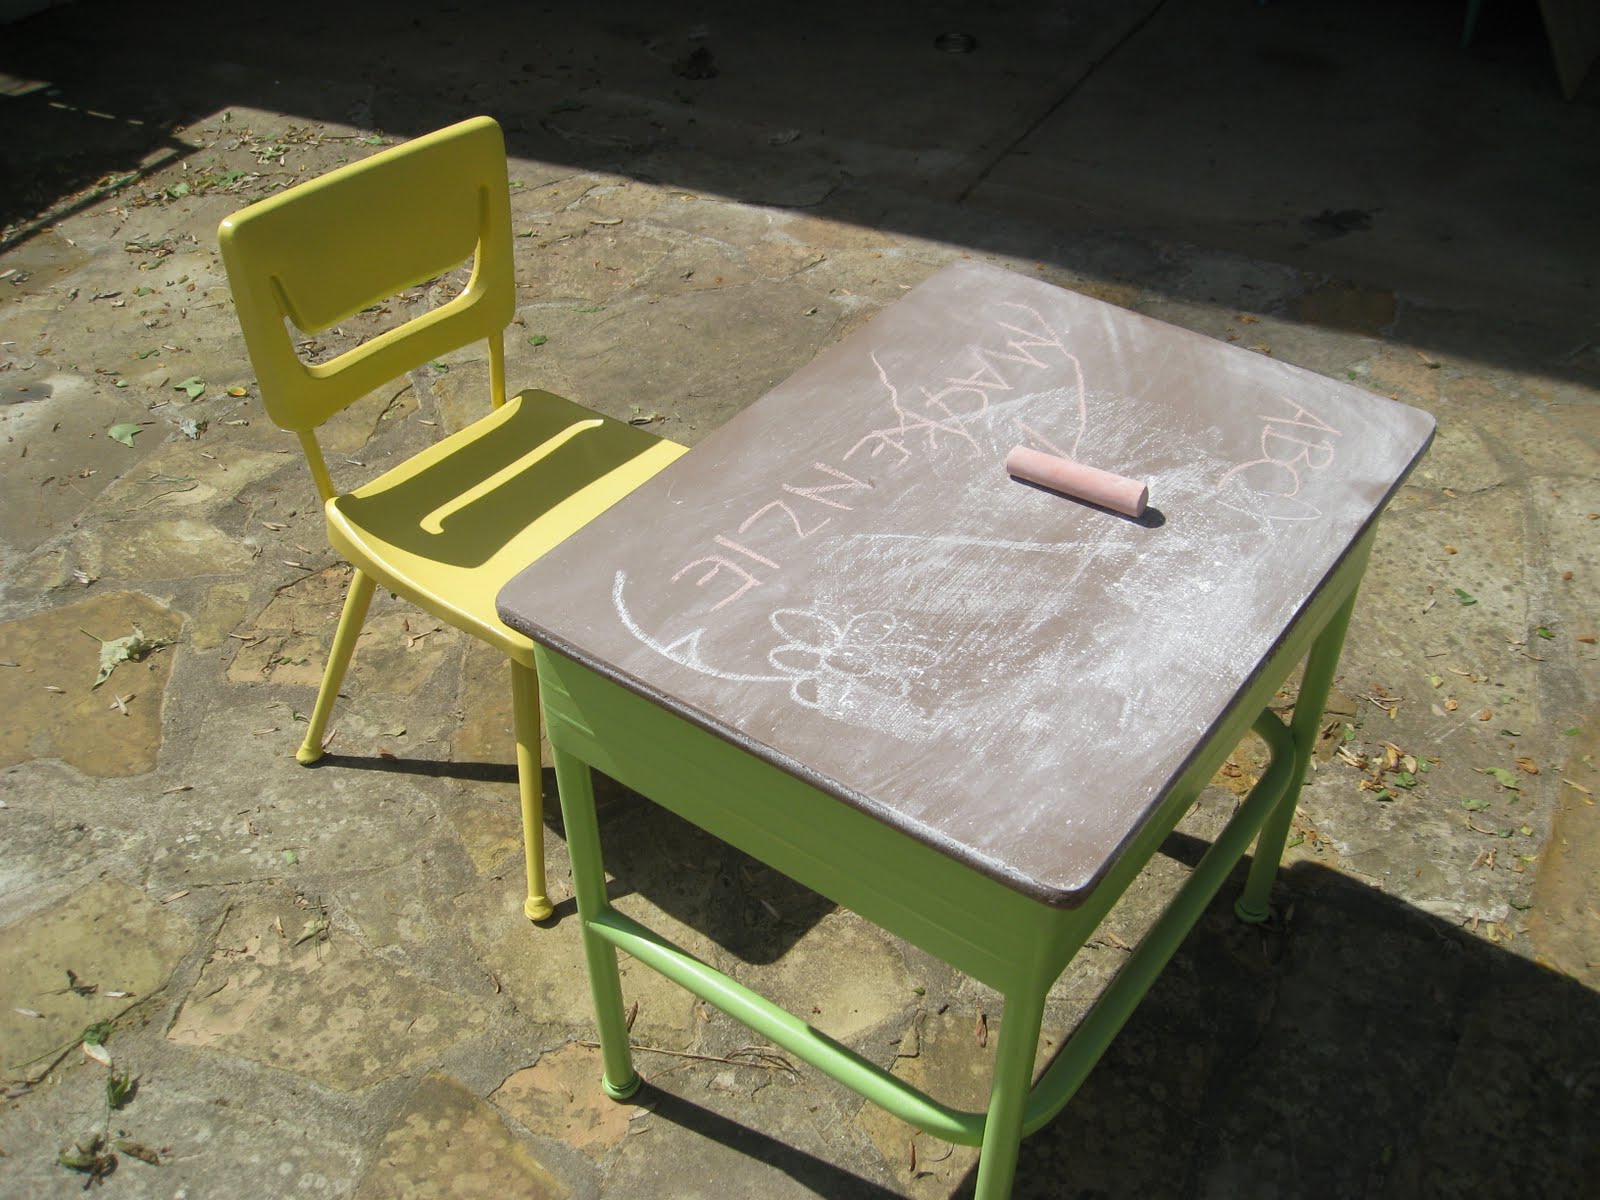
The chair back and seat are plastic and the legs are metal.  I couldn't find any plastic spray paint I liked so, I primed the plastic parts of the chair with "American Traditions plastic primer" I already had. After the primer had time to dry, I used Krylon "Bright Idea" in gloss for the chair and Rustoleum Painters Touch "Green Apple" in satin for the desk legs. I know a lot of bloggers love them some Krylon, but in my opinion, NOTHING compares to Rustoleum Painters Touch. It hardly drips at all and sprays so evenly and smooth. I can't rave enough!! I always get mine at Home Depot.


Already an improvement, right! Now for the chalkboard top.
 

I don't have any pics of this step, because it was hot and I had a two year old getting too close for comfort. I found the directions for this on Martha Stewart's website. You can get directions here.


I used some flat brown Valspar paint from a sample pot I had lying around. I could have gone out and purchased chalkboard paint, but for such a small job, I didn't need that much. Also, this gave me the option to pick an exact color for my project. After it dried really well, I rubbed a piece of chalk over the whole piece to season it. It's ready for business. ;)


We put it in my daughter's walk in closet. It holds her coloring books, crayons, pencils, and other art supplies. She loves it and I couldn't ask for more!!


Pin It!
Related Posts Plugin for WordPress, Blogger...